8/30/2018
Cooling system and Transmission. I have hooked up a trashcan full of water to serve as a temporary water tank. I learned that you need to bypass the heater hoses, so I bought a long enough hose to make a u-bend without kinking. I learned a few things today about the transmission system. One, it will not work without transmission fluid, two, I need to figure out how to plug the hole the missing left drive shaft left, and three, any transmission fluid that did not drain out the drive shaft hole, gets pumped out via the transmission fluid cooling pipes. The last one will eventually go to a heat exchanger, but until then will also bypass with a long hose.
Cooling system and Transmission. I have hooked up a trashcan full of water to serve as a temporary water tank. I learned that you need to bypass the heater hoses, so I bought a long enough hose to make a u-bend without kinking. I learned a few things today about the transmission system. One, it will not work without transmission fluid, two, I need to figure out how to plug the hole the missing left drive shaft left, and three, any transmission fluid that did not drain out the drive shaft hole, gets pumped out via the transmission fluid cooling pipes. The last one will eventually go to a heat exchanger, but until then will also bypass with a long hose.

Radiator hoses in large supply of water in a handy trash can.
|
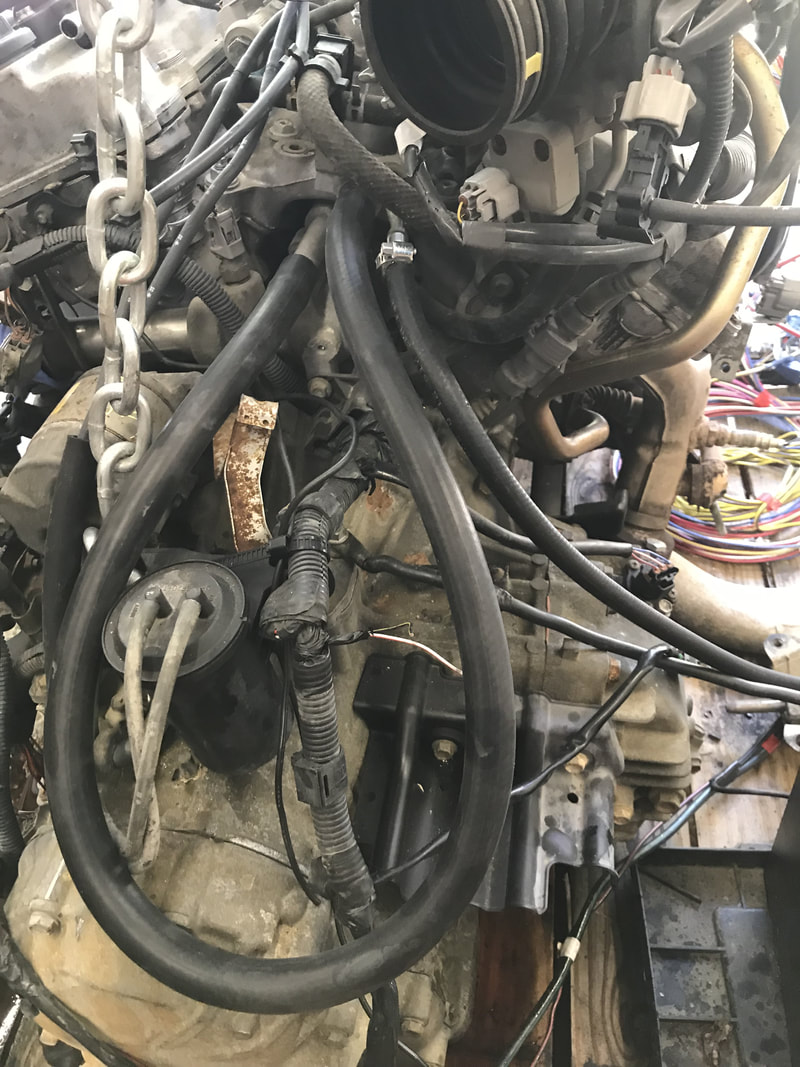
Heater water lines are looped together.
|
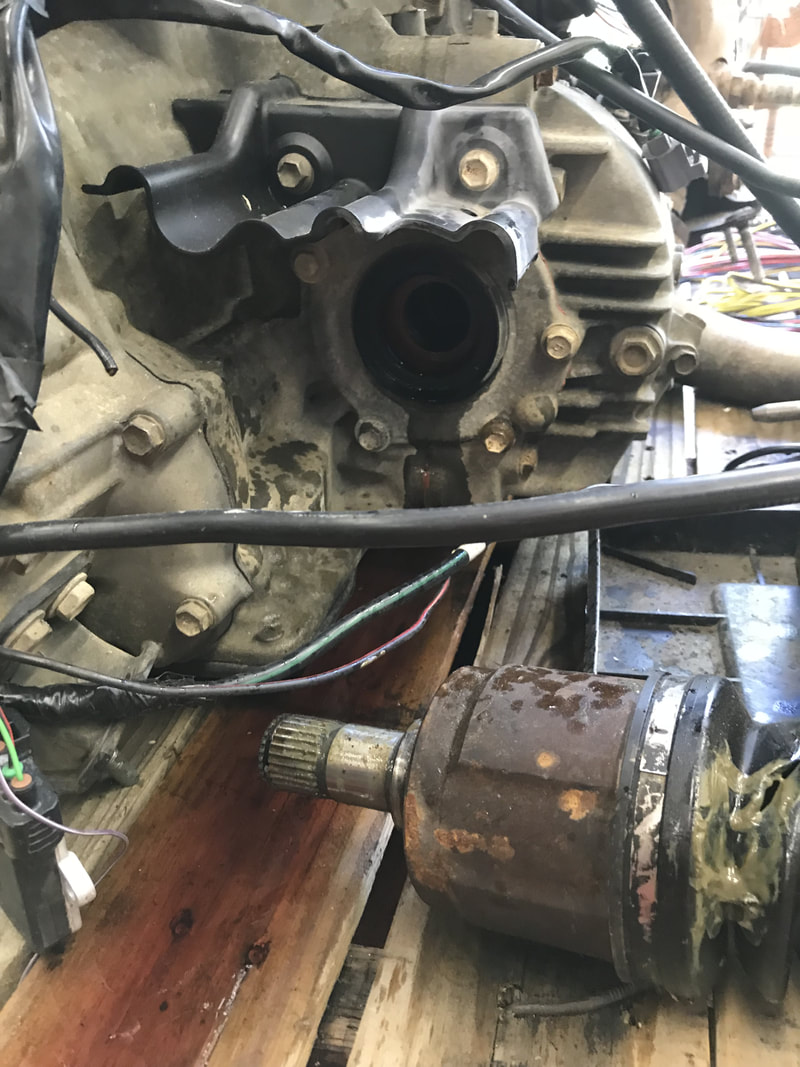
Transmission fluid leaking out of missing Drive shaft hole.
|

Transmission fluid cooling lines were discovered due to steady stream of fluid pouring on the floor, but was a good thing, due to dirty condition of fluid. Which means I need to flush the system clean.
|
8/31/2018
Going to fix hole left by missing drive shaft. Easiest will be to remove the plate that holds the gasket and replace it with 16 gauge plate. Cut sheet to size and clamping original plate as a guide, drilled the bolt holes. I also used the bolts to hold plates in alignment. Installed plate and not leaks. Transmission worked perfectly. Now I just need to see about extending drive shaft with a few 90 degree bends to meet the paddle wheel.
Going to fix hole left by missing drive shaft. Easiest will be to remove the plate that holds the gasket and replace it with 16 gauge plate. Cut sheet to size and clamping original plate as a guide, drilled the bolt holes. I also used the bolts to hold plates in alignment. Installed plate and not leaks. Transmission worked perfectly. Now I just need to see about extending drive shaft with a few 90 degree bends to meet the paddle wheel.
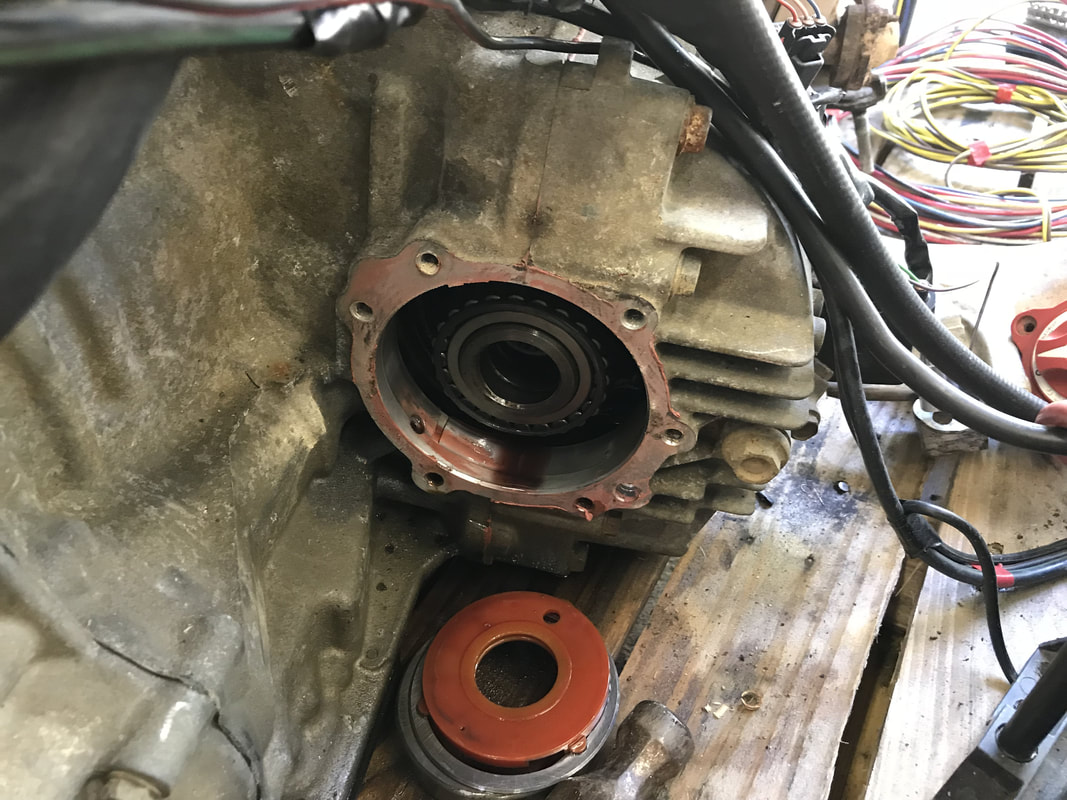
Drive shaft hole with gasket plate removed.
|
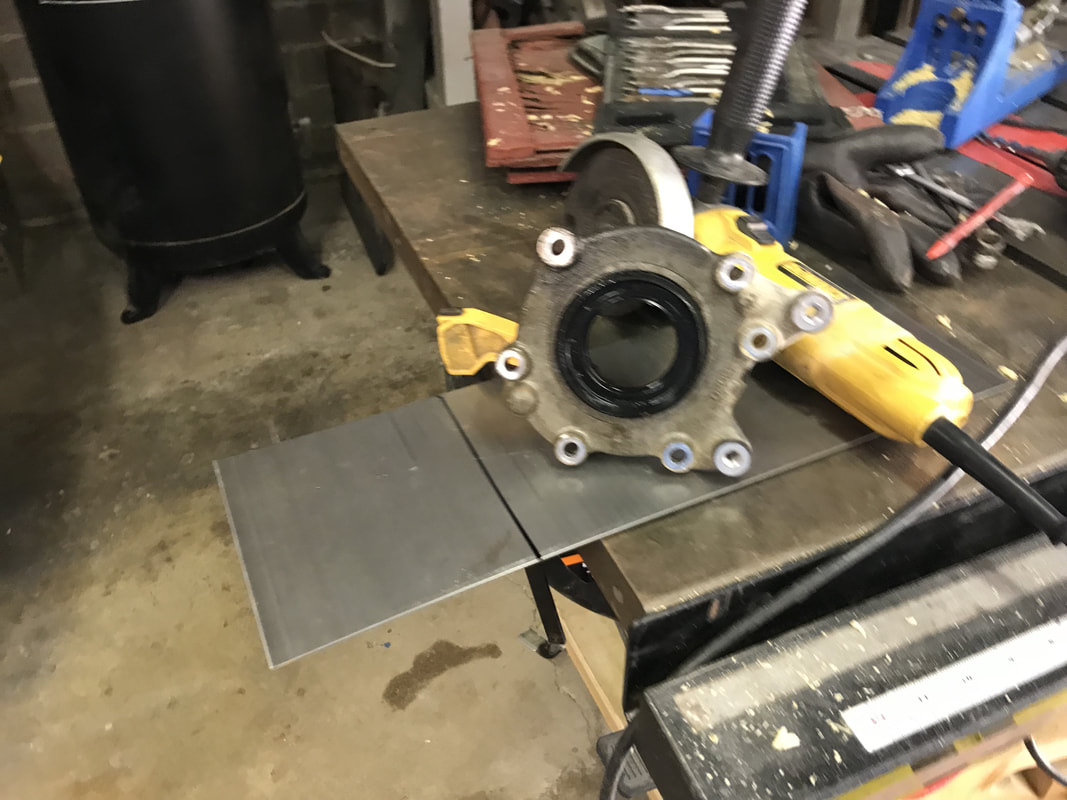
Gasket plate and replacement plate.
|
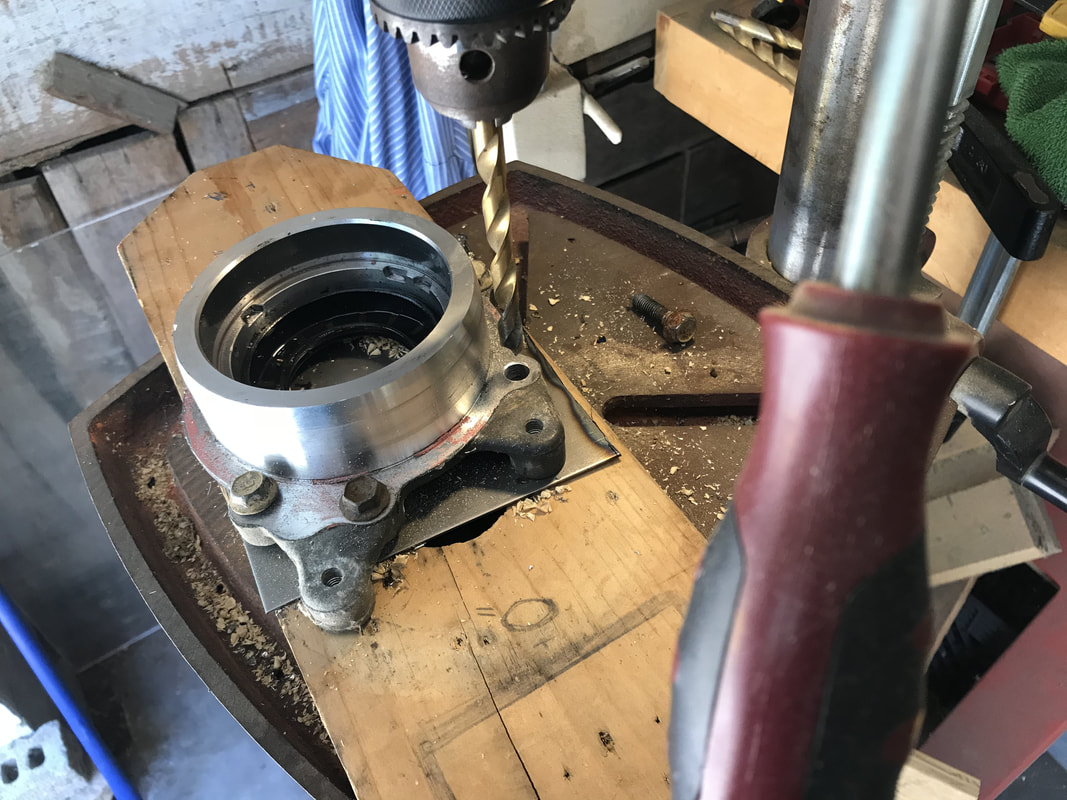
Using original plate for holes placements. Also putting in bolts to hold original plate in place.
|
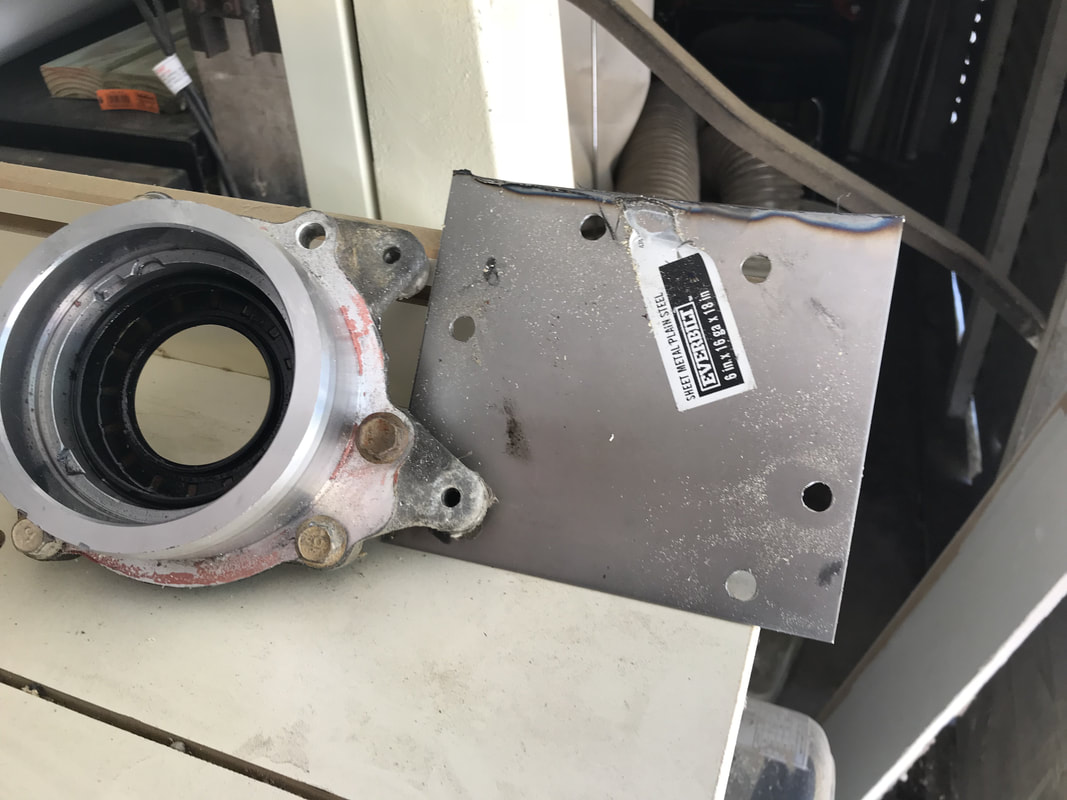
Holes drilled, now need to cut excess off, so fit in planned space.
|
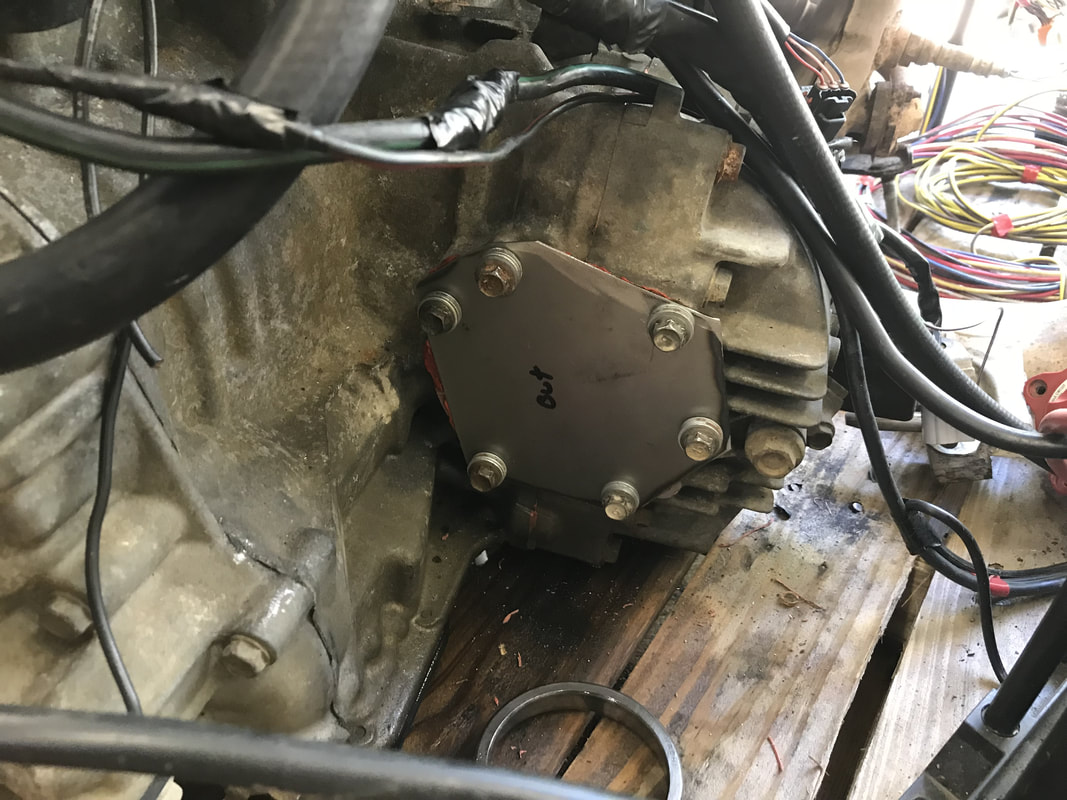
New plate in place, even used liquid gasket paste. Had to add washers to make up for the thickness of the original plate.
9/10/18
Have studied the drawings and decided to replace the current drive shaft that is still attached to the transmission. I attempted to remove the broken connection, but proved unfruitful. Then I attempted to remove the shaft, which should be simple, since the retaining clip had already been removed, but again could not pull it out. Hammering, chiseling, using rust remover, but nothing worked. Finally attempted to detach the shaft along with the mounting bracket, but unfortunately one bolt is hiding behind the shaft and could not be reached. I finally resorted to using the saws-all and cut the shaft to reveal the bolt. Once bolt was removed the shaft easily came out. The center bearing had rusted onto the mounting bracket. Now I am waiting for the new shaft to arrive, then once I know the dimensions of the splined end, I can begin getting the parts I need to extend the shaft along the pontoon and up to the paddle wheel axle. I wish I had taken pictures, but was to frustrated at the time.
Have studied the drawings and decided to replace the current drive shaft that is still attached to the transmission. I attempted to remove the broken connection, but proved unfruitful. Then I attempted to remove the shaft, which should be simple, since the retaining clip had already been removed, but again could not pull it out. Hammering, chiseling, using rust remover, but nothing worked. Finally attempted to detach the shaft along with the mounting bracket, but unfortunately one bolt is hiding behind the shaft and could not be reached. I finally resorted to using the saws-all and cut the shaft to reveal the bolt. Once bolt was removed the shaft easily came out. The center bearing had rusted onto the mounting bracket. Now I am waiting for the new shaft to arrive, then once I know the dimensions of the splined end, I can begin getting the parts I need to extend the shaft along the pontoon and up to the paddle wheel axle. I wish I had taken pictures, but was to frustrated at the time.
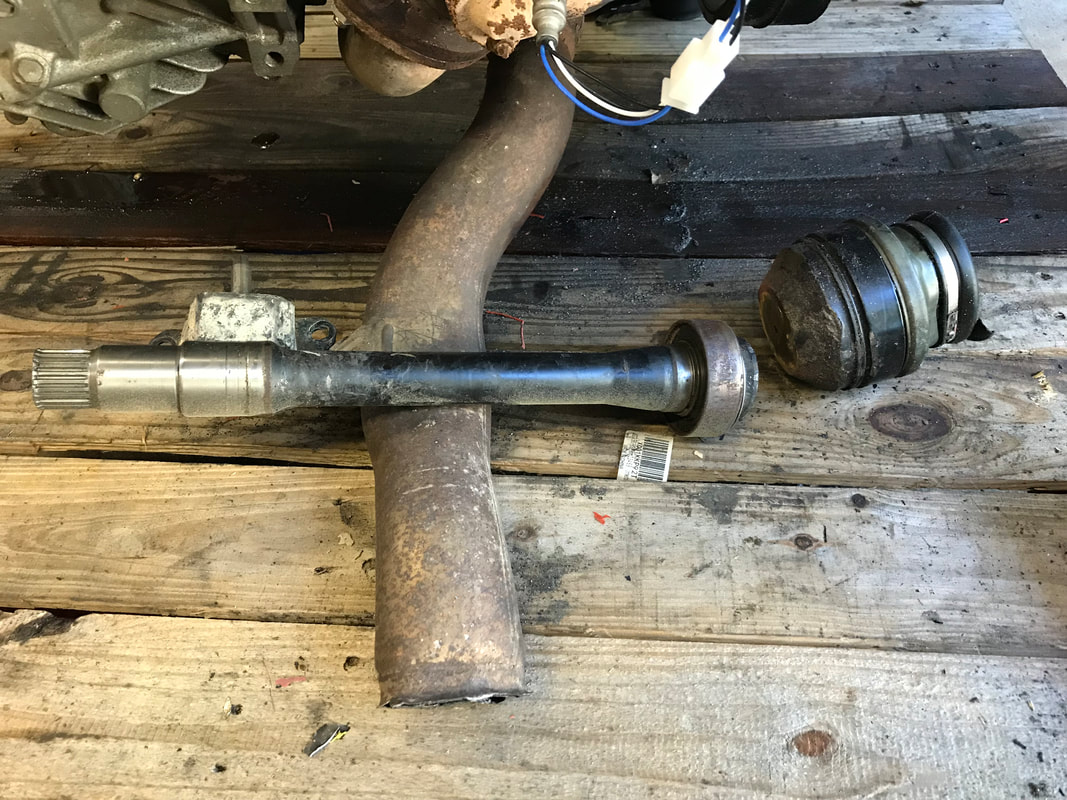
Here is the shaft after I had to cut off the end, so I could reach the mounting bolts.
|
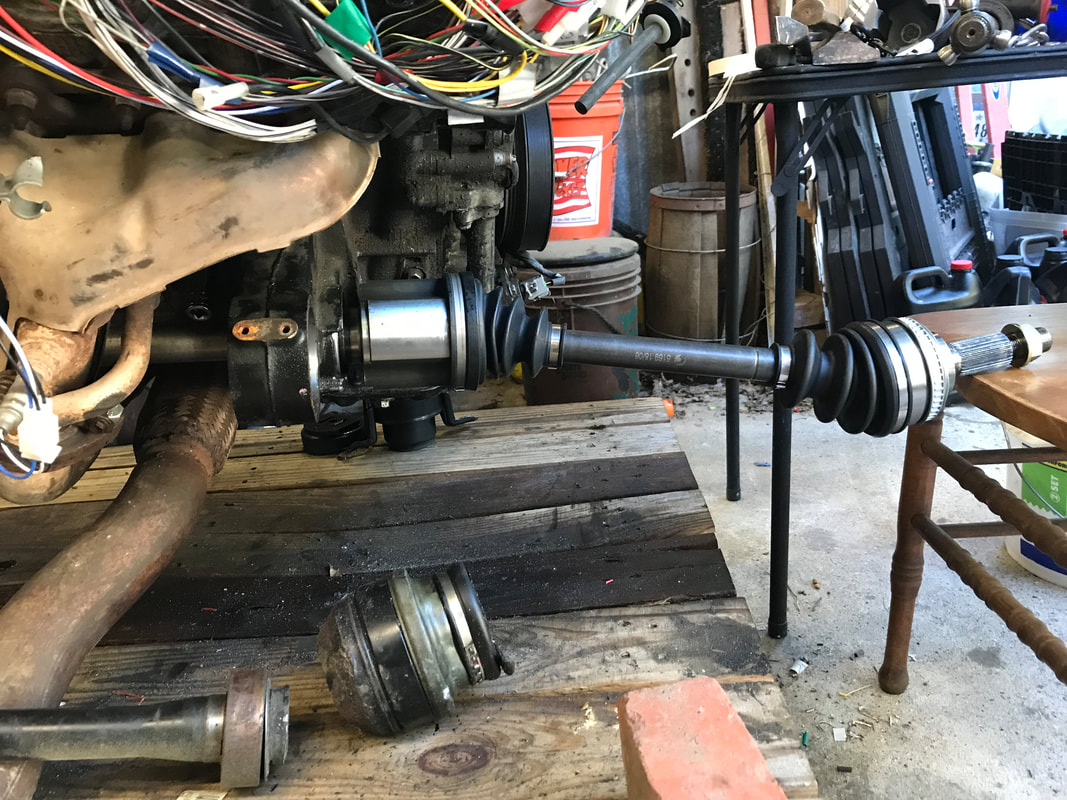
Here is the new shaft along with
the old. You can see how much was missing.
|
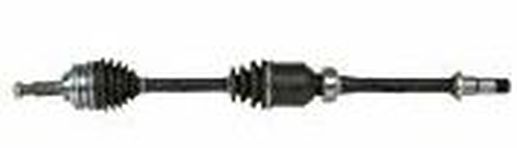
Picture of new shaft.
9/18/18
New shaft arrived, so I was able to take measurements of the end. Now I want to try to place 90 degree bends in the main drive shaft. Going to experiment to see least expensive way. First trial is using Y yoke ends. Going to try using tractor PTO yoke joints. Could not find one that used the 30 spline connection, so will try just slipping one one and bolting it on. Also have been figuring out a way to mount the motor to the boat. I like to raise the motor about 6 inches so I can get my arm under it if I have to. Make changing out the oil a lot easier. I have a good idea on how to mount the engine, but since I do not know for sure how I will achieve the 90 degree bend and its dimensions, I can not make a permanent mounting. I found a new mounting kit on-line for the engine and will replace the old and use them. So the engine will have three main mounts and maybe two shock torque mounts. I also am looking on how to support the 90 degree bend, but once again till I know for sure how it will be done, I can not plan too far ahead on how to support it. I am learning about captions for pictures, which I wish I had done long before, since there are several photos, I look at now and wonder what I am looking at and why I took them.
New shaft arrived, so I was able to take measurements of the end. Now I want to try to place 90 degree bends in the main drive shaft. Going to experiment to see least expensive way. First trial is using Y yoke ends. Going to try using tractor PTO yoke joints. Could not find one that used the 30 spline connection, so will try just slipping one one and bolting it on. Also have been figuring out a way to mount the motor to the boat. I like to raise the motor about 6 inches so I can get my arm under it if I have to. Make changing out the oil a lot easier. I have a good idea on how to mount the engine, but since I do not know for sure how I will achieve the 90 degree bend and its dimensions, I can not make a permanent mounting. I found a new mounting kit on-line for the engine and will replace the old and use them. So the engine will have three main mounts and maybe two shock torque mounts. I also am looking on how to support the 90 degree bend, but once again till I know for sure how it will be done, I can not plan too far ahead on how to support it. I am learning about captions for pictures, which I wish I had done long before, since there are several photos, I look at now and wonder what I am looking at and why I took them.

Here is the Driver side Mount. It is the only one that supports this end.
|
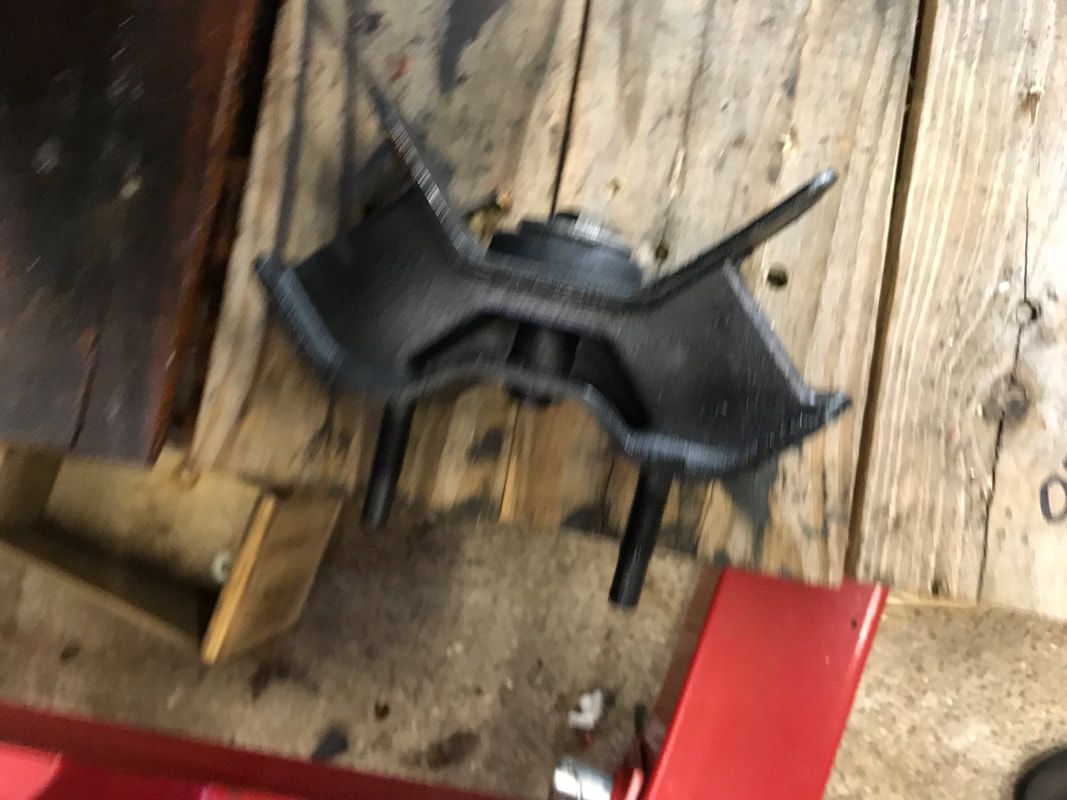
New driver side mount. It appears to it will be an easy replacement and easy to make a mount attachment for.
|
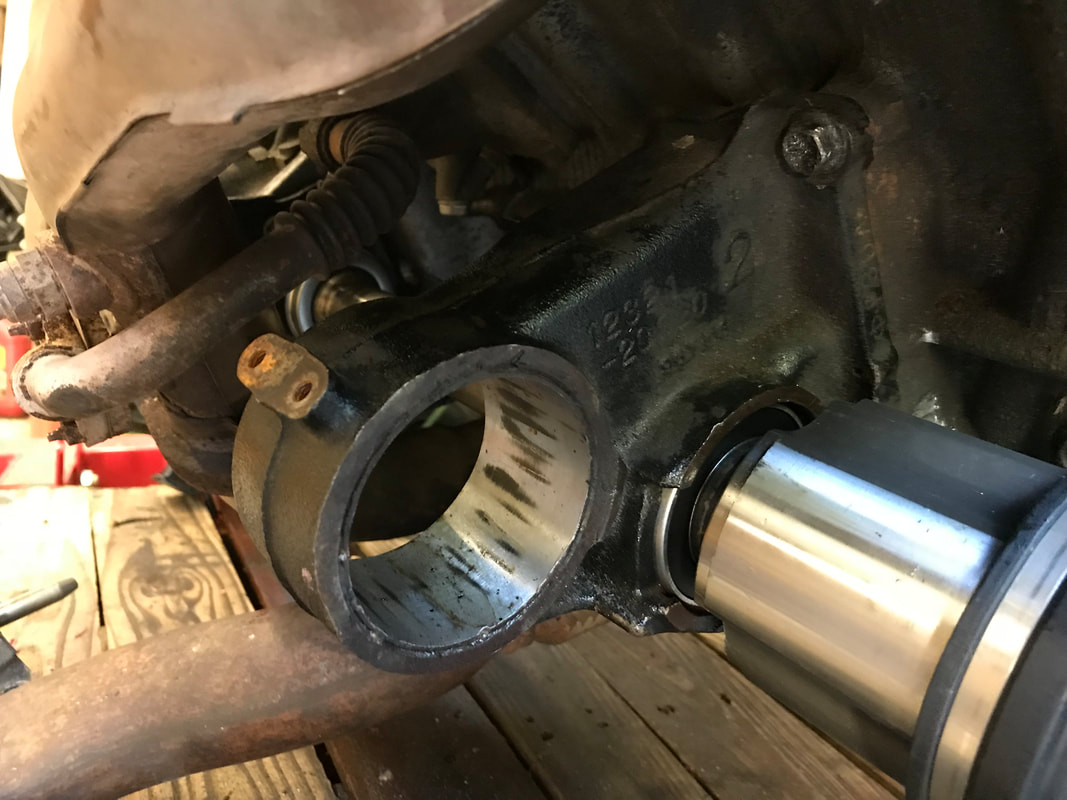
Here is the troublesome mount that supports both the center bearing and the aft-passenger side engine mount. It still has the outer ring of the engine mount still rusted in place.
|
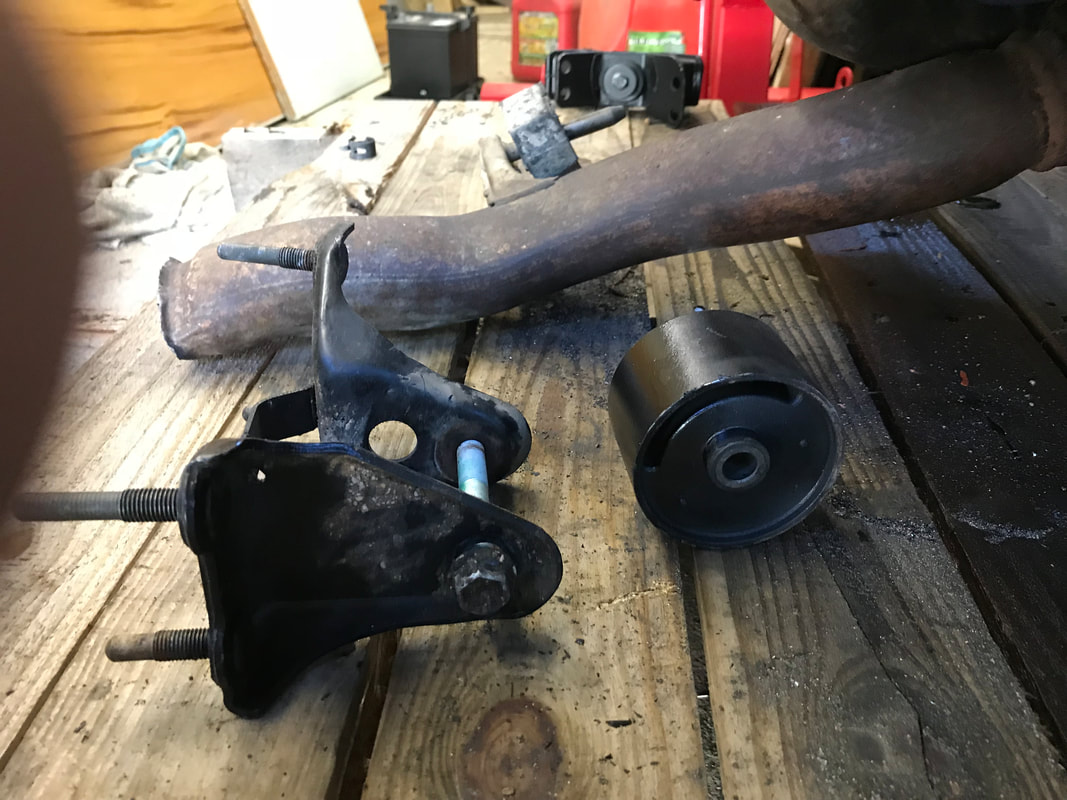
Here is the new engine mount, but again the troublesome mount still has part of the old engine mount rusted in it. I will try to grind out the wedged in part but think I will have to just replace the part instead.
|
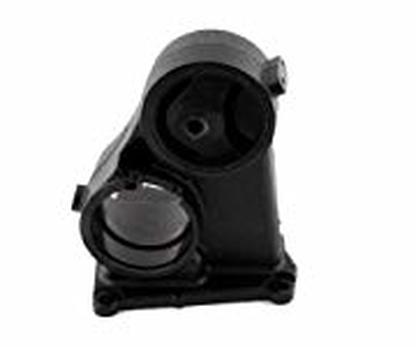
Picture of new mount with Rubber engine mount already installed.
|
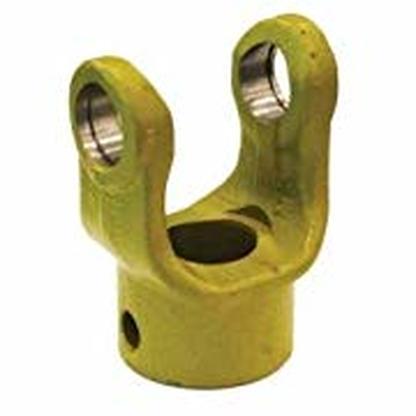
Picture of PTO yoke.
|
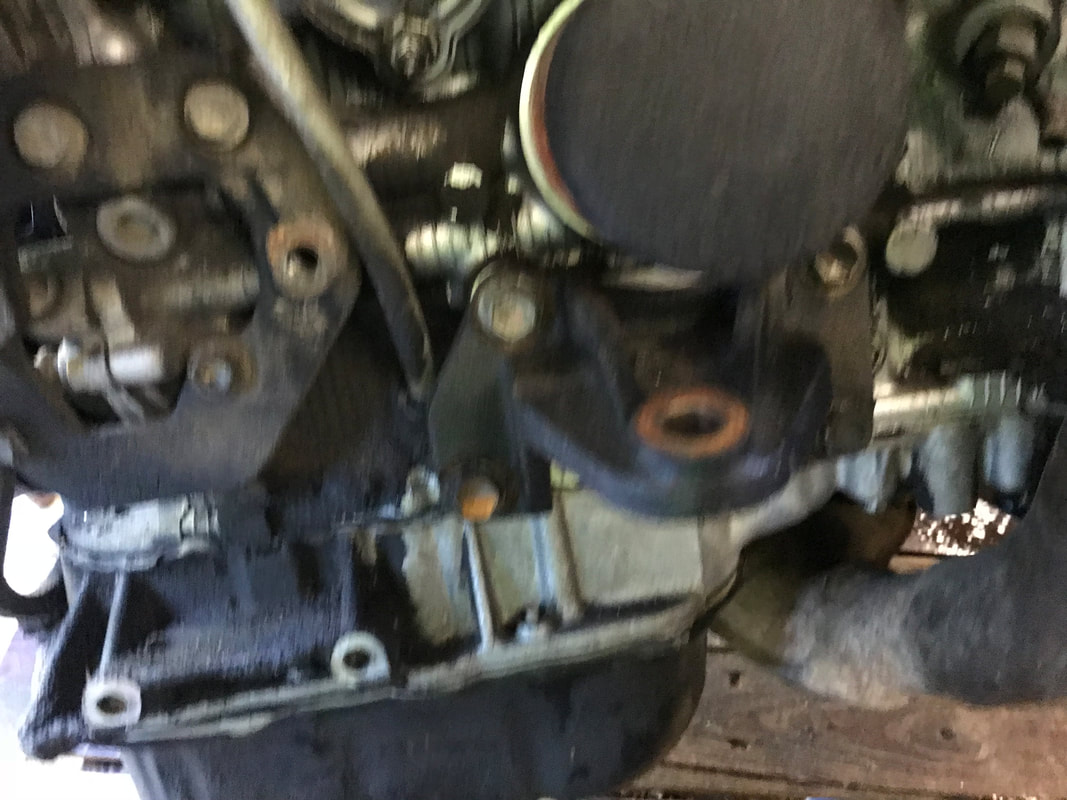
The forward passenger side engine mounting bracket. The passenger side is held up by two mounts.
|
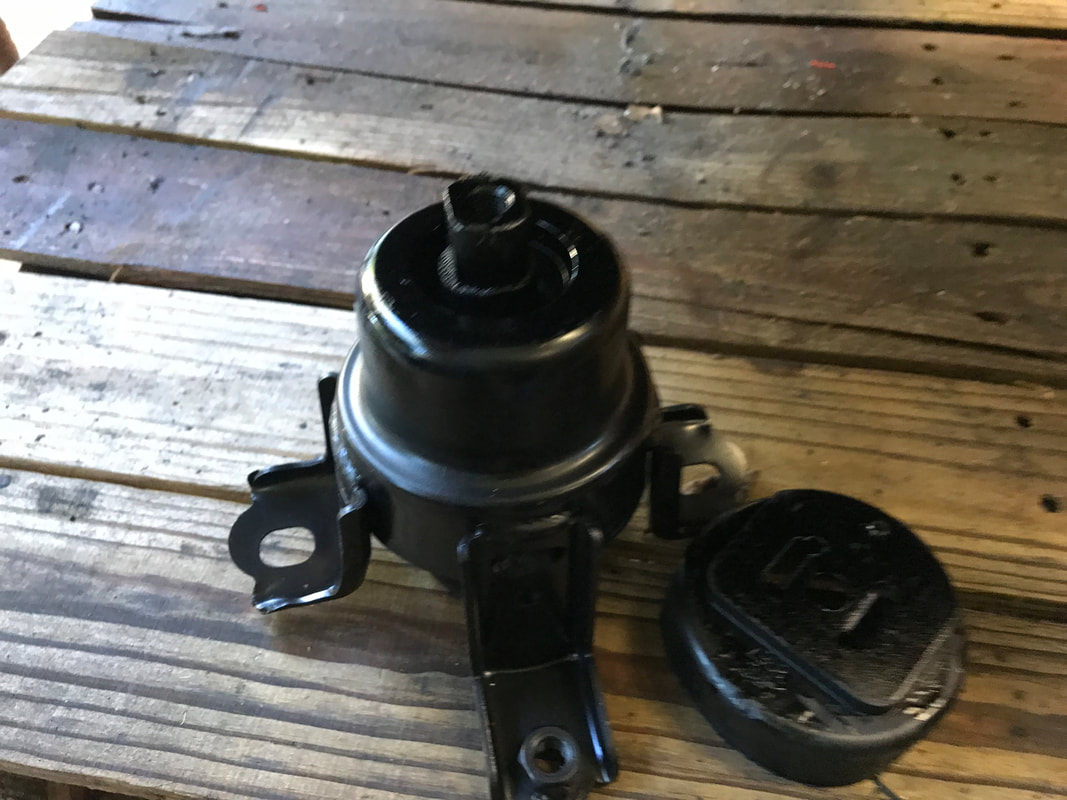
Here is the new engine mount, and now I just have to figure out how to use it.
|
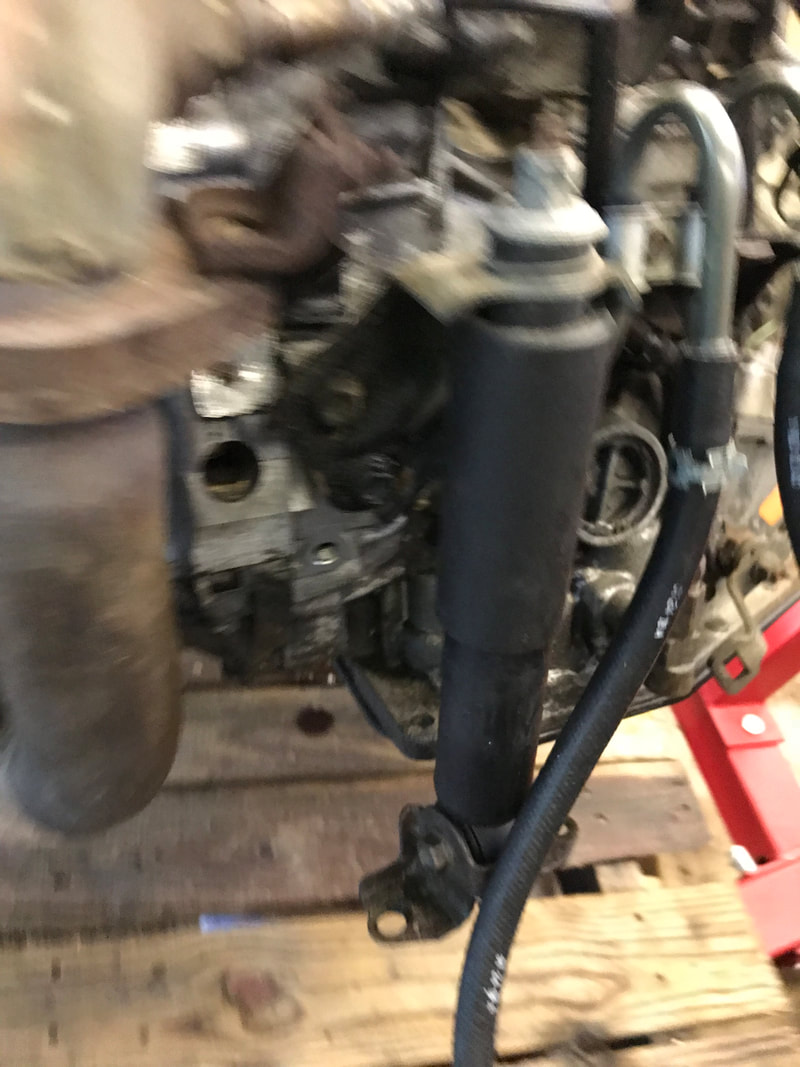
There is a shock absorber which I think allows a little motion due to torque.
|
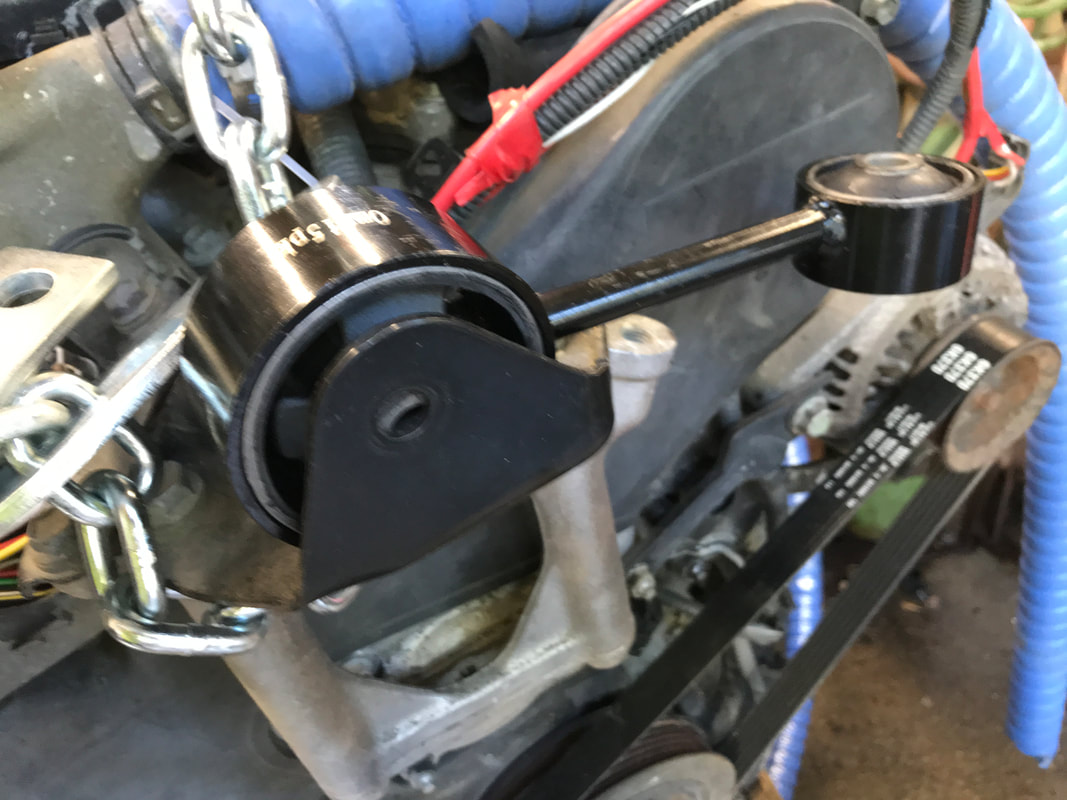
Now this mount or torque absorber, I really not sure how I can use.
|