Paddle Wheel Boat
  • Current Progress
  • Third Boat Build
    • Designing new boat
    • Building Frame Support
    • Building the Frames
    • Building the Hull >
      • Hull Part 2
      • Hull Part 3
    • Building the Paddle Wheel
    • Building the Decks and Canopy
    • Hooking up Rudder and Propulsion >
      • Propulsion Part 2
    • Building the Cabin
    • First Time out
    • New Angled Tansom
    • Larger Engine Required
    • Better Steering
    • Water Shield
    • Torque - The missing element
    • Plans
  • Boat 3 Reconstruction
    • Hoisting the Boat
    • Cutting Aft Off
    • New Pontoons
    • Getting an Engine
    • Transmission and cooling system
    • Side projects keep pulling me away
    • New pontoons (a redo)
  • Second Boat Built
    • Build Slideshow
    • A Few Tweaks and Redesigning
    • Redesigned boat
    • 1. Building the HULL
    • 2. Building Propulsion system
    • 3. Building the Cabin
    • 4. Building the Second Deck
    • SUPPLIMENTAL BOAT PLANS
    • CLASS 1 BOATS and WHAT is REQUIRED
  • First Boat Built
    • Photos of FIrst Boat Build
  • MY TEAM
  • OTHER PROJECTS
    • The Boat Trailer
    • Ark of Covenant Baptistry
    • Motorcycle Rocker
    • Side Wheel Paddle Boat : project is currently suspended
    • Papercraft Hobbies
    • Cross-Stitching Photos
  • Current Progress
  • Third Boat Build
    • Designing new boat
    • Building Frame Support
    • Building the Frames
    • Building the Hull >
      • Hull Part 2
      • Hull Part 3
    • Building the Paddle Wheel
    • Building the Decks and Canopy
    • Hooking up Rudder and Propulsion >
      • Propulsion Part 2
    • Building the Cabin
    • First Time out
    • New Angled Tansom
    • Larger Engine Required
    • Better Steering
    • Water Shield
    • Torque - The missing element
    • Plans
  • Boat 3 Reconstruction
    • Hoisting the Boat
    • Cutting Aft Off
    • New Pontoons
    • Getting an Engine
    • Transmission and cooling system
    • Side projects keep pulling me away
    • New pontoons (a redo)
  • Second Boat Built
    • Build Slideshow
    • A Few Tweaks and Redesigning
    • Redesigned boat
    • 1. Building the HULL
    • 2. Building Propulsion system
    • 3. Building the Cabin
    • 4. Building the Second Deck
    • SUPPLIMENTAL BOAT PLANS
    • CLASS 1 BOATS and WHAT is REQUIRED
  • First Boat Built
    • Photos of FIrst Boat Build
  • MY TEAM
  • OTHER PROJECTS
    • The Boat Trailer
    • Ark of Covenant Baptistry
    • Motorcycle Rocker
    • Side Wheel Paddle Boat : project is currently suspended
    • Papercraft Hobbies
    • Cross-Stitching Photos
Paddle Wheel Boat

Picture
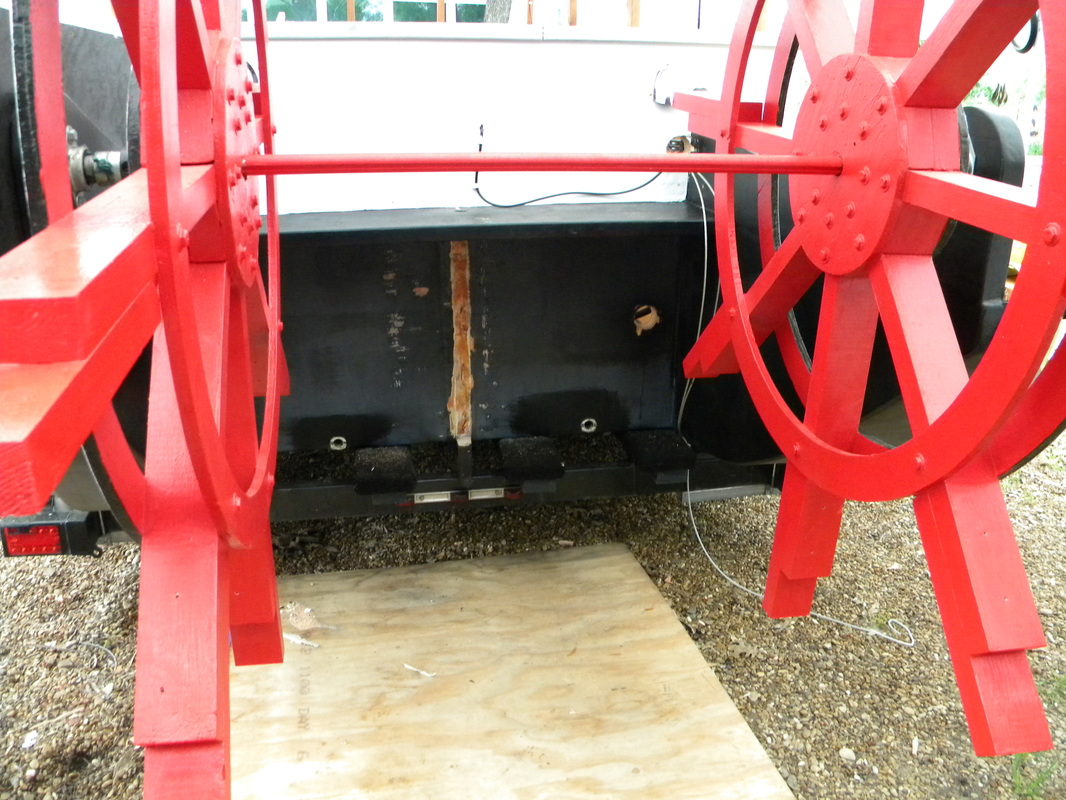
Paddles temporarilly removed. Removed the rudder, drain plugs, and exhaust port.
Picture
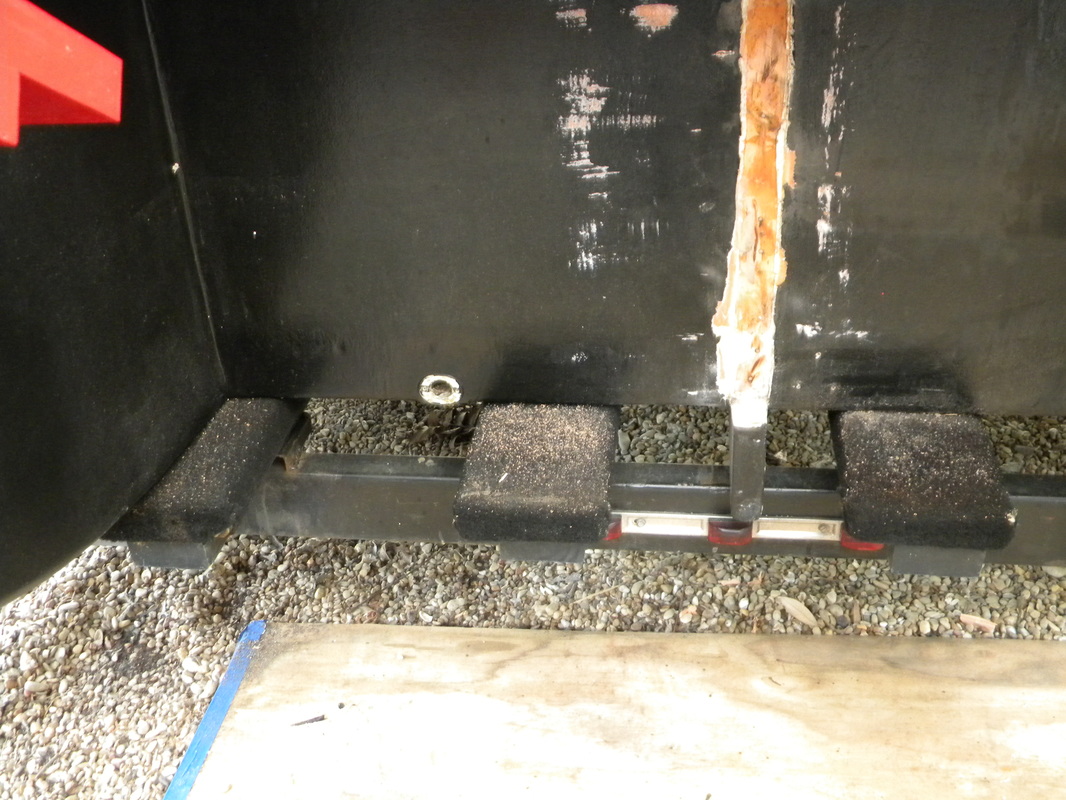
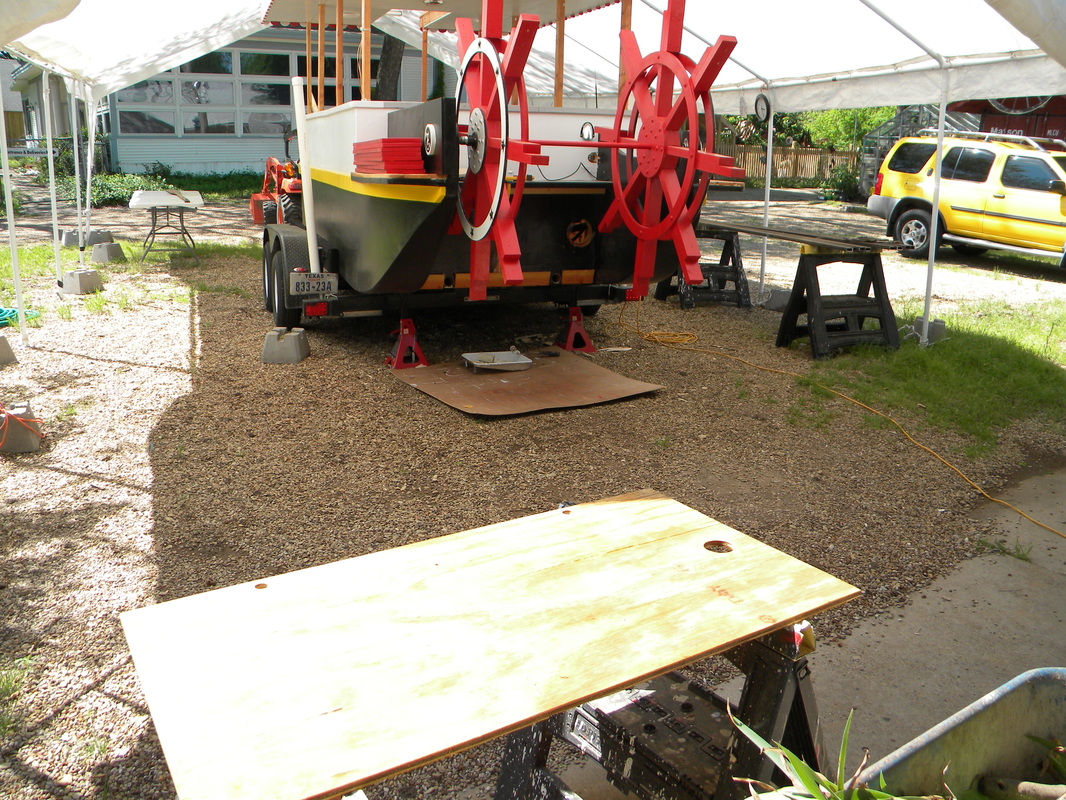
Going to have to move the boat back on the trailer, if I don't want to fiberglass the boat to the trailer at the same time I fiberglass the new tansom in.
Picture
Picture
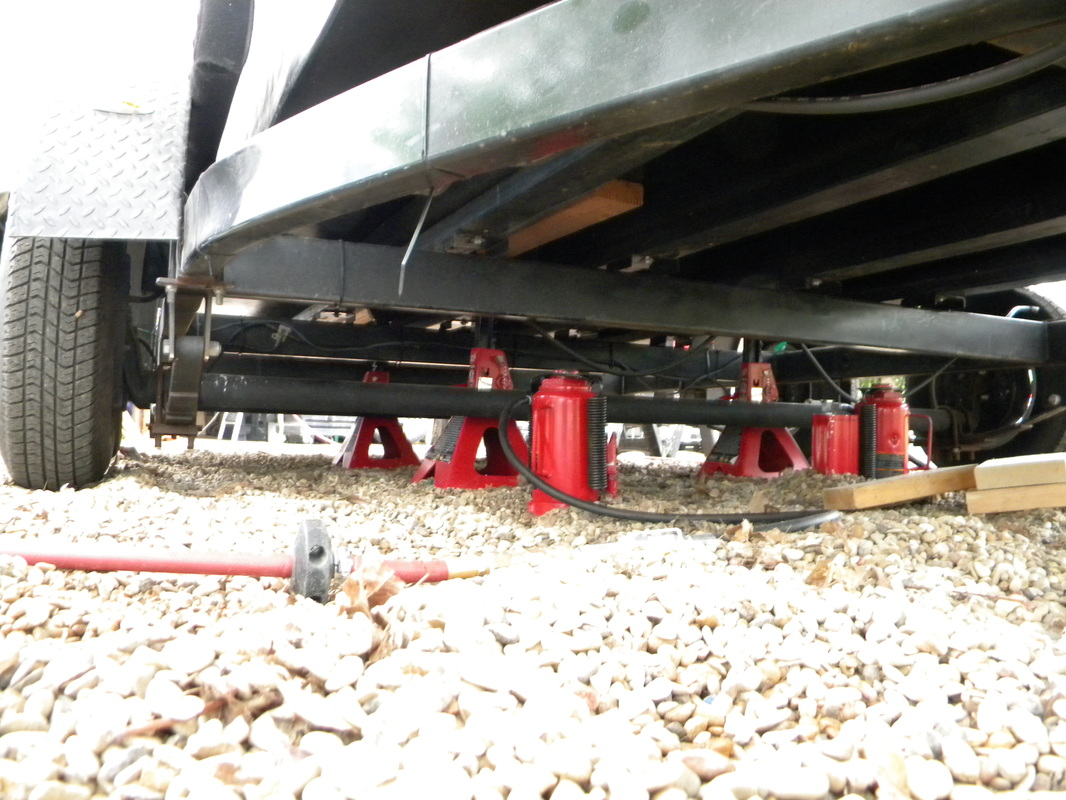
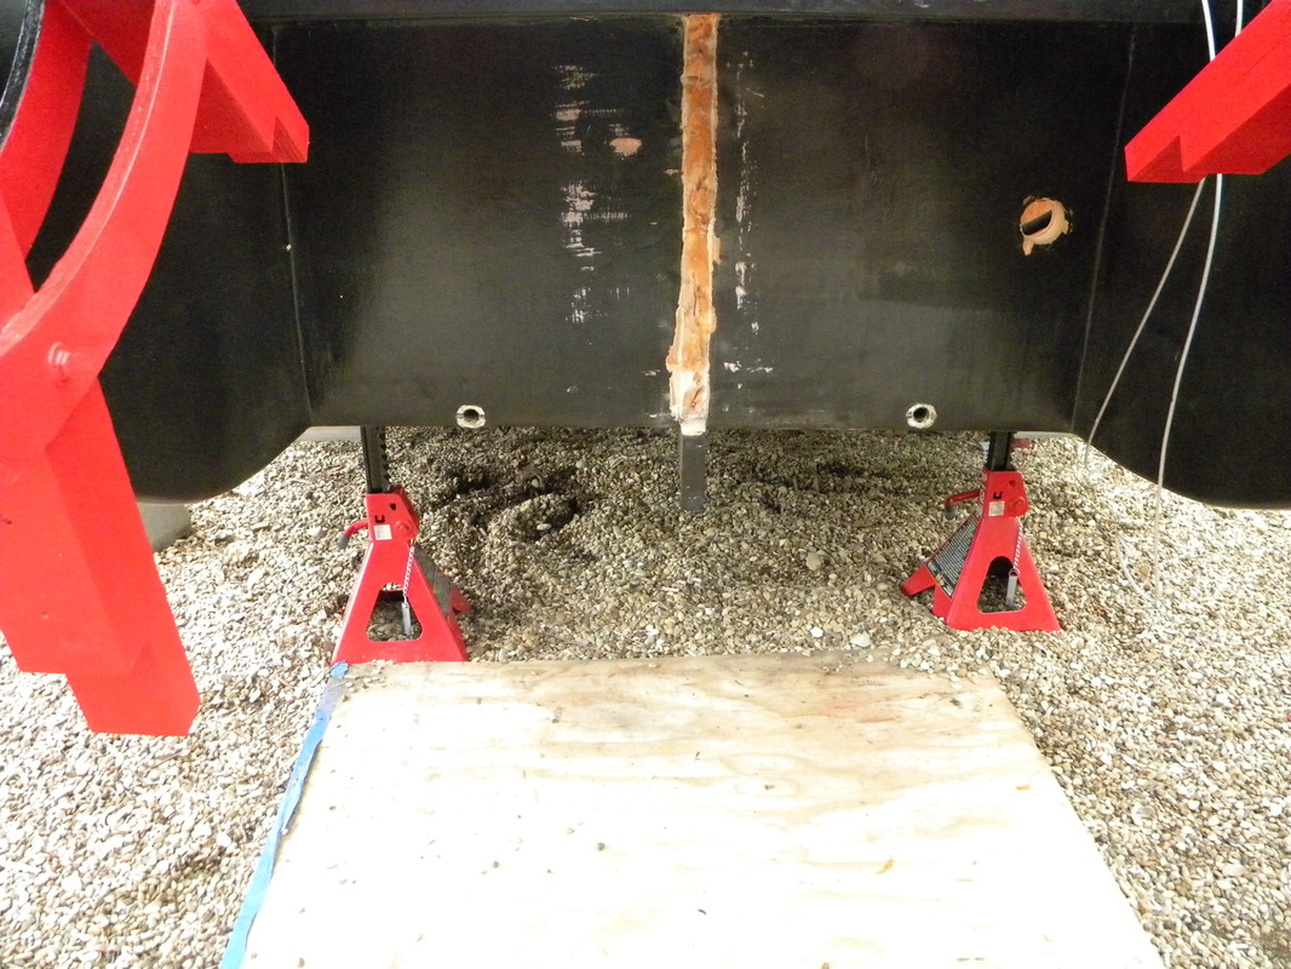
Using two airpowered jacks and four supports, we were able to get the boat off the trailer.
Picture
With the trailer moved about a foot foward, we lowered the boat back onto it. We also used two of the supports to ensure the boat does not tip the trailer.
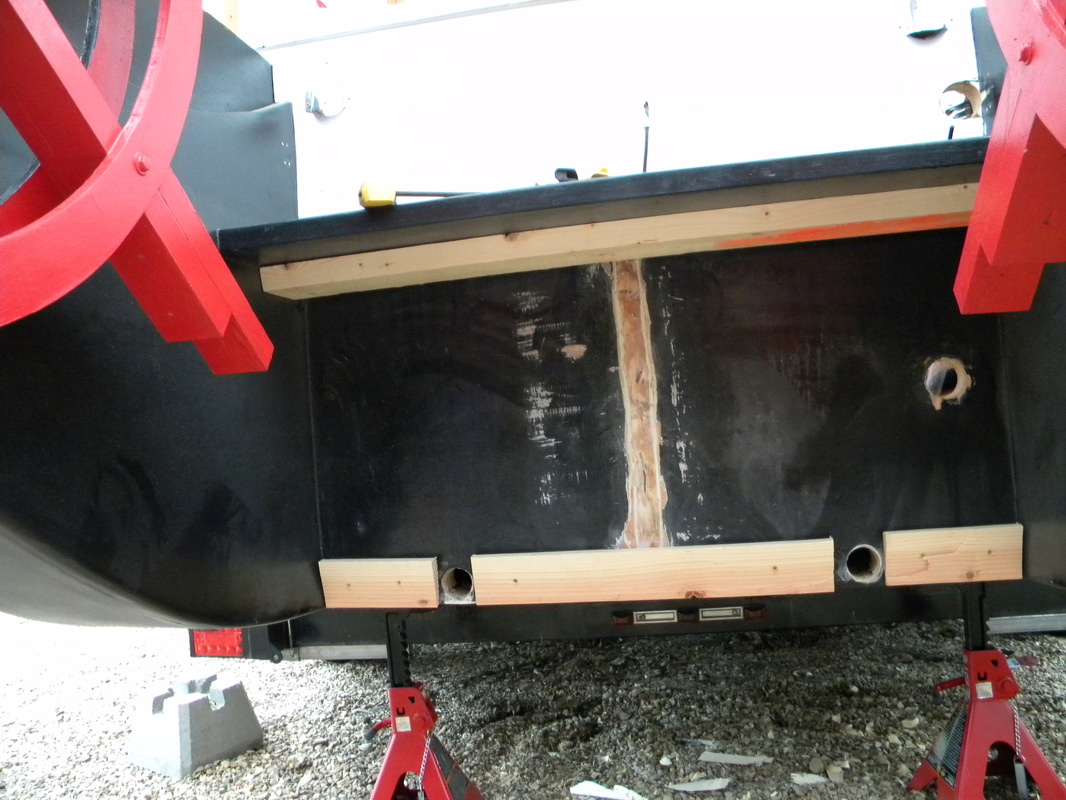
Picture
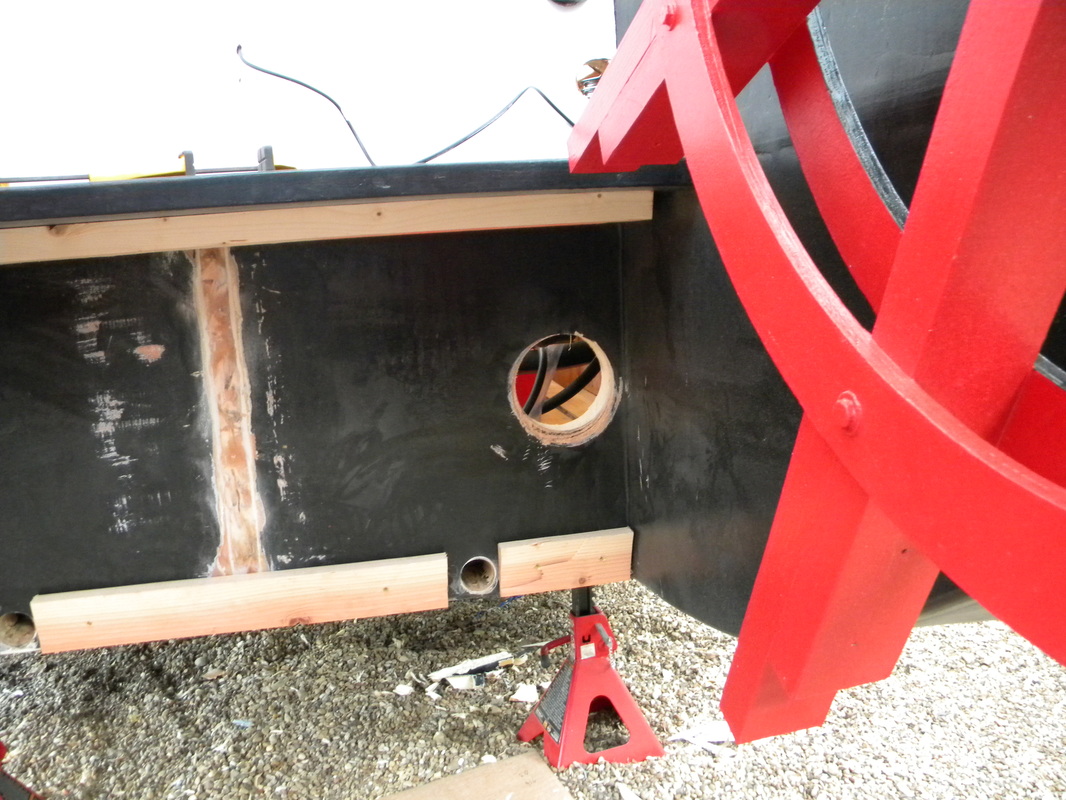
I used a 2"x6" as a brace for the new tansom at top, and 2"x4"s for the bottom. Also enlarged the drain holed. Going to drill new ones in the new tansom to fit the drain plugs into. Also will drill new exhaust port hole and speed odometer tube hole. I cut the boards with a 15 degree angle to ensure a nice flush fit for the new tansom.
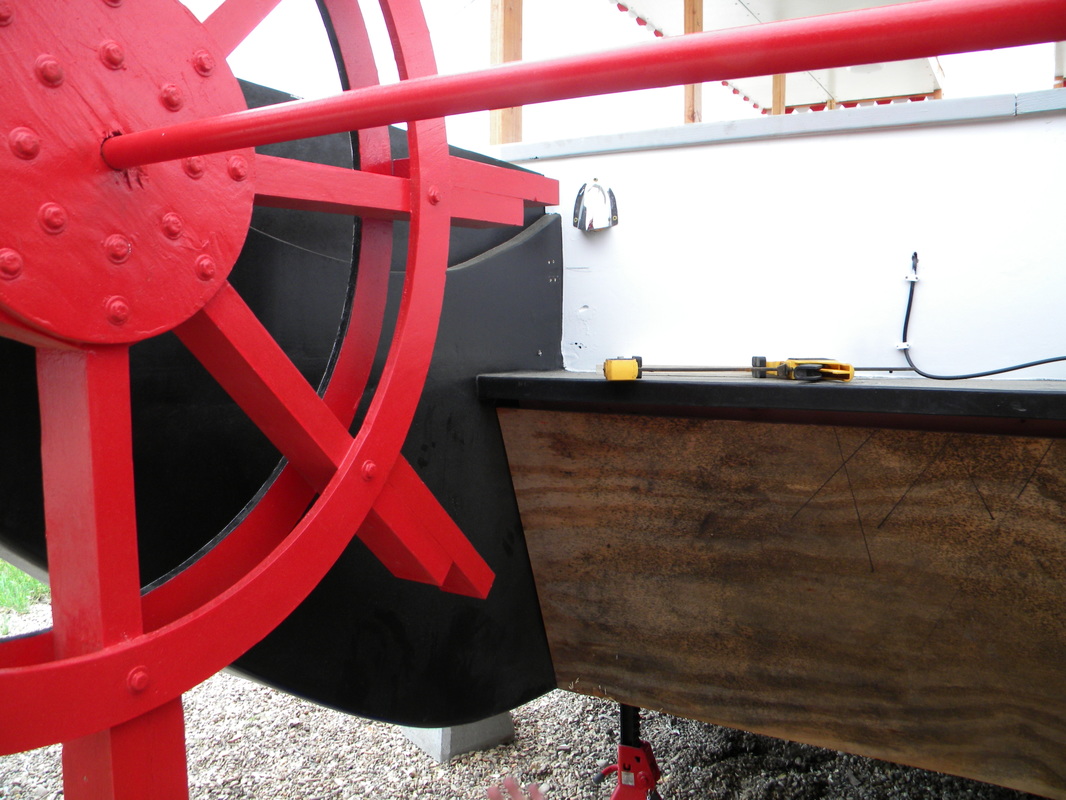
Picture
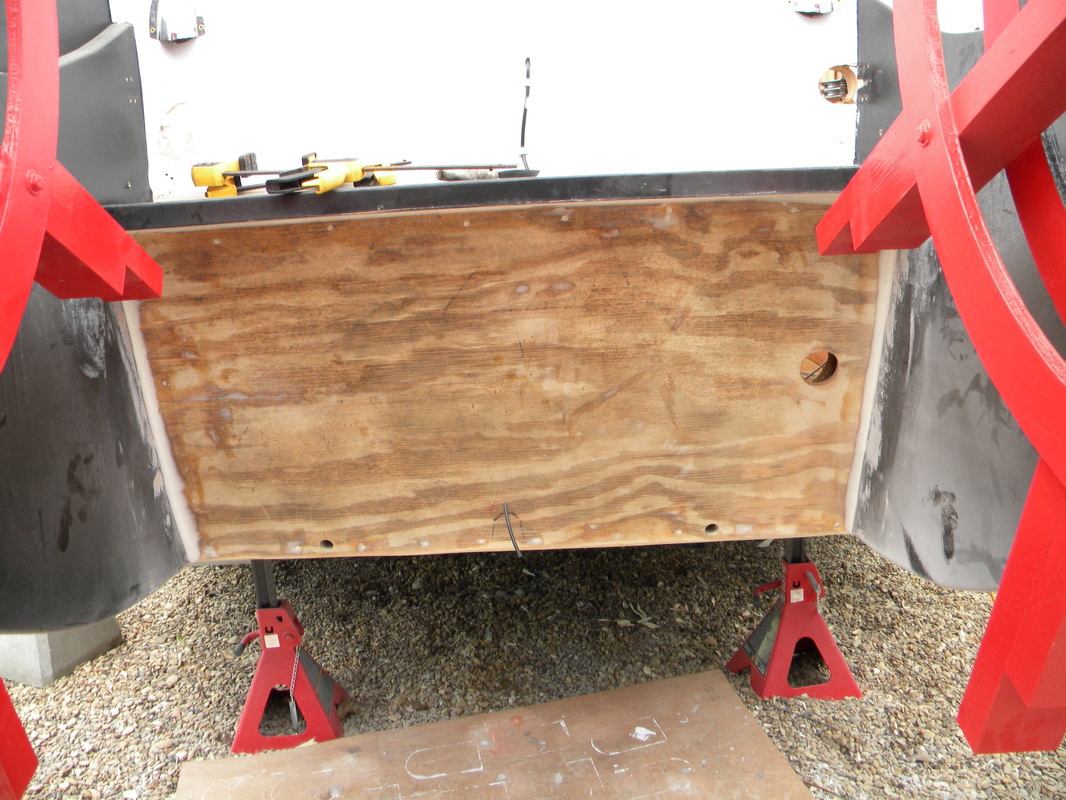
Test fitting the new tansom. The 15 degree angle should ensure nice water flow under the boat when the paddlewheel is in reverse.
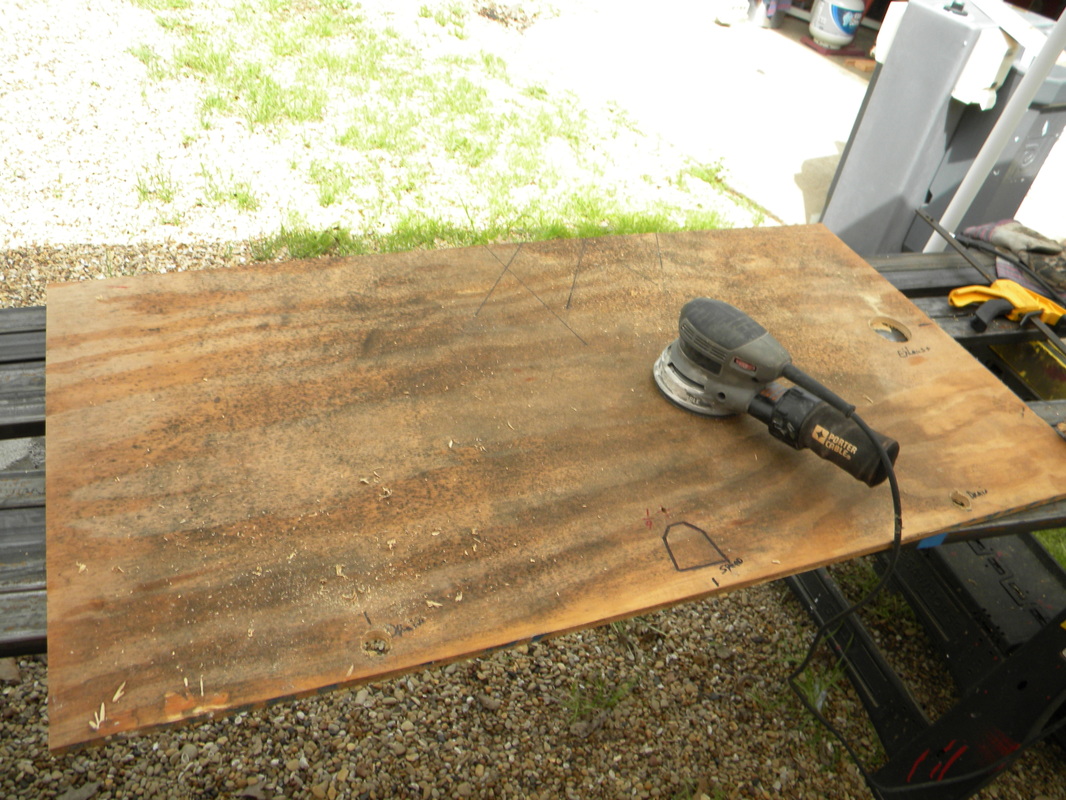
Picture
Holes drilled in new tansom, and now just a nice sand job before sealing it all to ensure it is water tight.
Picture
Decided to enlarge the first exhaust hole so I could stick my hand through it easier to tighten exhaust port back nut.
Picture
Picture
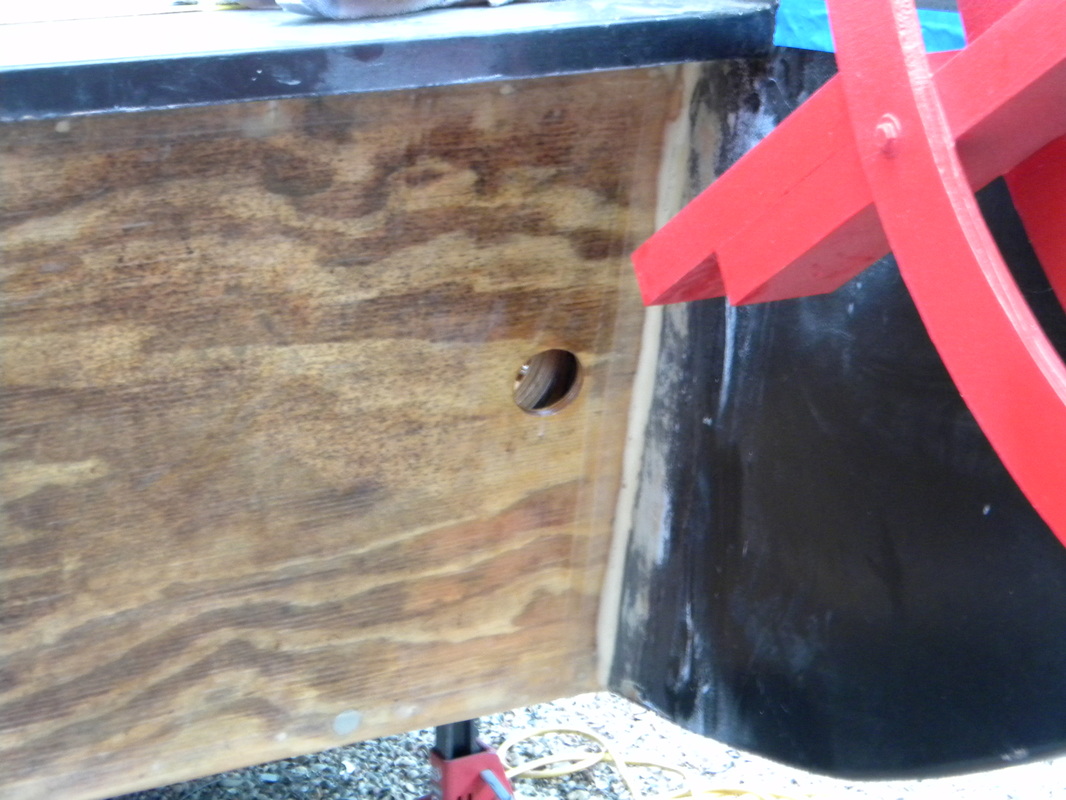
New tansom instaled, puttied the corners and sanded them smooth. Now just apply the fiberglass tape.
Picture
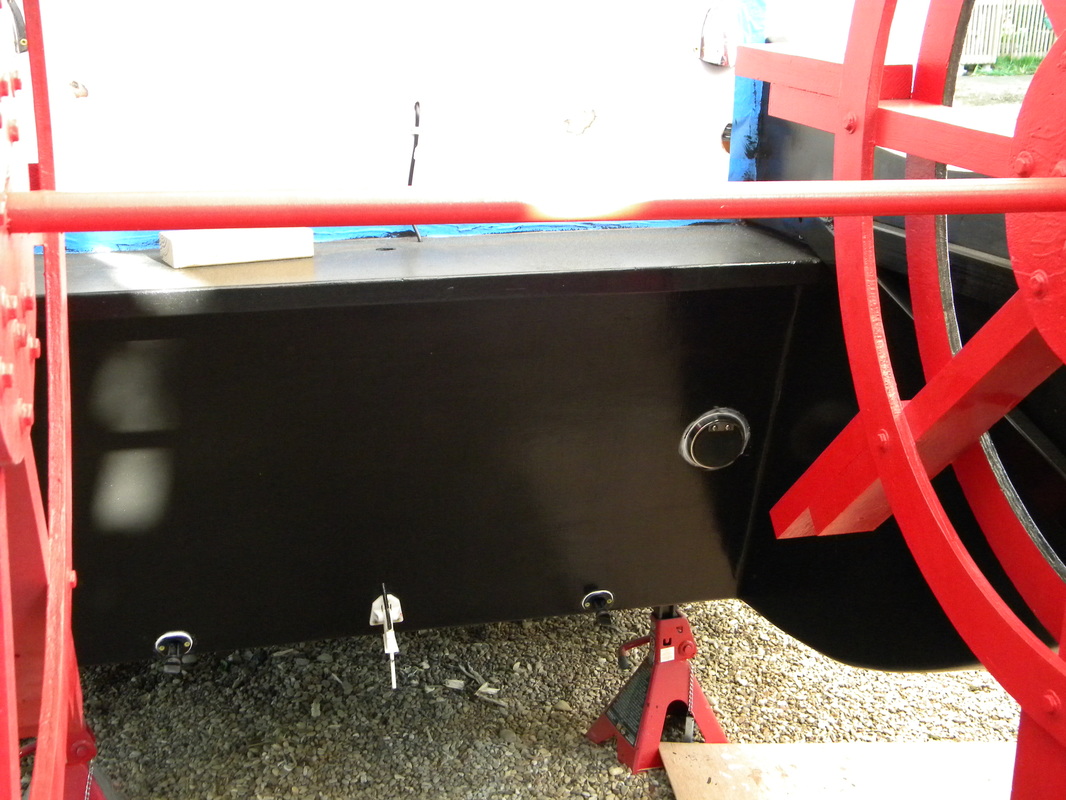
Double taped every corner with 4" and 3" fiberglass tape. Soon as I the last coat of resin dries, I will sand, prime and paint.
Picture
Proudly powered by Weebly