Paddle Wheel Boat
  • Current Progress
  • Third Boat Build
    • Designing new boat
    • Building Frame Support
    • Building the Frames
    • Building the Hull >
      • Hull Part 2
      • Hull Part 3
    • Building the Paddle Wheel
    • Building the Decks and Canopy
    • Hooking up Rudder and Propulsion >
      • Propulsion Part 2
    • Building the Cabin
    • First Time out
    • New Angled Tansom
    • Larger Engine Required
    • Better Steering
    • Water Shield
    • Torque - The missing element
    • Plans
  • Boat 3 Reconstruction
    • Hoisting the Boat
    • Cutting Aft Off
    • New Pontoons
    • Getting an Engine
    • Transmission and cooling system
    • Side projects keep pulling me away
    • New pontoons (a redo)
  • Second Boat Built
    • Build Slideshow
    • A Few Tweaks and Redesigning
    • Redesigned boat
    • 1. Building the HULL
    • 2. Building Propulsion system
    • 3. Building the Cabin
    • 4. Building the Second Deck
    • SUPPLIMENTAL BOAT PLANS
    • CLASS 1 BOATS and WHAT is REQUIRED
  • First Boat Built
    • Photos of FIrst Boat Build
  • MY TEAM
  • OTHER PROJECTS
    • The Boat Trailer
    • Ark of Covenant Baptistry
    • Motorcycle Rocker
    • Side Wheel Paddle Boat : project is currently suspended
    • Papercraft Hobbies
    • Cross-Stitching Photos
Paddle Wheel Boat

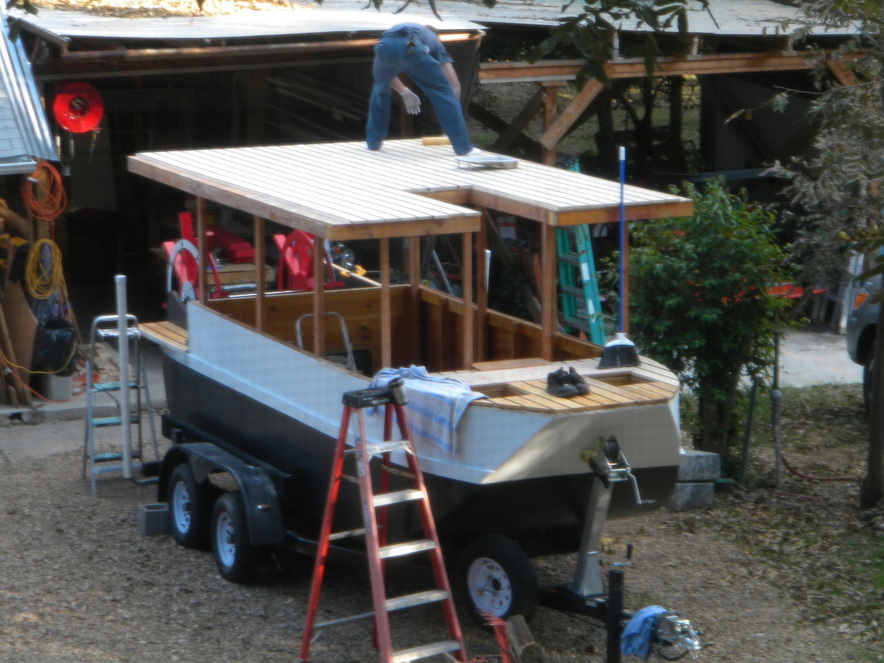
Back from a nice warm cruise to the Gran Camines. Got back to a suprise of snow. We had gotten the roof finished and while I was gone, the guys sealed and resined all exposed wood.
Picture
Time to install the axel. Making sure it is level. I had bought a 5' slotted 1" diameter stainless steal rod and some bearings.
Picture
After redrilling the wheel axel holes, we were able to get everything on the axle.
Picture
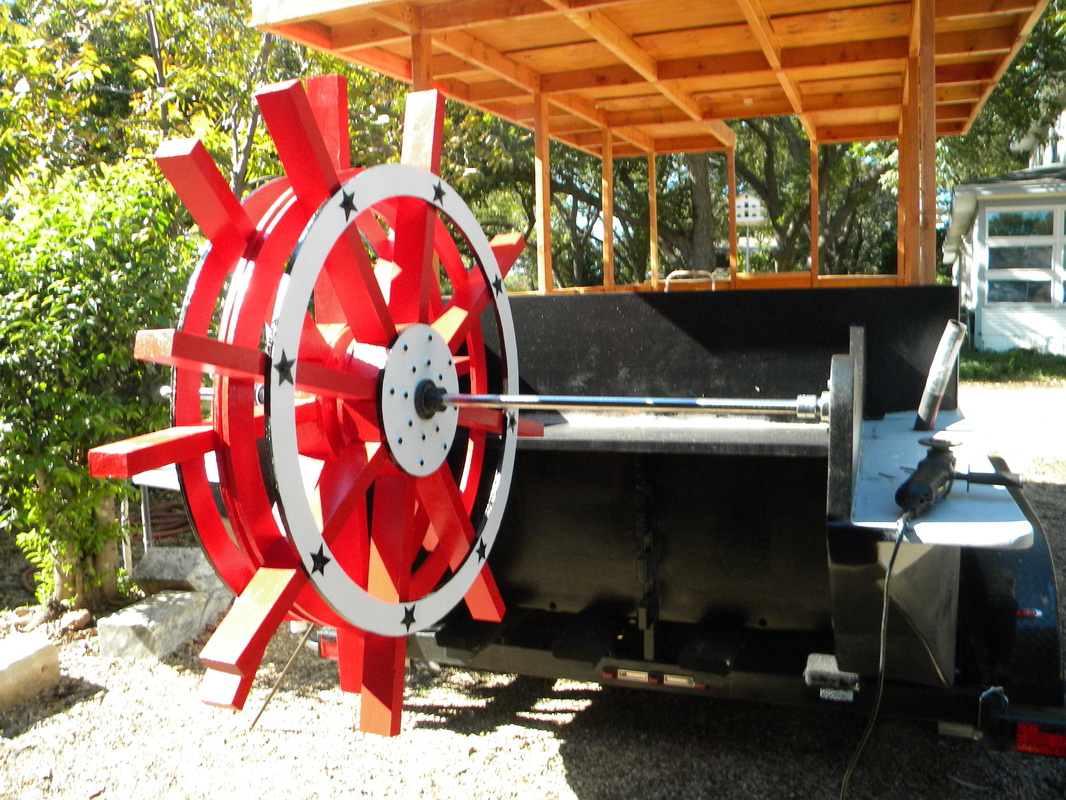
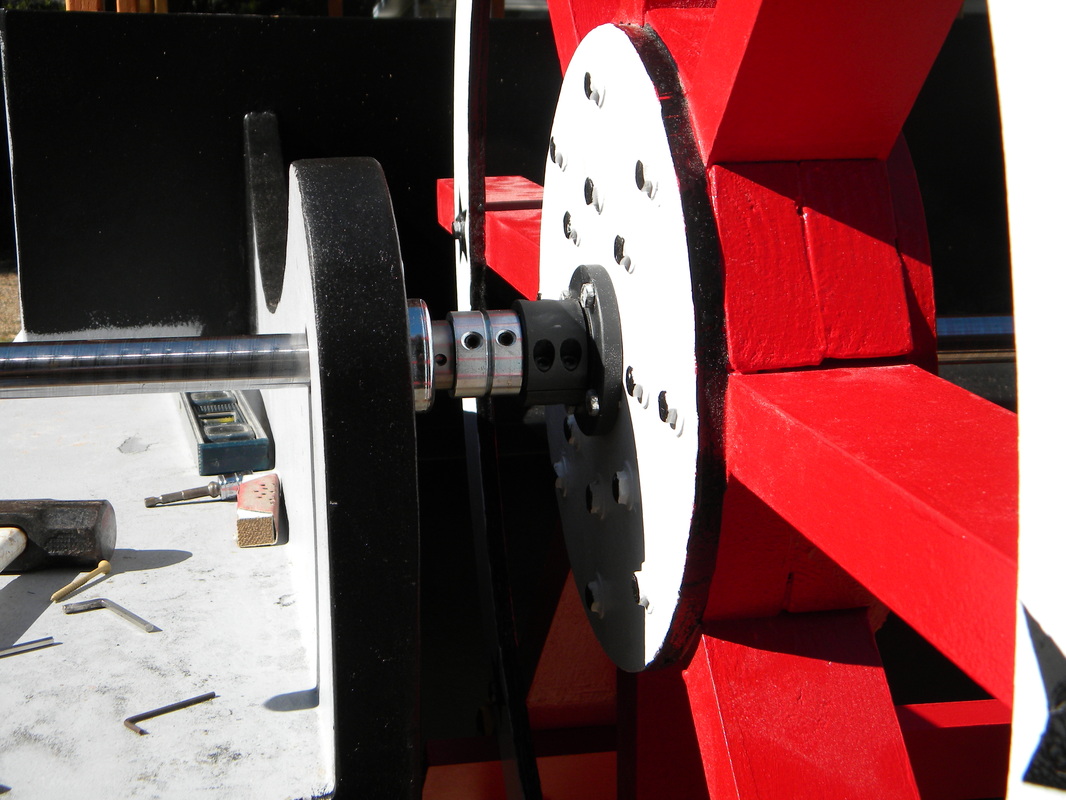
I had also bought a set of 1" stop flanges and 4 1" inner diameter stops. I am using the stops as spacers. The axle extends on the port side where the gear will be attatched.
Picture
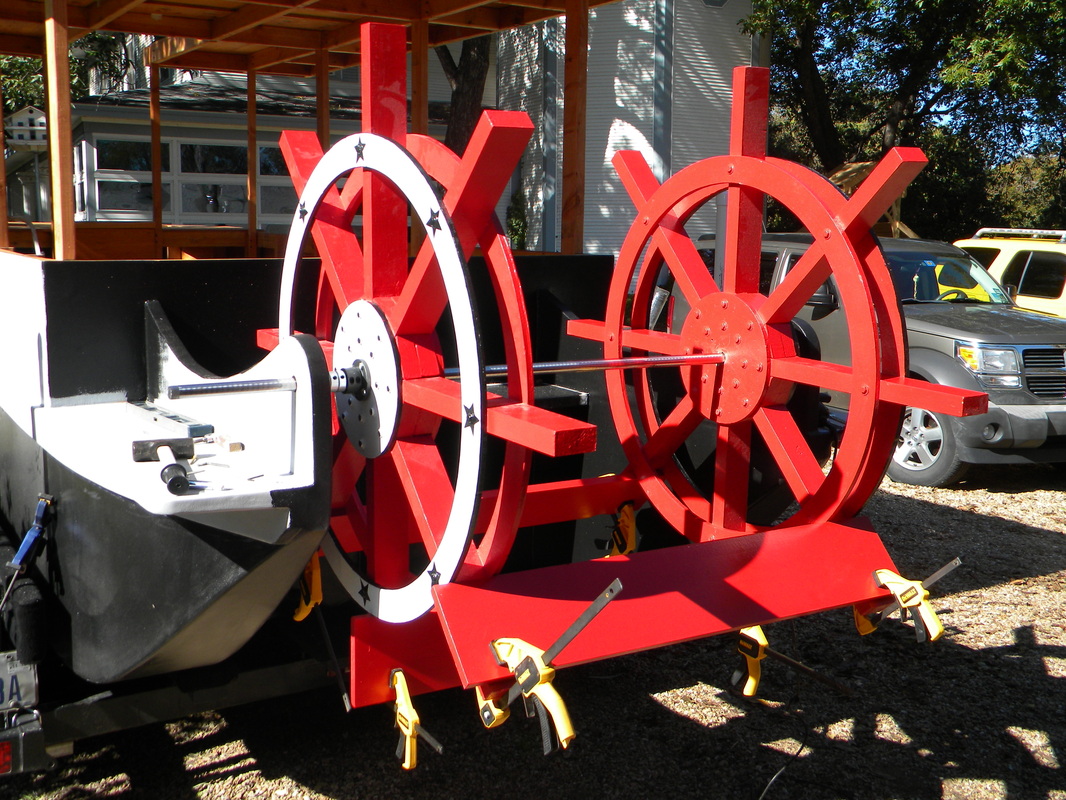
The project  is finally looking like a paddlewheel boat
Picture
Test fitting the paddle, but will not attatch them till I finish witht he rudder.
Picture
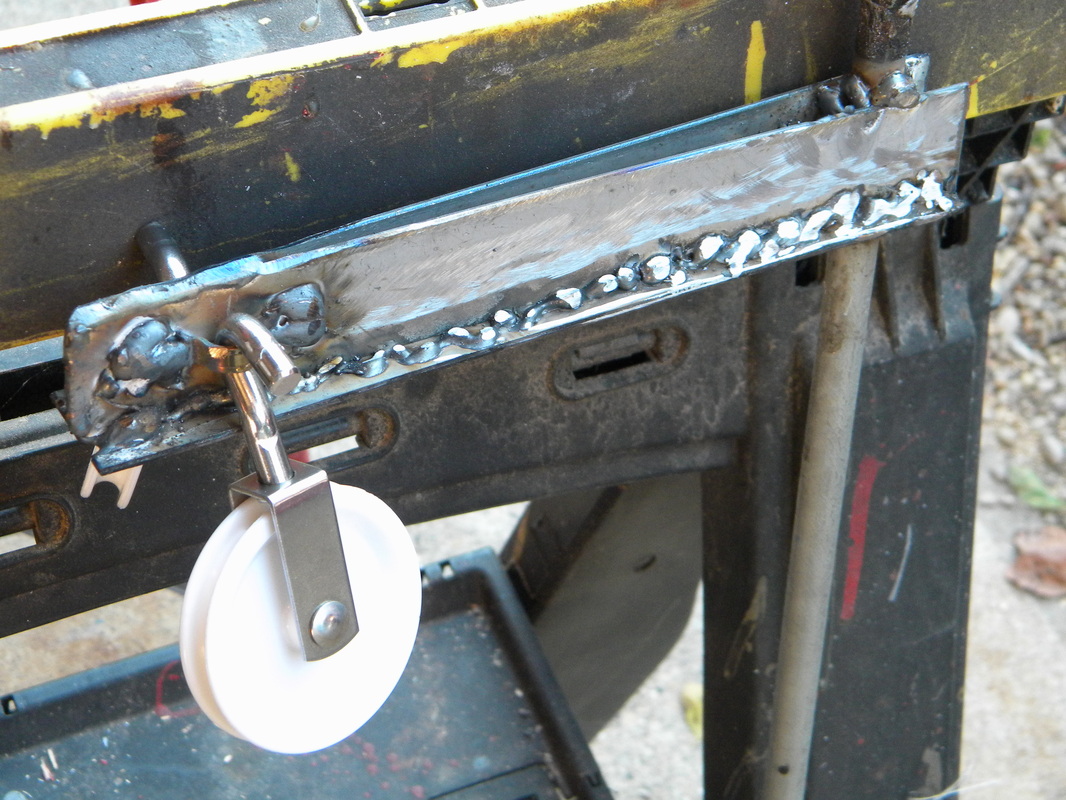
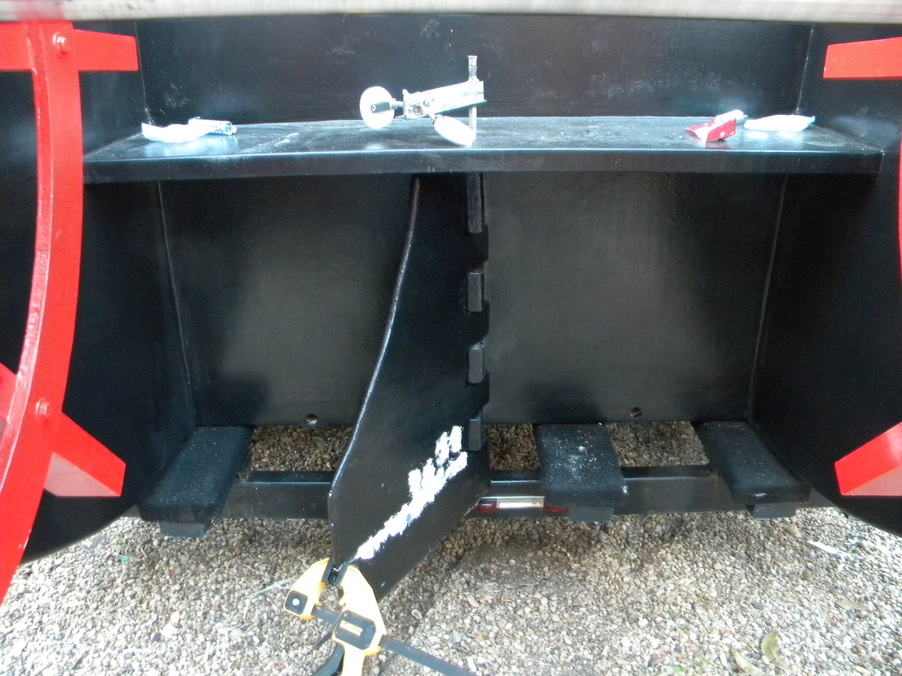
Welded the rudder arm to the rudder shaft. Also welded on two brackets for the pullies. Made rudder arm by sanwiching rudder shaft between two metal sheets. Then to add strength also welded on a under brace (just another metal sheet with a 1/2" hole drilled into it.)
Picture
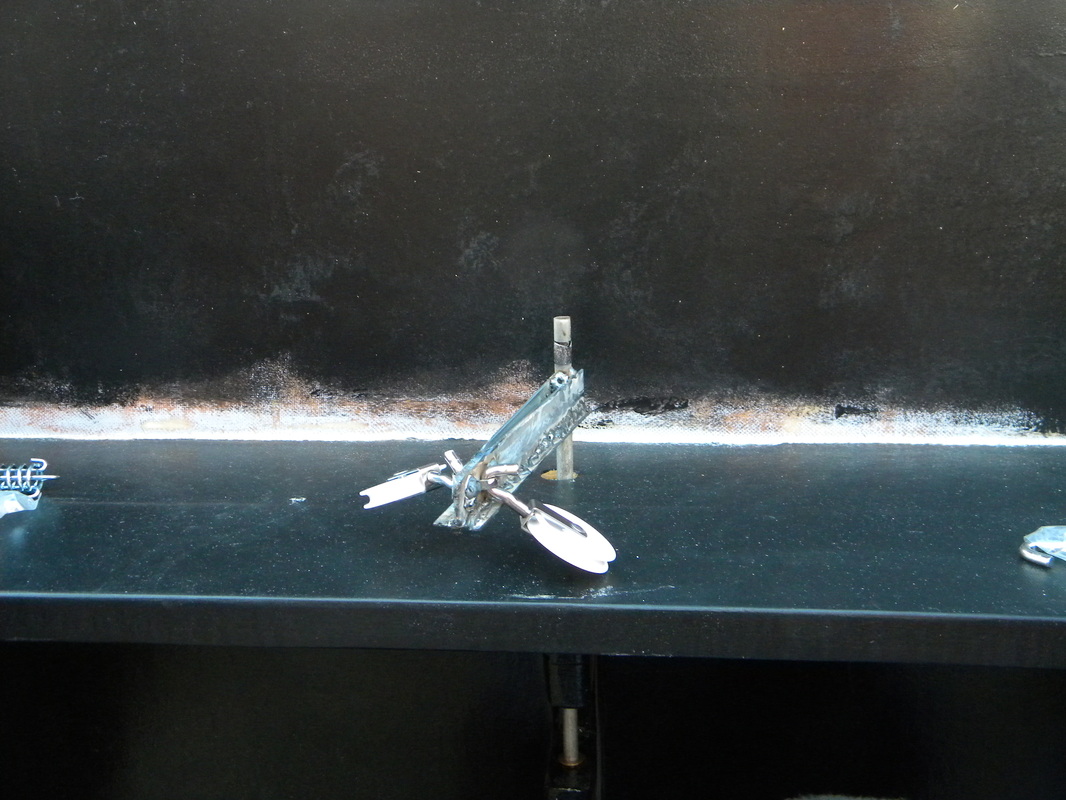
Test fitting the rudder shaft.
Picture
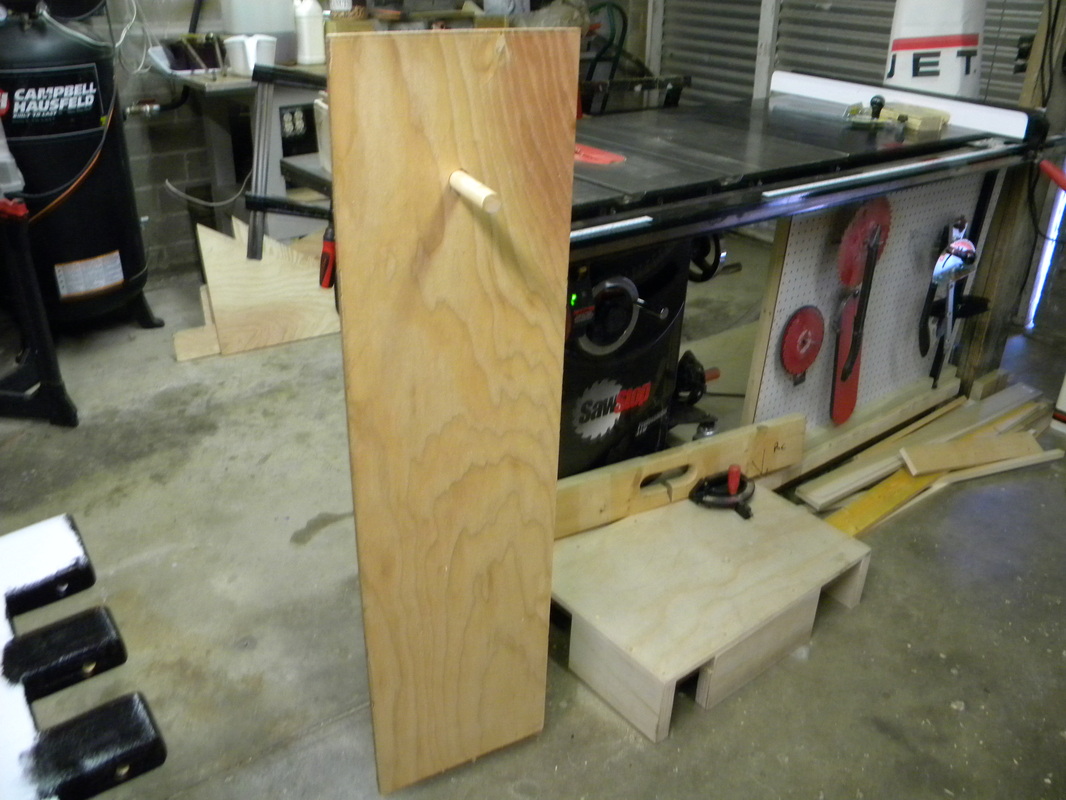
52" x 14" Splash shield for the chain and the main gear. After resin dries will attatch to the port side. (Pole is just to hold the board while resin dries.)
Picture
Finishing up the rudder. Just a few coats of paint and it will be ready to be installed.
Picture
Installed the Rudder rod, but forgot two important things. First, the rod was an extra 4" long, and two, I had not drilled the last hole at the bottom of the rudder all the way through. Therefore as I poounded the rod in, I caused the bottom of the rudder to separate. Oh well, I can fix that. Drilled the hole all the way through and then ground off the extra rod. Had to reattatch the bottom of the rudder.
Picture
Laid down the aft decking and installed the gas tank fill.
Picture
I have Terry laying down the canopy decking.
Picture
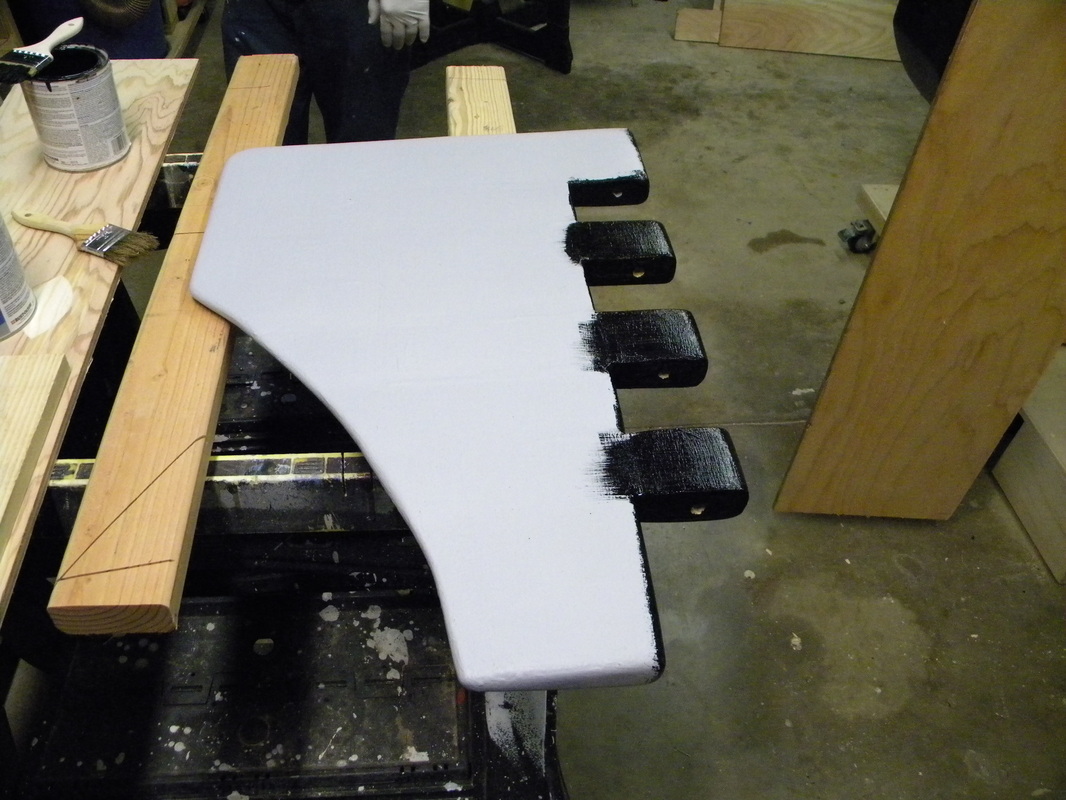
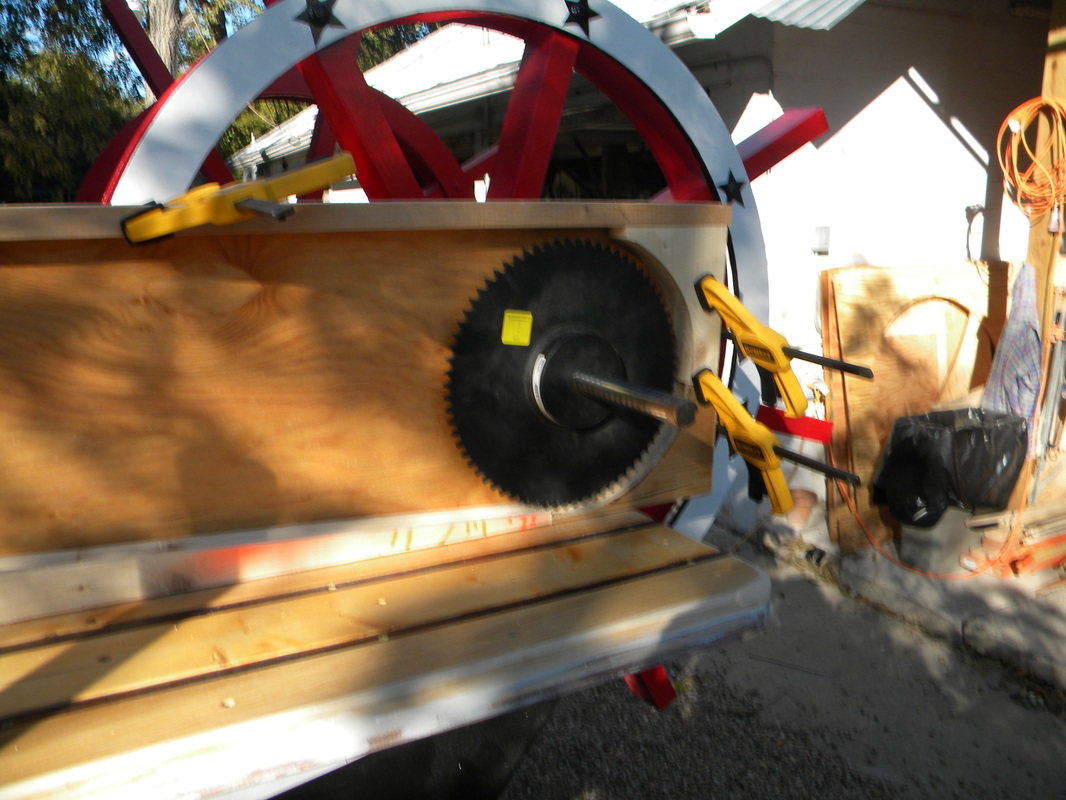
Making a box to protect the main geat and chain. Routed a groove so I can oil the can, and the oil will run back to the bottom by the gear.
Picture
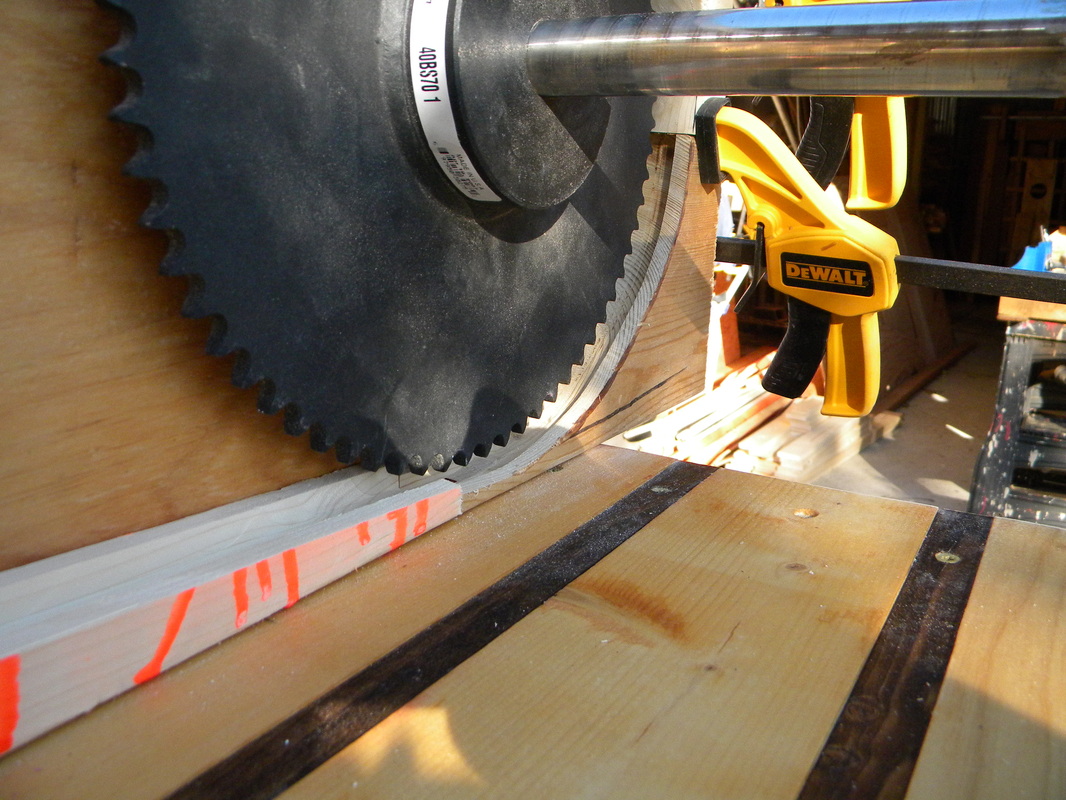
Here you can see the groove better. Using the frame guide wood.
Picture
I seem to take these pictures where Terry is showing us his best side. He is sealing the new decking. I am crossing my fingers that we can go test the boat in the water this coming Monday. It is mainly just to find the water level on the hull.
Picture
Proudly powered by Weebly