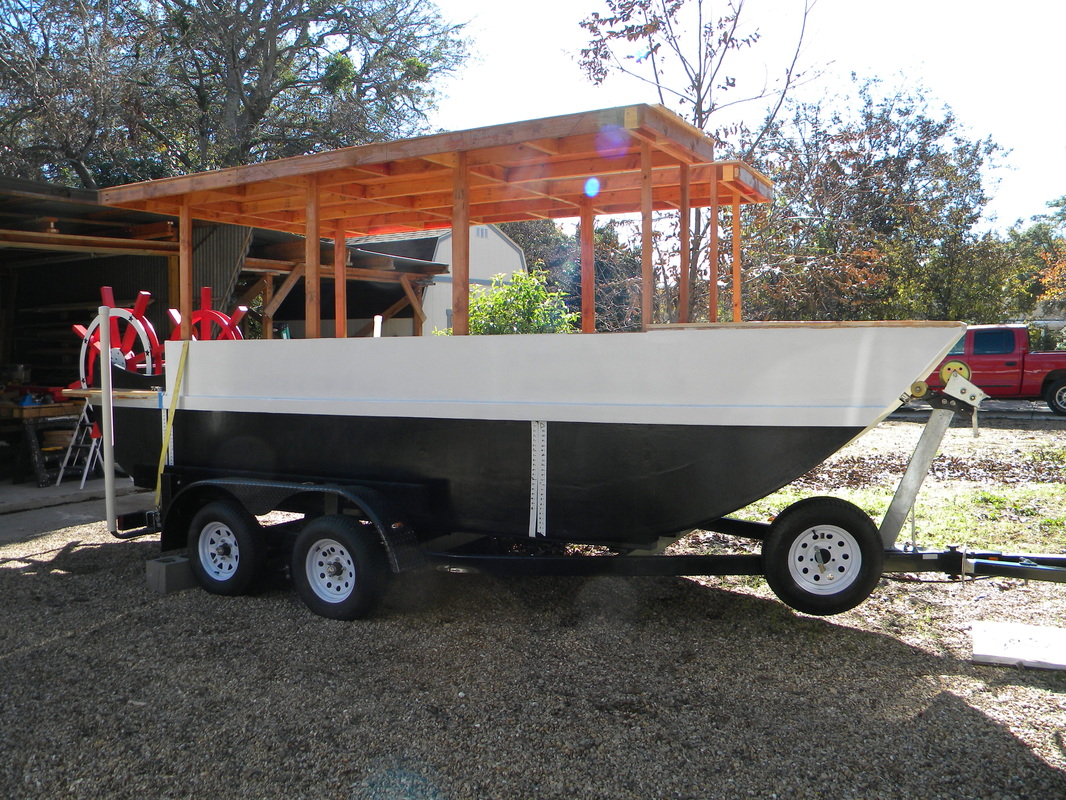
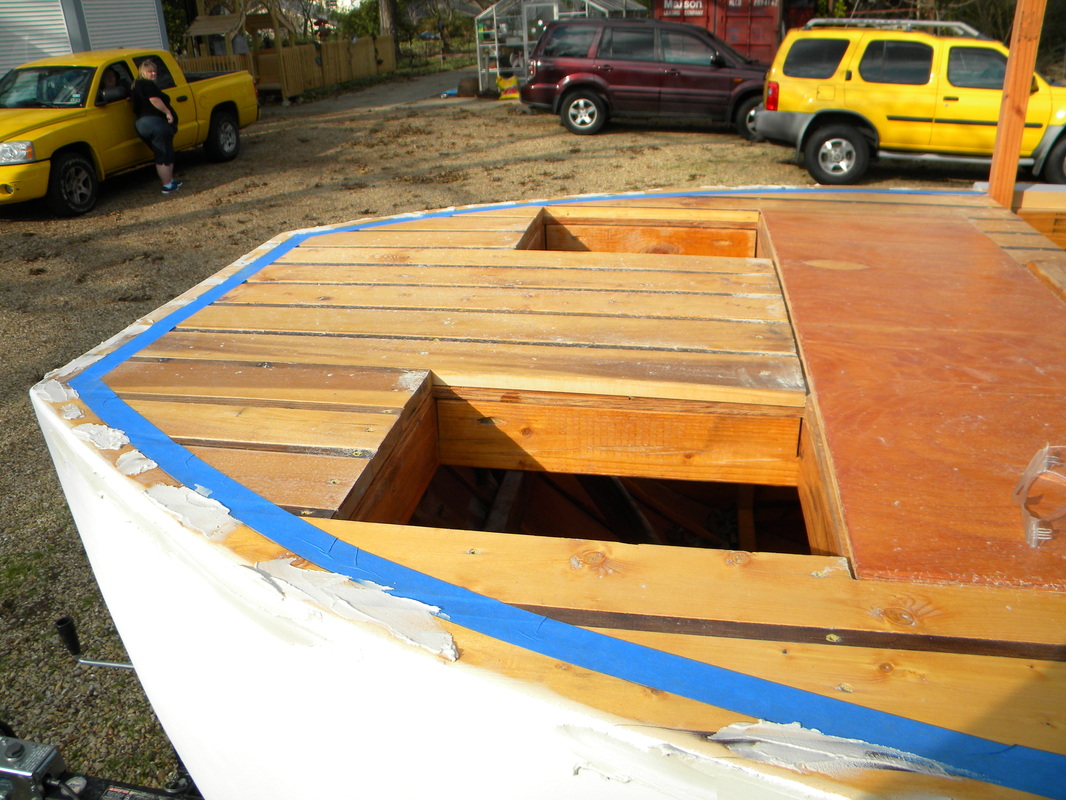
I had placed tape with depth marks in anticapation of getting th eboat wet today.
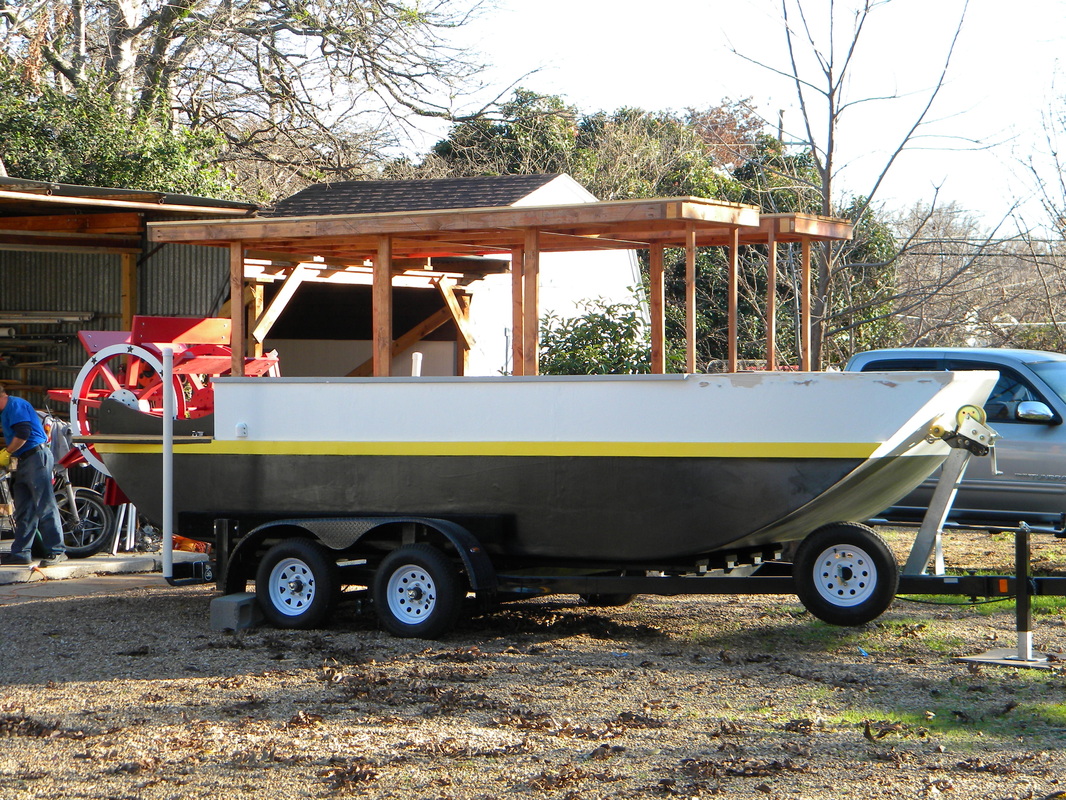
Well, we loaded up the boat and took it to the lake. Found out the lake was 13 feet below normal. Was able to walk down the boat ramp to the waters edge and see the end of the ramp just 3" beyond. Wished I had looked up the lake levels, but we have had a lot of rain the last week. Well, gives us more time to work on the boat.
Mainly wanted to find out where the water level was, so can installed the ehaust port at or just below the water line. Will go ahead and get everything running and hold off on drilling the ehaust port hole till we find out where the water level will be.
Mainly wanted to find out where the water level was, so can installed the ehaust port at or just below the water line. Will go ahead and get everything running and hold off on drilling the ehaust port hole till we find out where the water level will be.
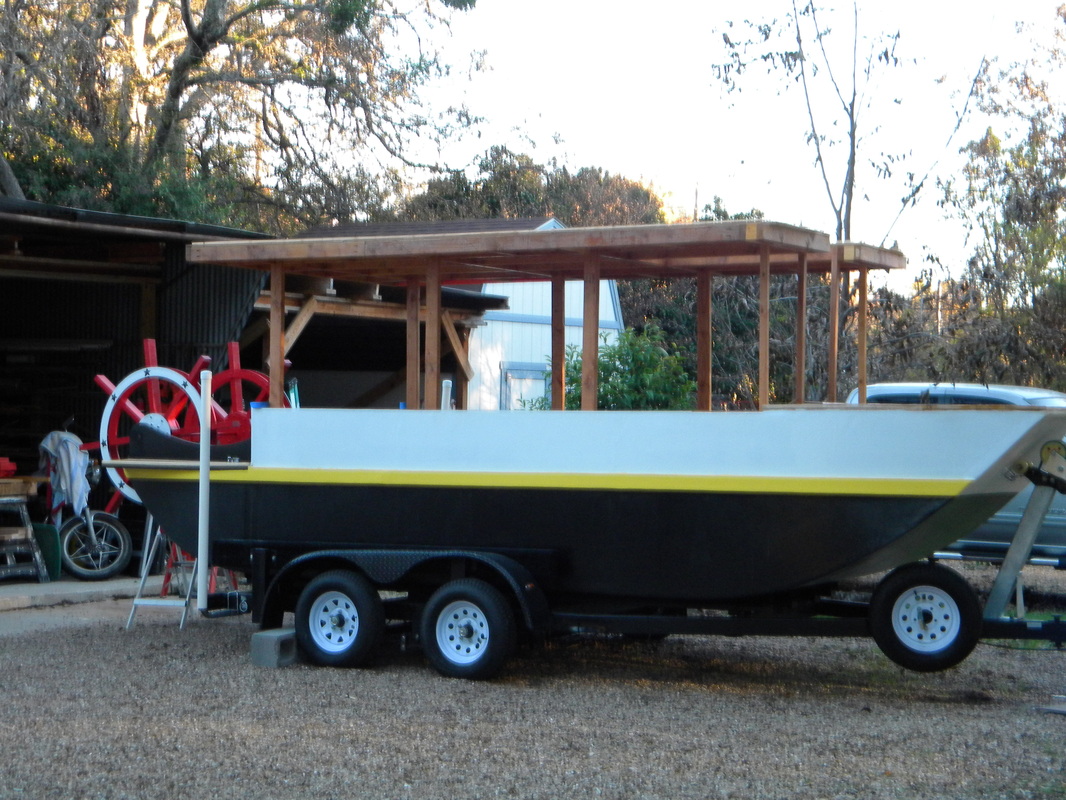
The boat gets a new yellow stripe.
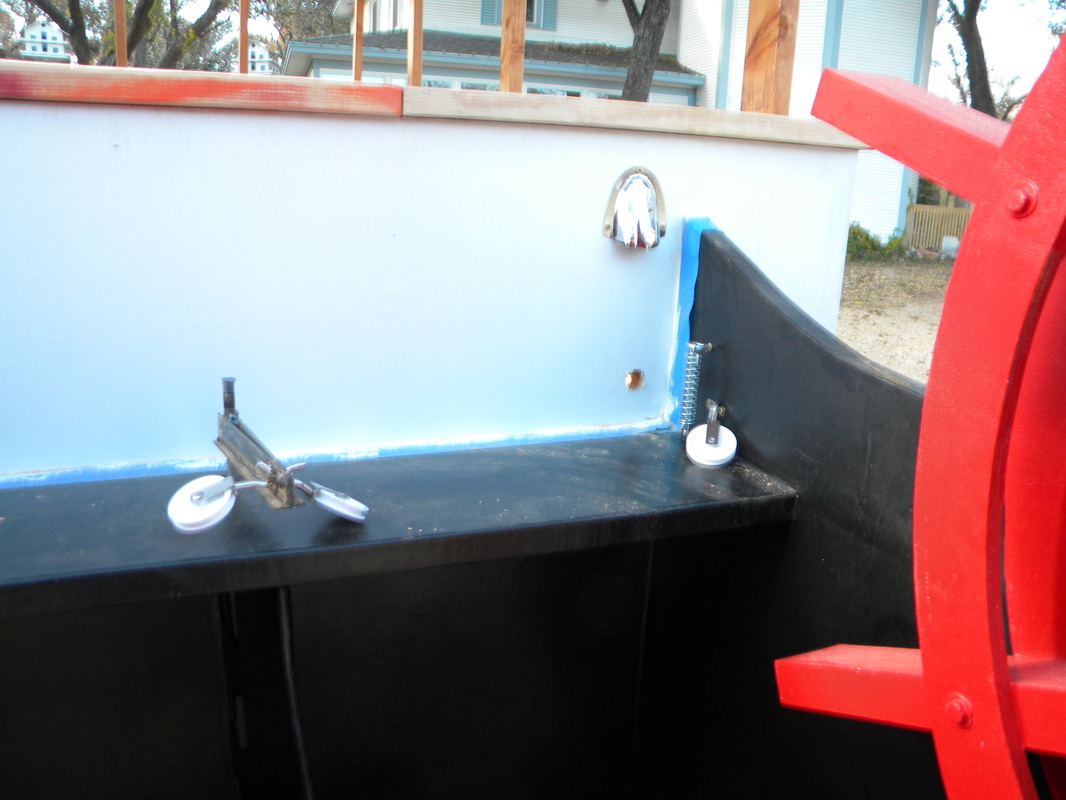
Drilled rudder control lines hole, and installed the pulleys and tension spring on both sides. I reversed the positions of the pulley and tension spring form port to starboard so that the control lines would run parallel to each other instead both running at same height. I also drilled the blower exhaust and intake holes and covered them with nice chrome vent plates.
I notched out the chain drive hole slot. Soon as I weld brackets for the upper gear axle to be placed in the boat, we will be able to install the chain to the paddle wheel gear.
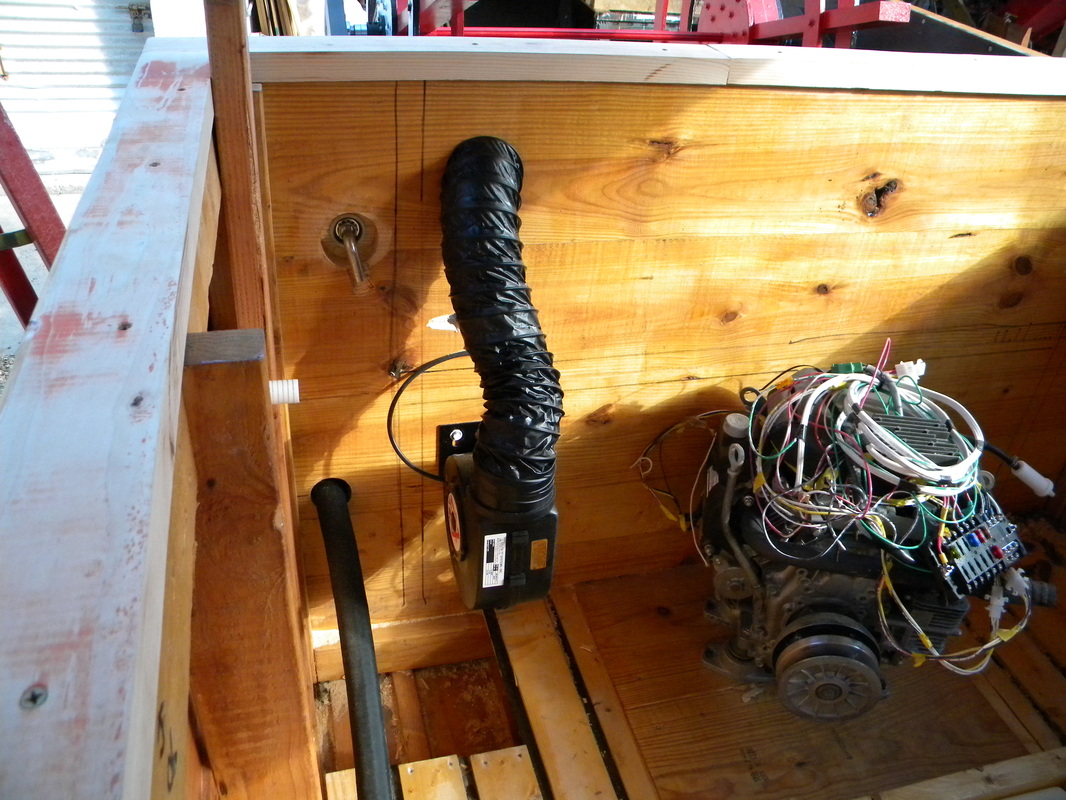
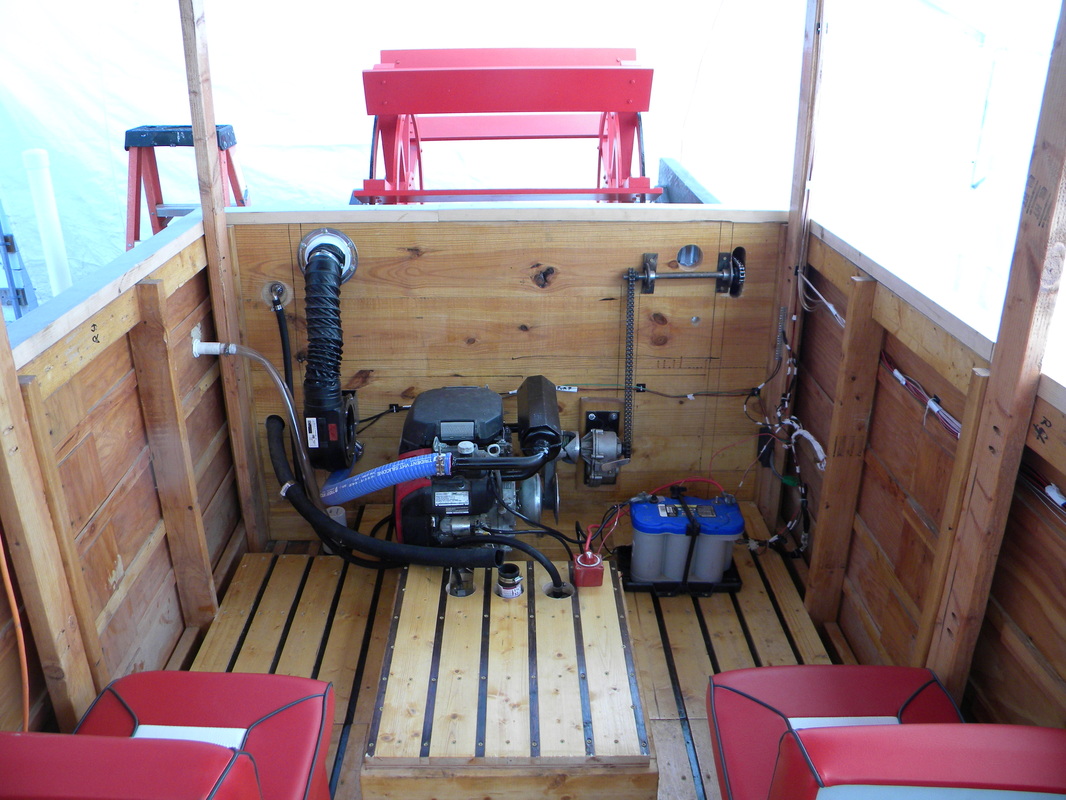
Here you can see the installation of the blower to the exhaust port, and also the gas tank vent valve, with the gas tank fill hose below it.
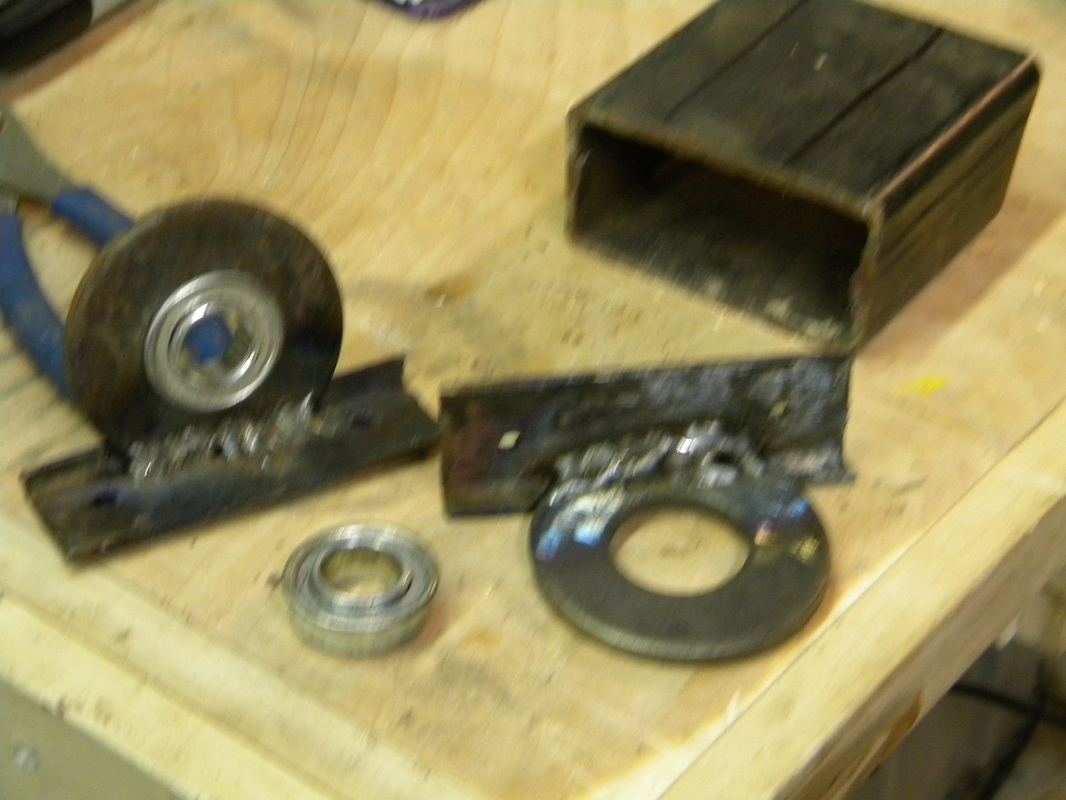
Hmm. A little hazy, but here is a set of axle brackets I welded together. Made brackets from scrap tube from trailer build.
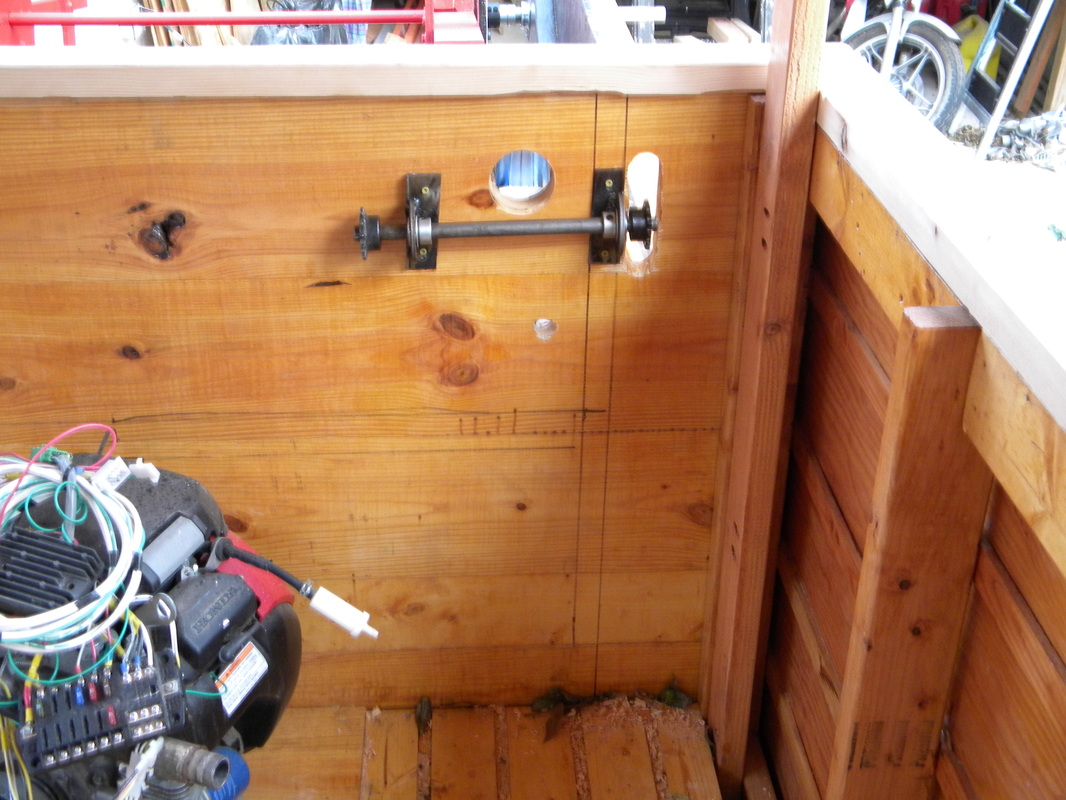
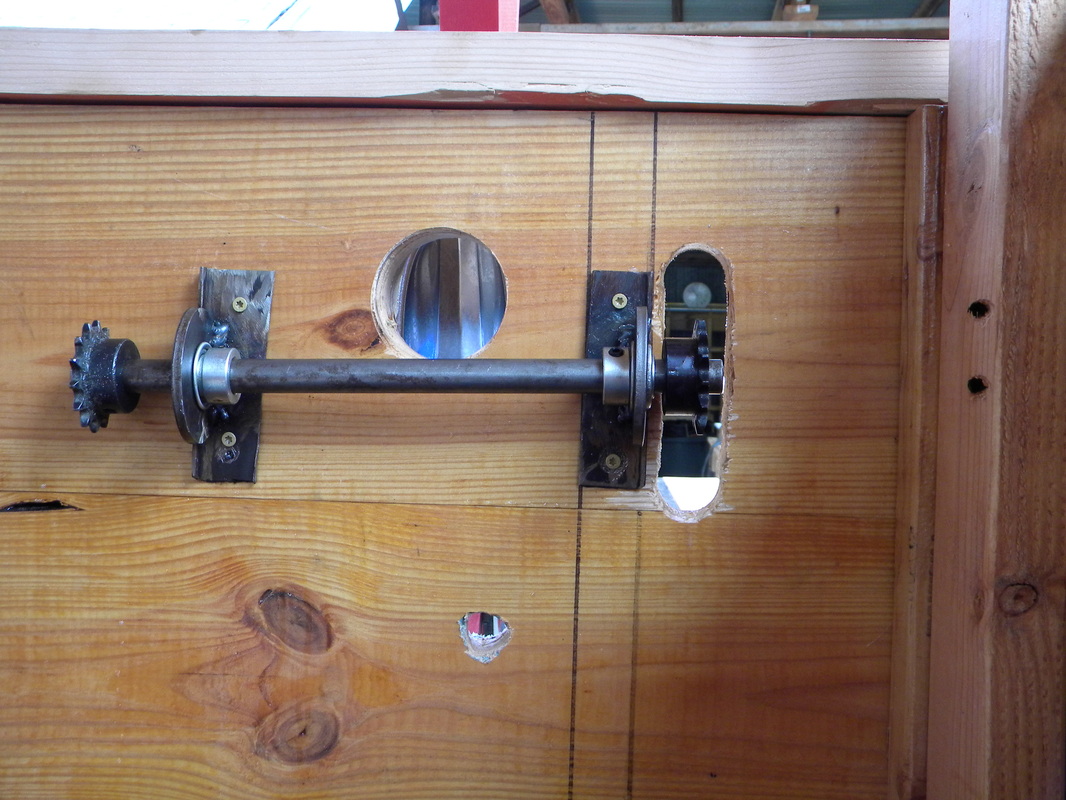
Here is the axle to connect the clutch to the main drive gear at the paddle wheel. Have it all nice and level.
Have the gear centered in the opening and have placed stops on the inside of the brackets wo I have more room to shift the inner gear.
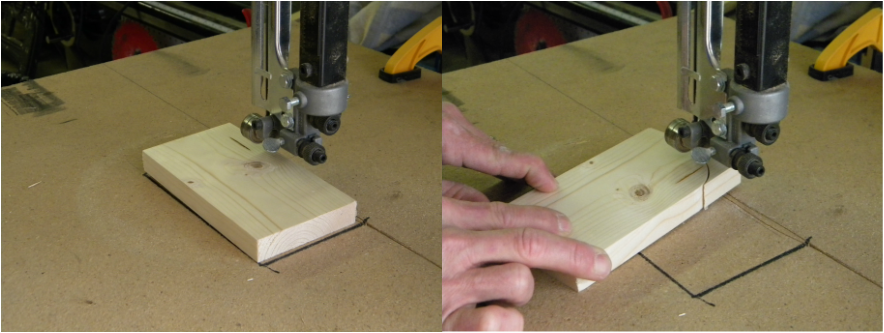
Making a form to help cut roof trim. I placed a nail pointing up as a pivit point to help cut a nice curve.
All I have to do is line up the block to the markings and then just turn the block using the nail point.
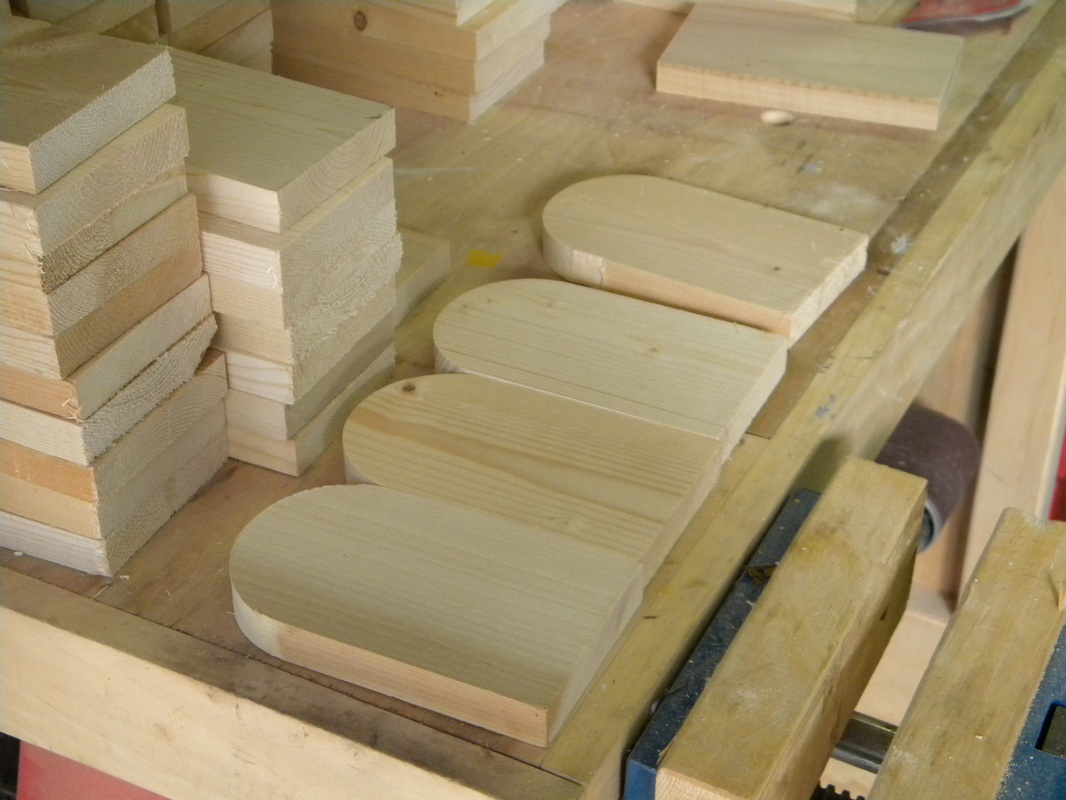
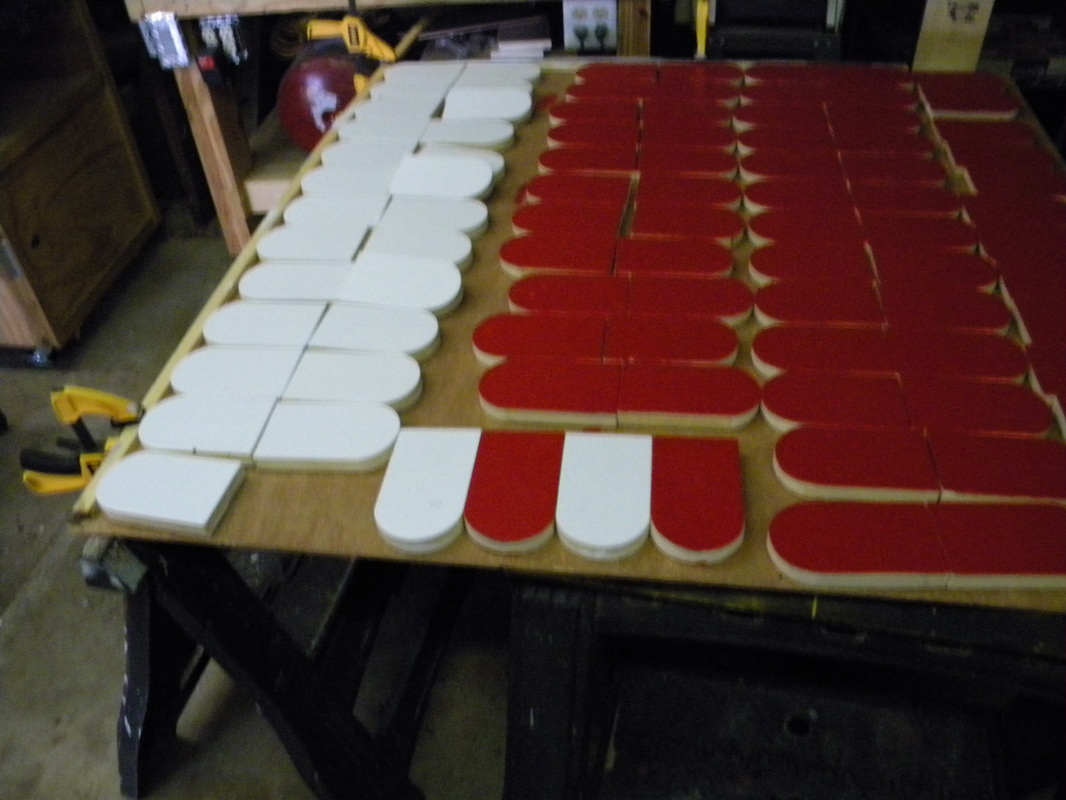
Need to cut about 120 of these blocks. They are eventually going to be red or white. I will then place them on the edge of the roof, alternating the colors to make it appear as a tarp canopy.
Finally updated the imagined finished project picture at the top of the page.
Just need to finish painting the edges of the roof tile pieces.
Setting up the bow to be finished so I can finally mount the foward running lights. Once that is wired I can then put in the rope lockers. I had ordered a set of plans for a water canon, thinking about maybe mounting it up foward.
Real excited. Finally attached the gear box. First I cut a nice metal base f or the gear box and drilled the mounting holes. Now waiting for the belt I ordered for a center distance of 9 1/2 " on the 500 series of clutch and driver set.
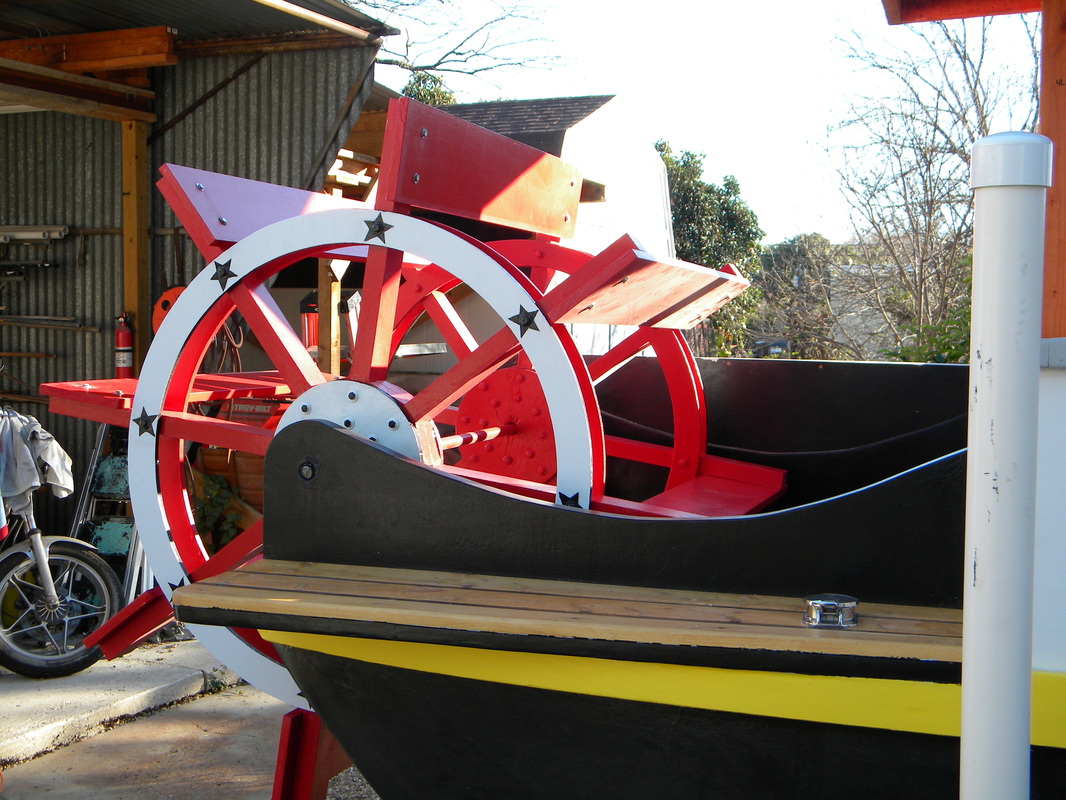
Got tired of watching putty and paint dry. Had to do something exciting. Who wants to read about drying paint, so I finally put the paddles on.
Boat finally really, really looking like a paddle wheel boat!
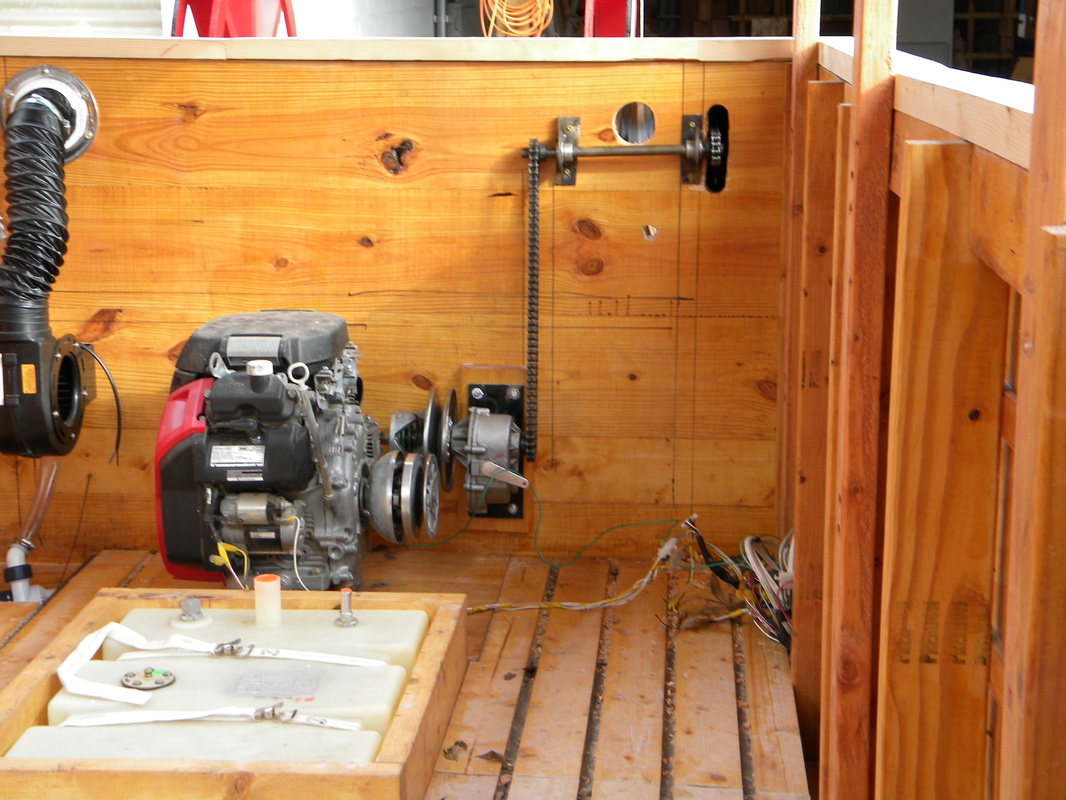
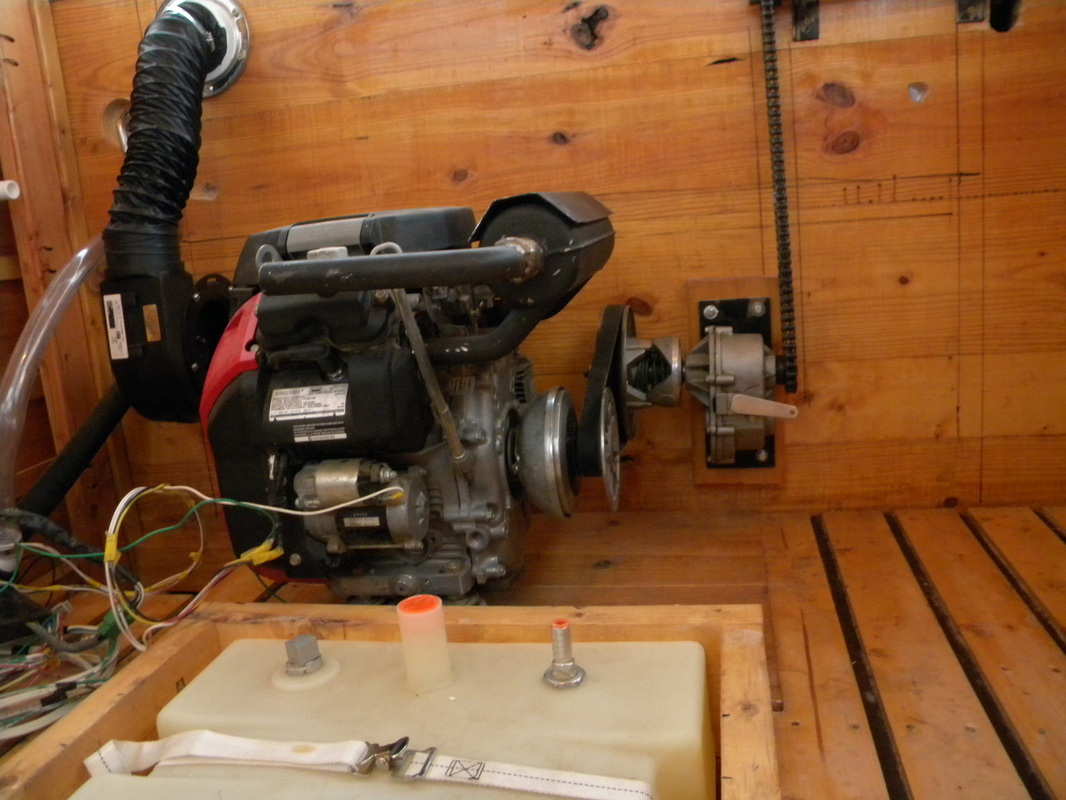
Belt arrived. Finally was able to mount engine. Now just hook up gas tank and begin electrical, then we can test propulsion system. Ordered belt, driver, torque converter, and gear box from Go Kart Supply. To determine the right size of belt, just know the series your using and the distance between the centers of the driver and the torque converter. I chose the 500 series because I am using a 22 hp engine.
www.gokartsupply.com
www.gokartsupply.com
Wired the main electrical system up. then spent more than a week trying to get the engine to start. Fist problem was a low battery, then mo matter how I wired it, the engine just would not turn over. I had put a little gas in the tank, but apparently not enough, just as I was about to rip the engine out ans take it to a shop, I decided to test out the new gas fill tube. Well, the engine ran the first time. I do not care how tired I was, I danced in the boat with joy!
Praise God! Glad I went to church today.
Praise God! Glad I went to church today.
