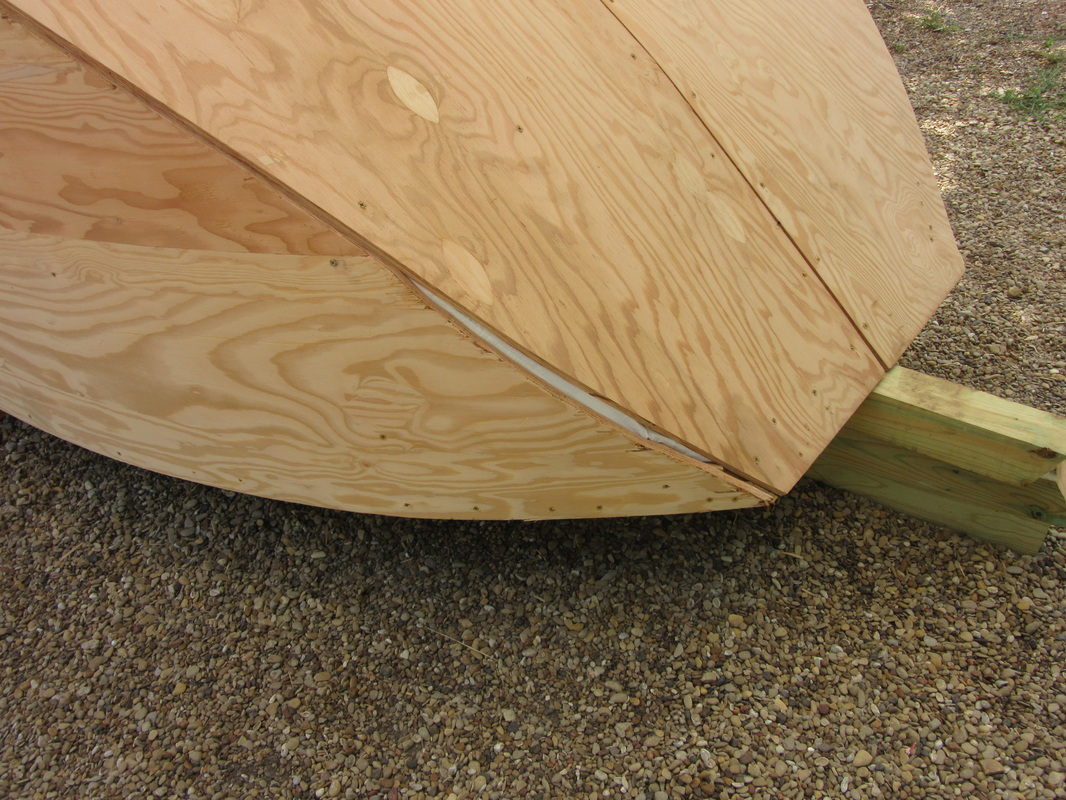
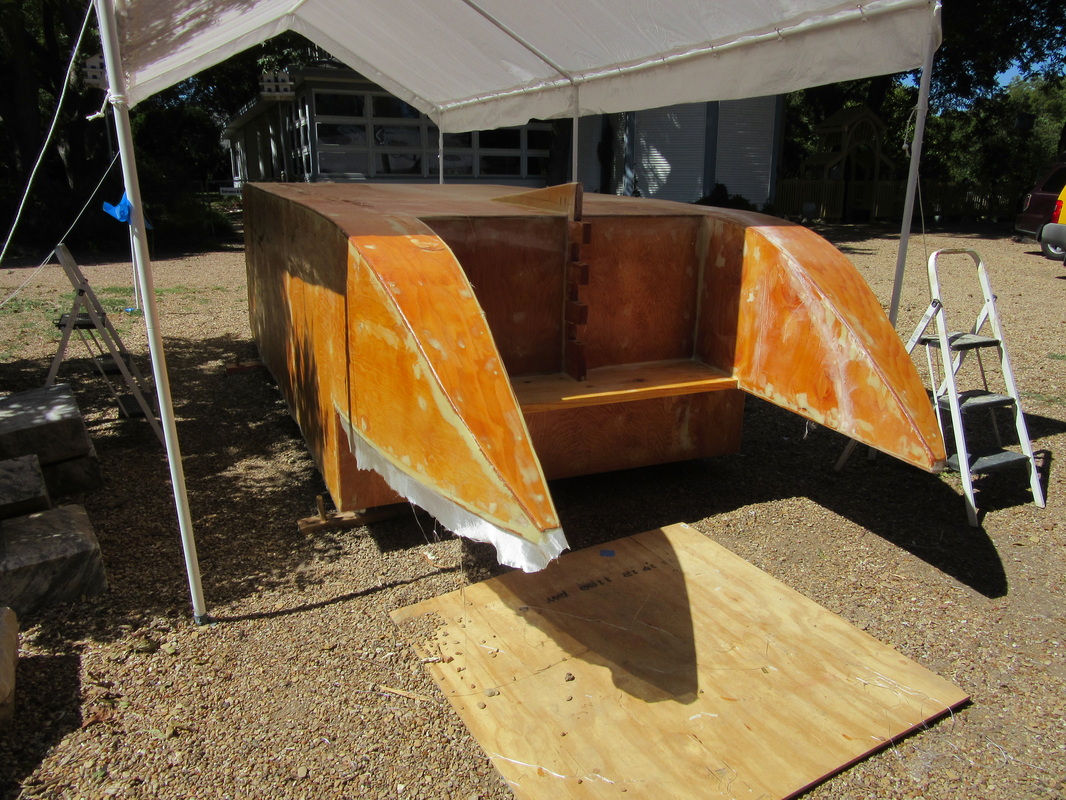
I first backed the gap with duct tape, then filled it with resin putty. After it drys I sanded the area smooth.
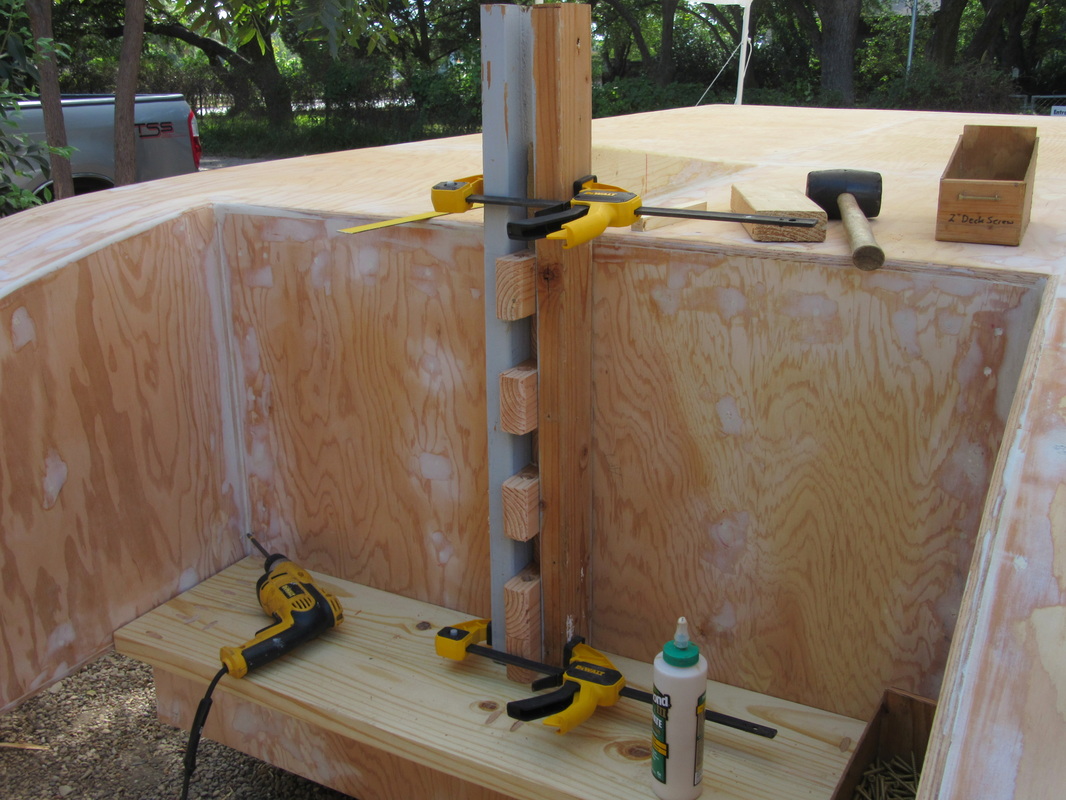
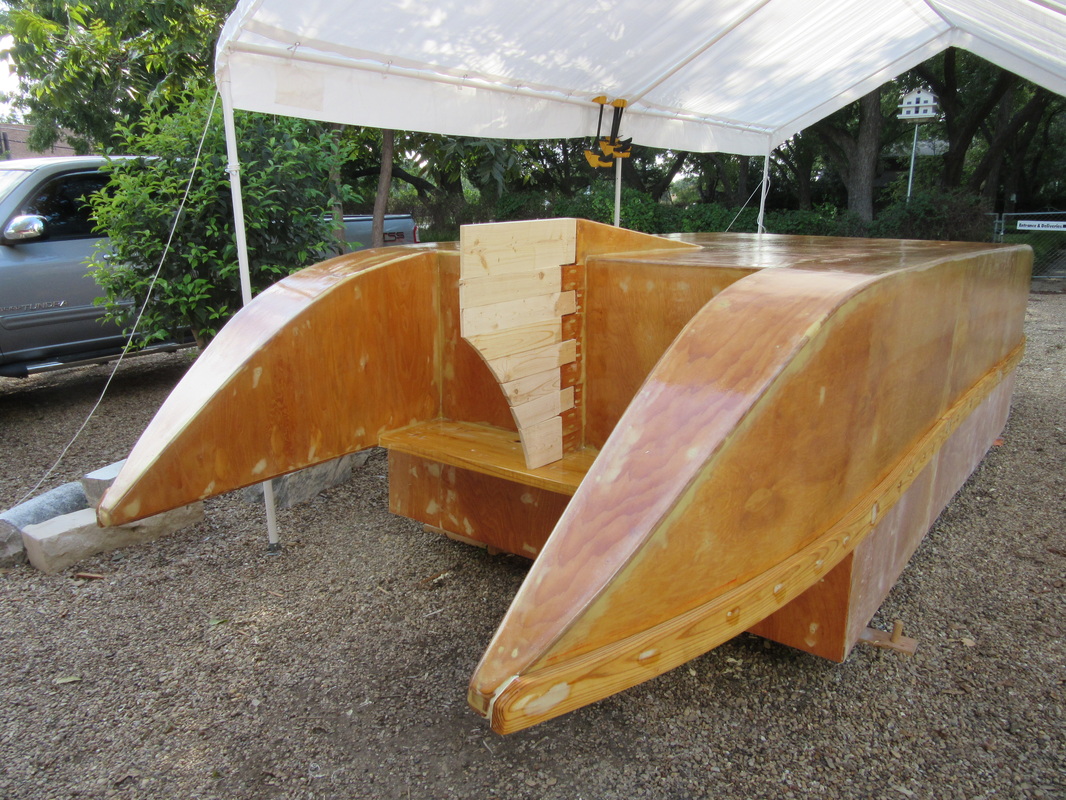
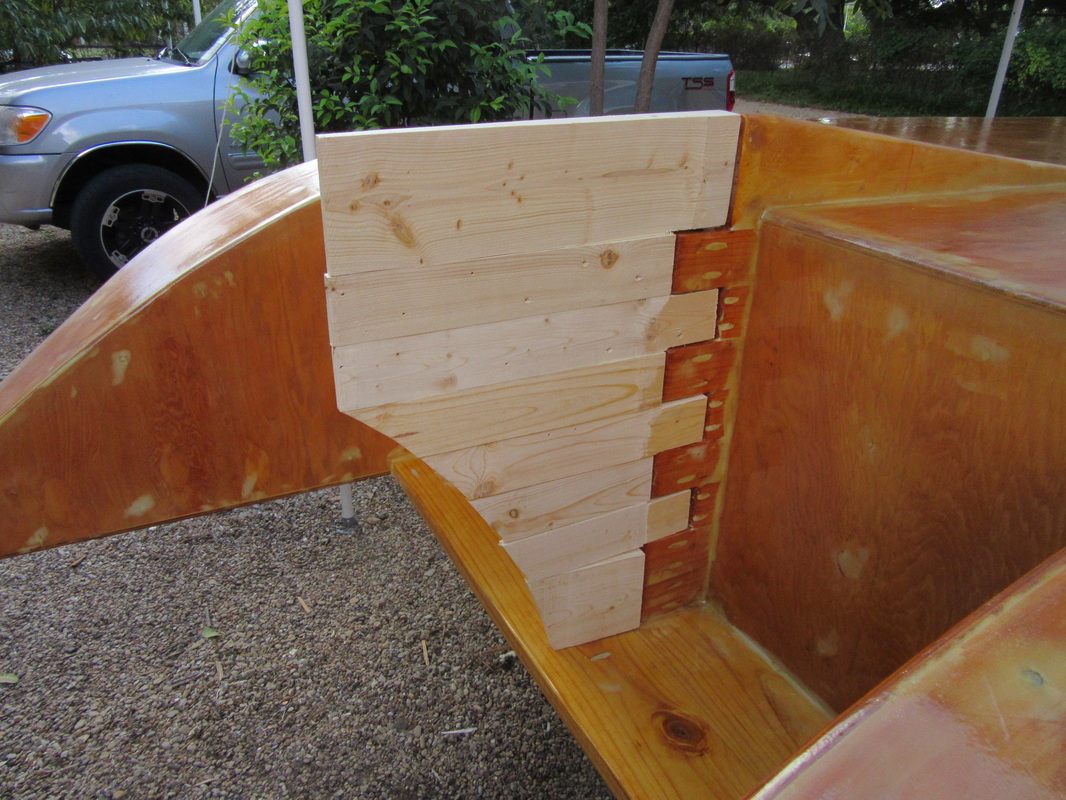
I installed the lower half of the rudder support. I stacked 2x4s with the grain flowing horizontal. I did it this way instead of making it out of a single piece to prevent splitting due to stress. I also drilled 3/4" hole which will take a bushing and a 1/2" metal rod.
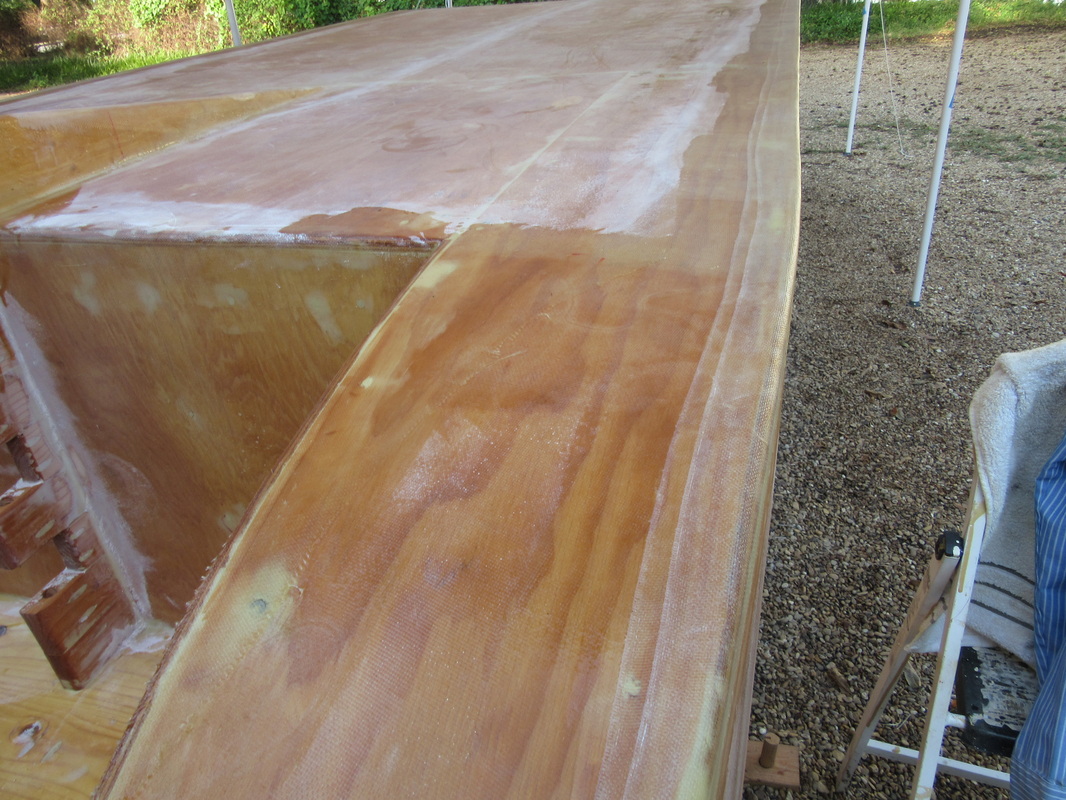
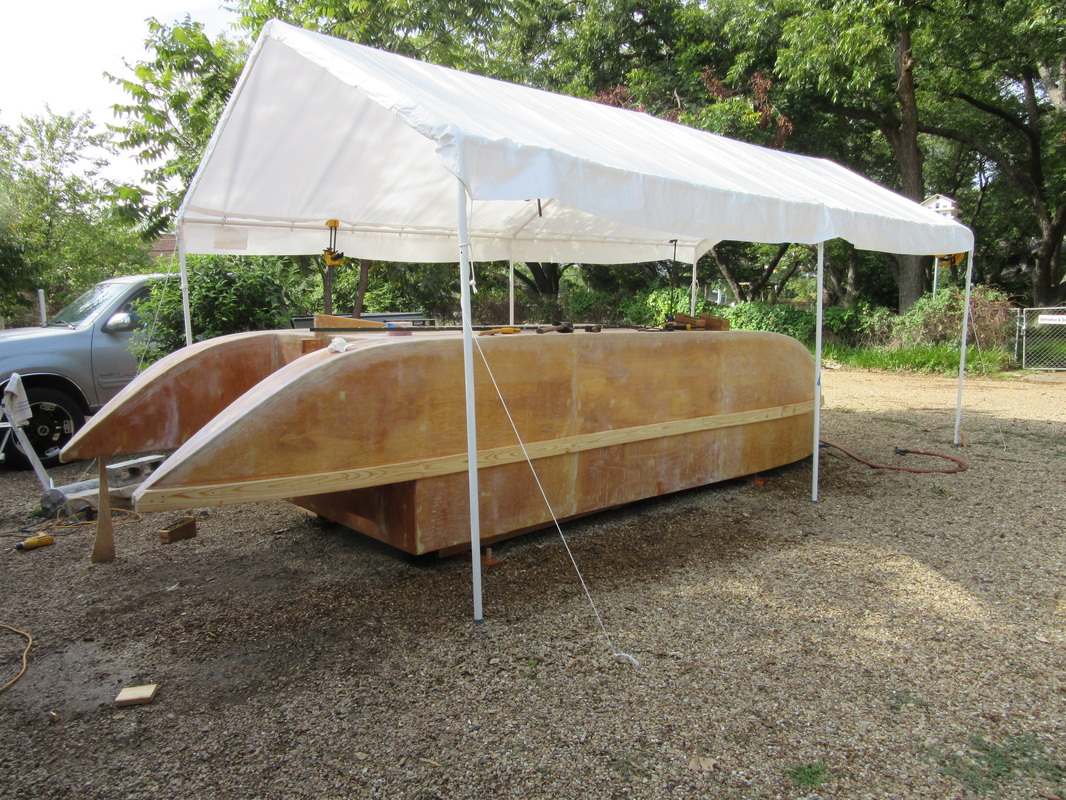
Resined the entire boat and then laid my first sheet of fiberglass cloth.
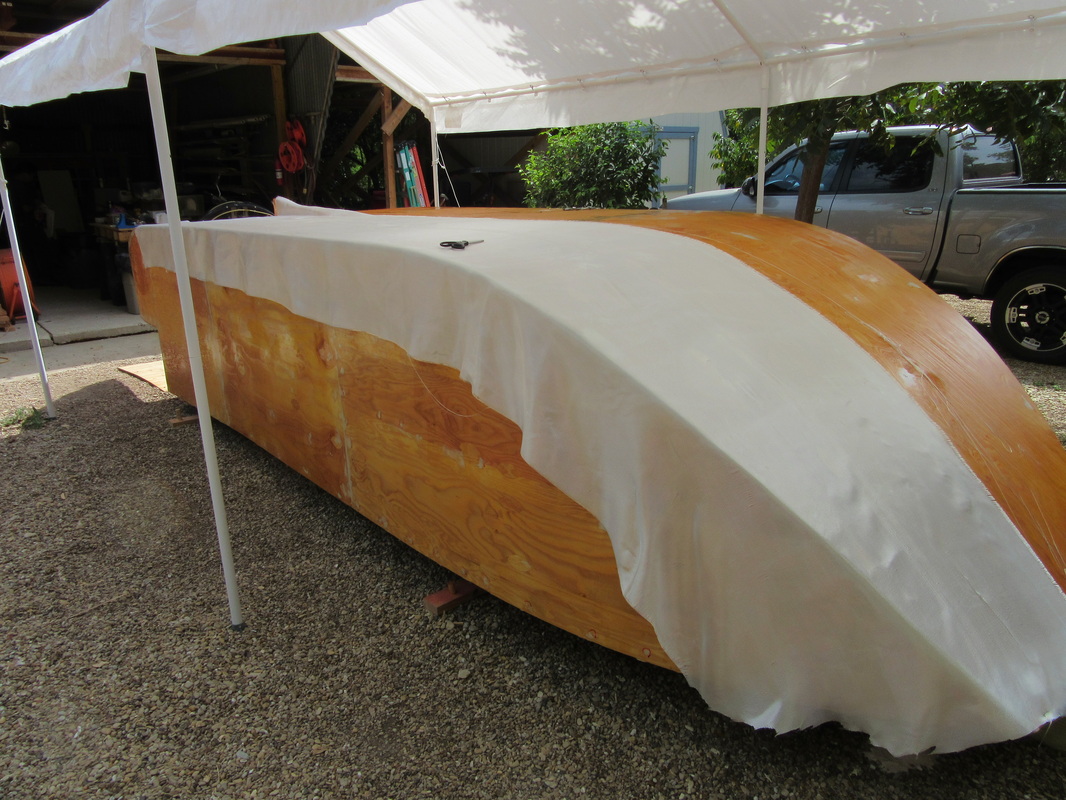
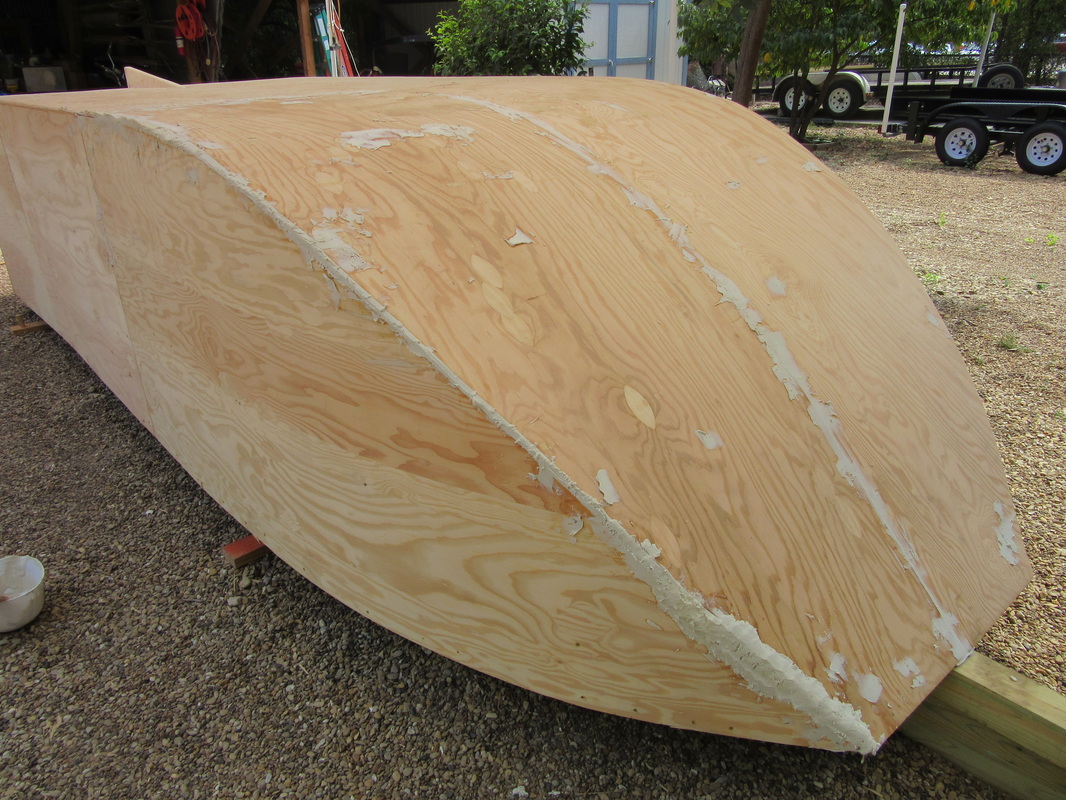
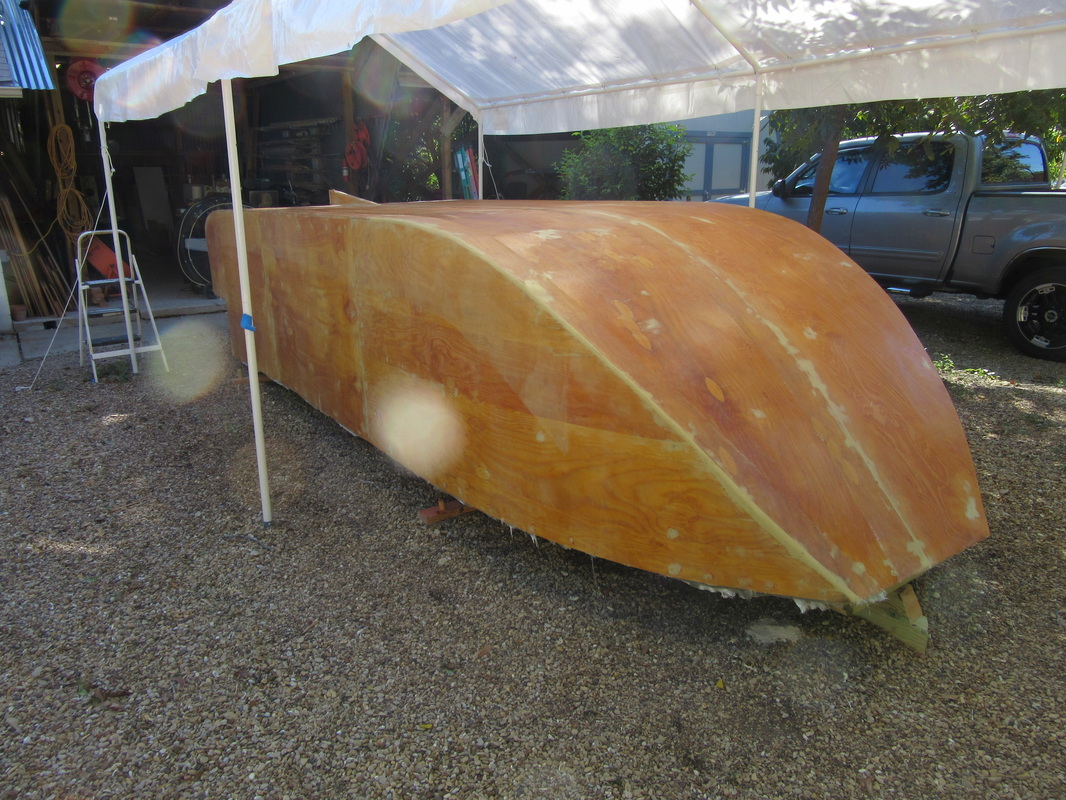
Boat fully covered in fiberglass cloth. Took most of the 32 yards to cover her. Will finish covering the top of the aft pontoons once we flip the boat. Next I am going to lay a double layer of fiber tape along the corners (4" and 3" fiberglass tape.) Once that done, will sand all rough edges and then lay two coats of resin on entire boat.
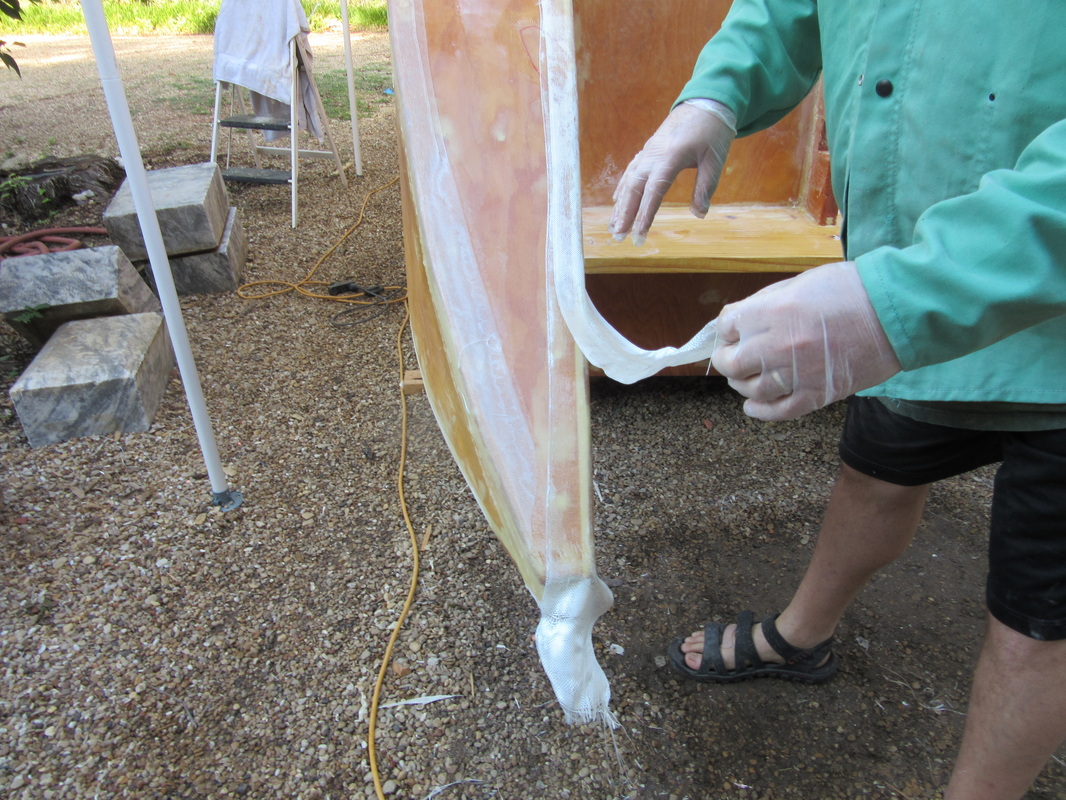
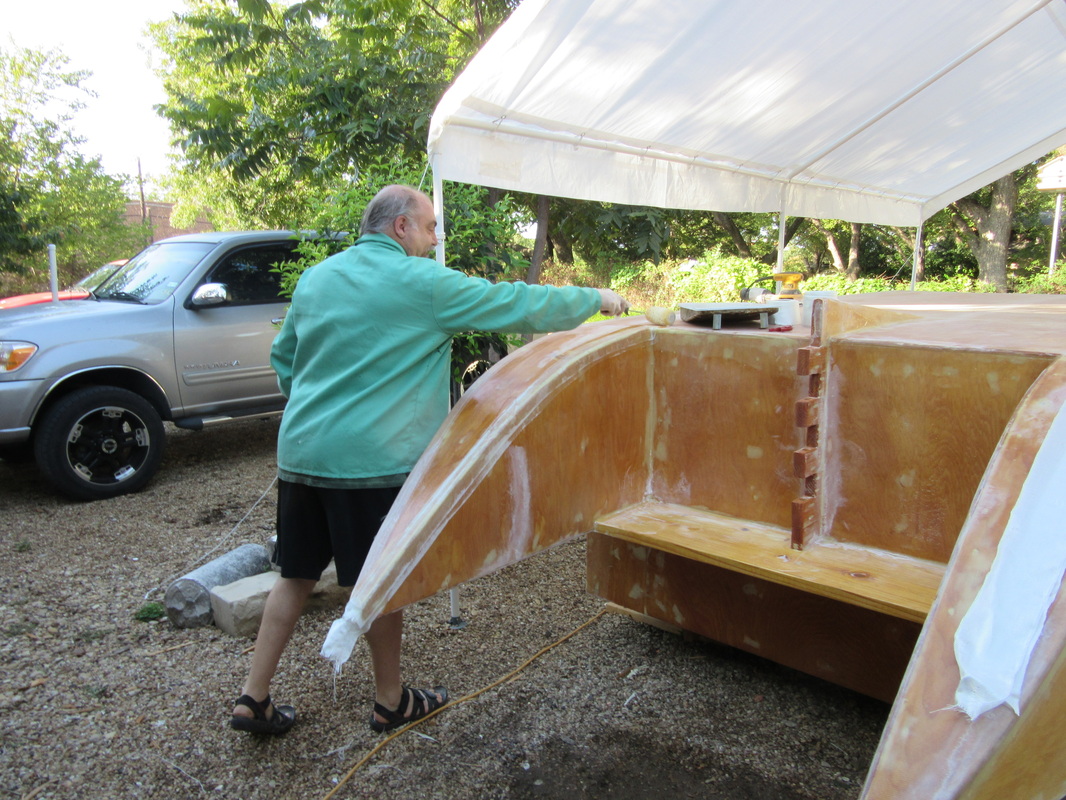
Laying a layer of 4 " and then a layer of 3" fiberglass tape over exposed corners and major seams.

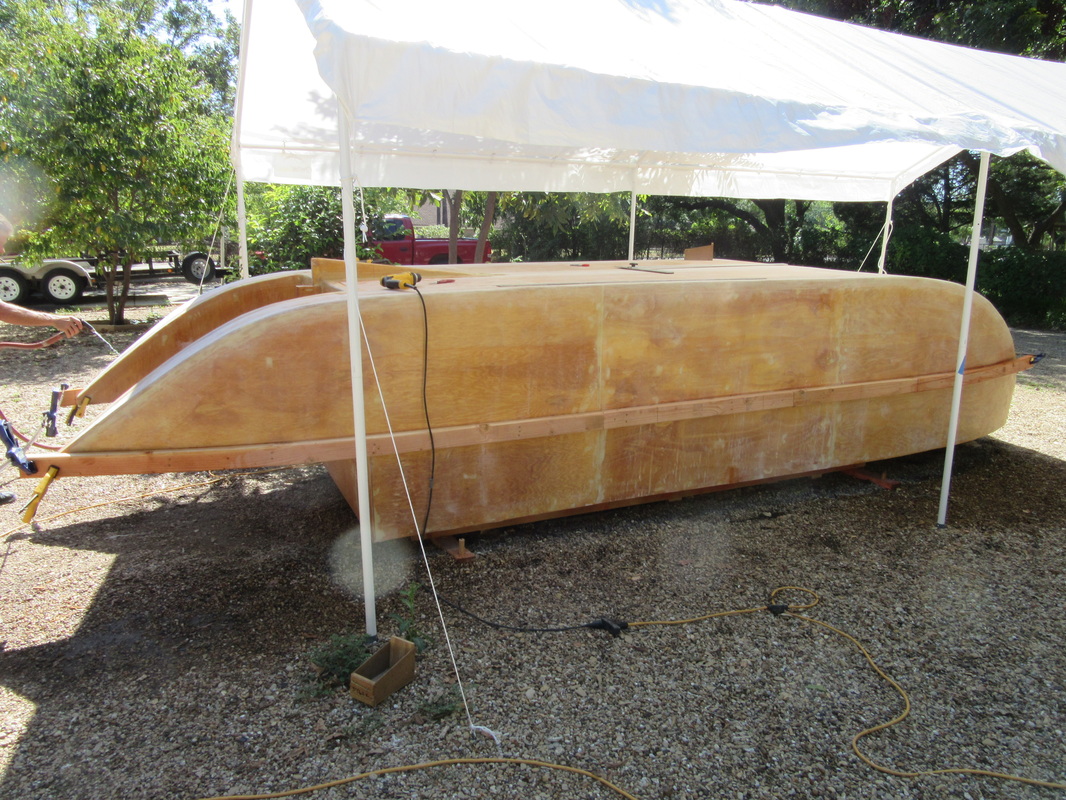
Decided to add a bumper to protect the hull against docks and such. Using 2x4s we attached them to to hull. Unfortuantely I forgot the lesson I had relearned from laying the plywood hull. It is easiest to start from the end of the curve and attach as you go towards the straight part. Doing it the other way is really harder and the wood still tend to break even when wetted.

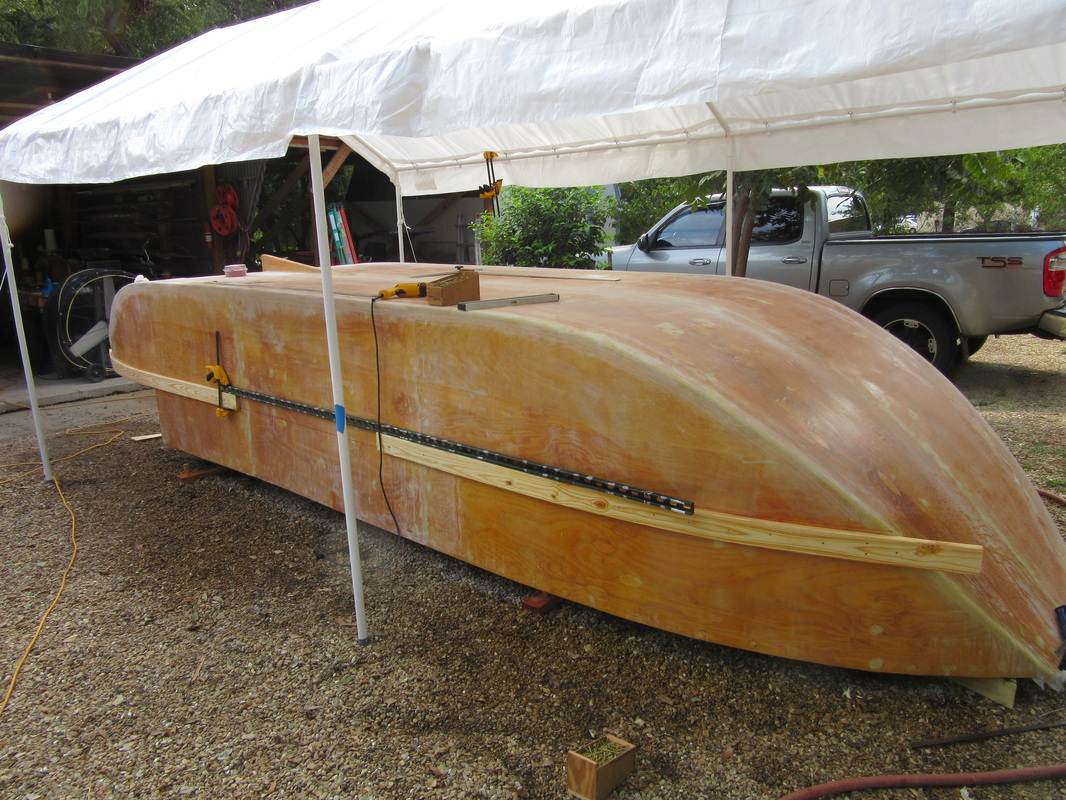
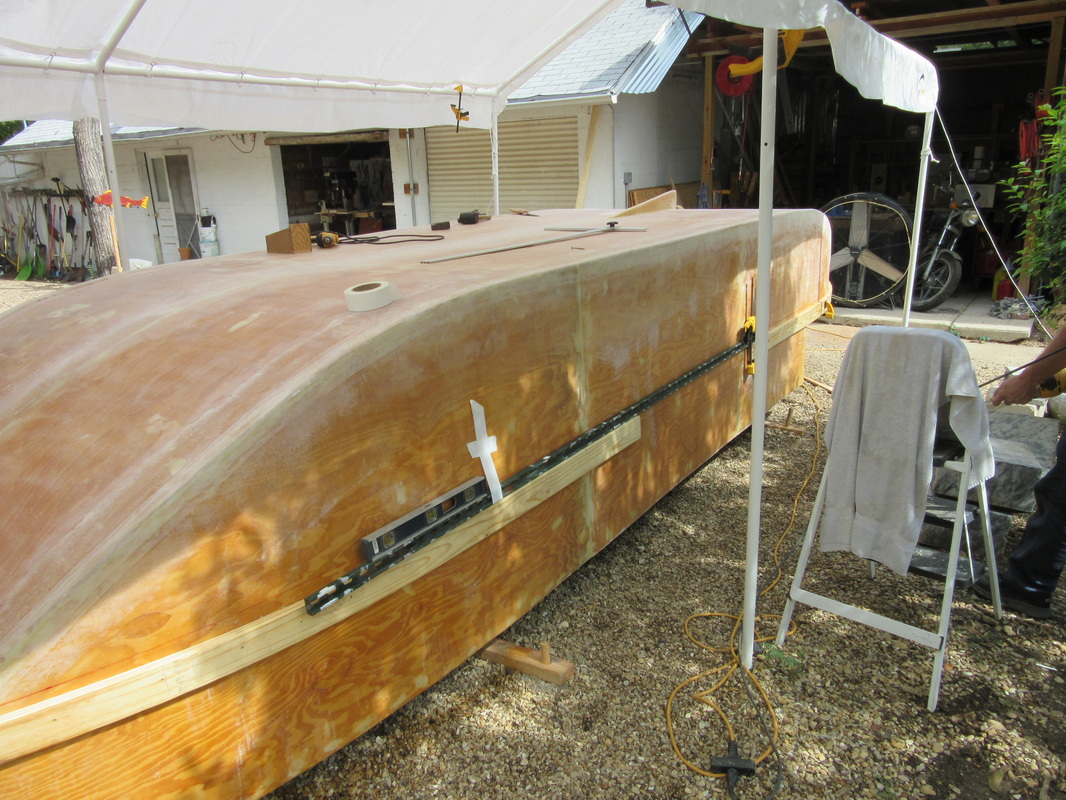
I used scrap lumber the first time I attempted the bumper. This time I picked wood without large knots and also begand at the curve and went towards the center of the boat. It was so easy, all I had to do to bend it was use knee pressure. I used a piece of 10' shelving support to help align the bumper pieces.
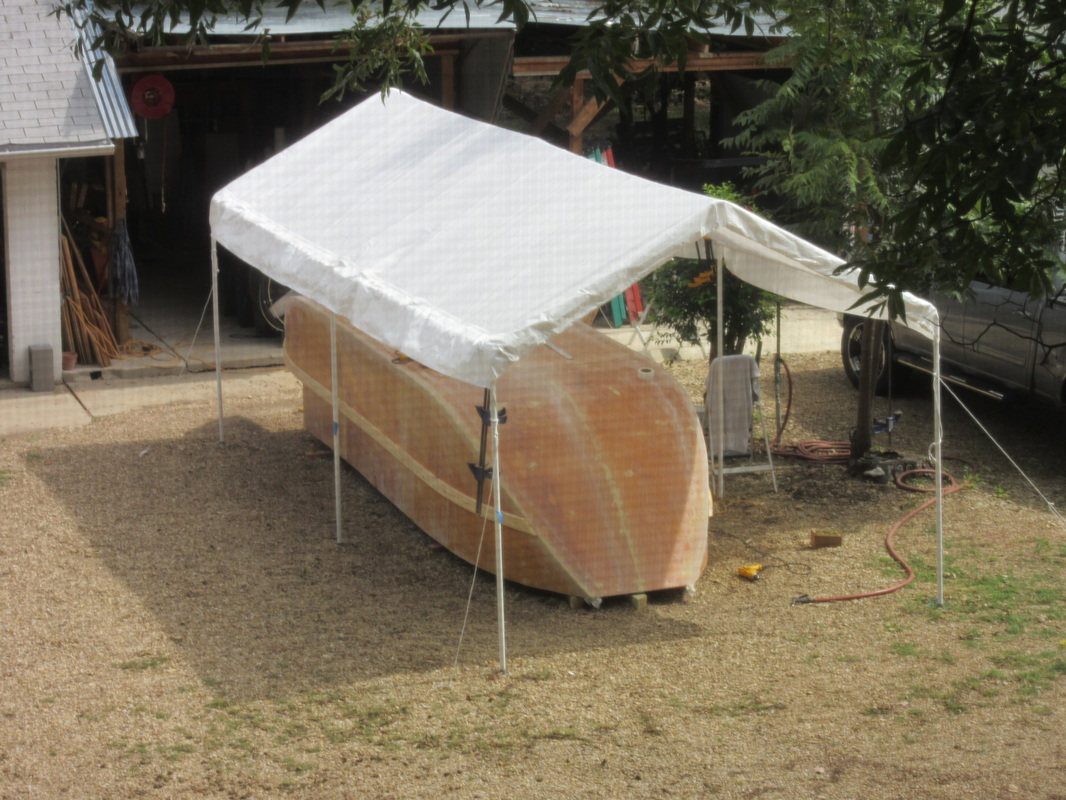
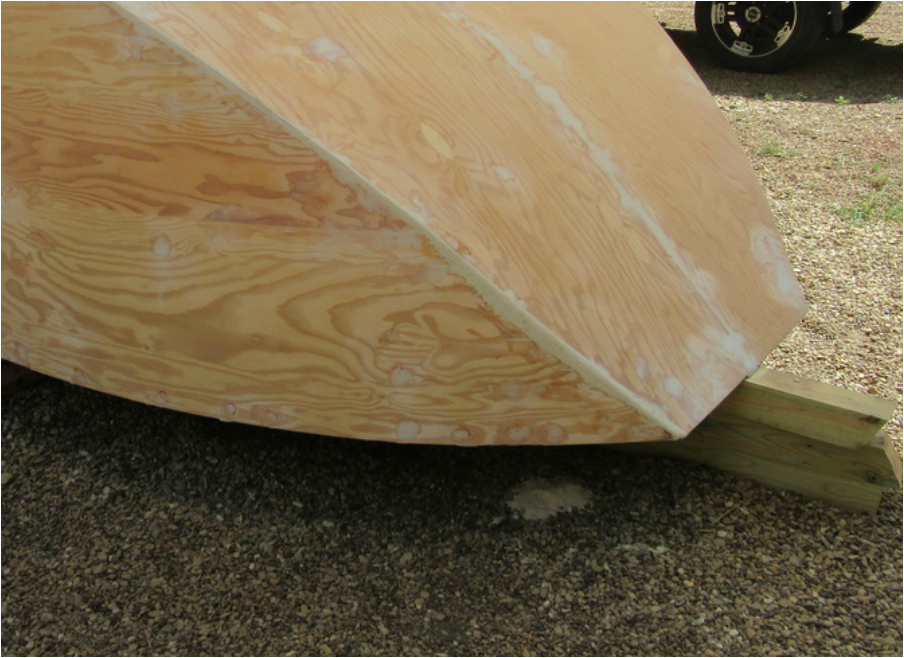
Started to lay the resin coats before priming when I ran out after just one coat. I have been using the resin from my last build so not too bad. Waiting for Glen-l to deliever my some more, will start on the rudder in the mean time.

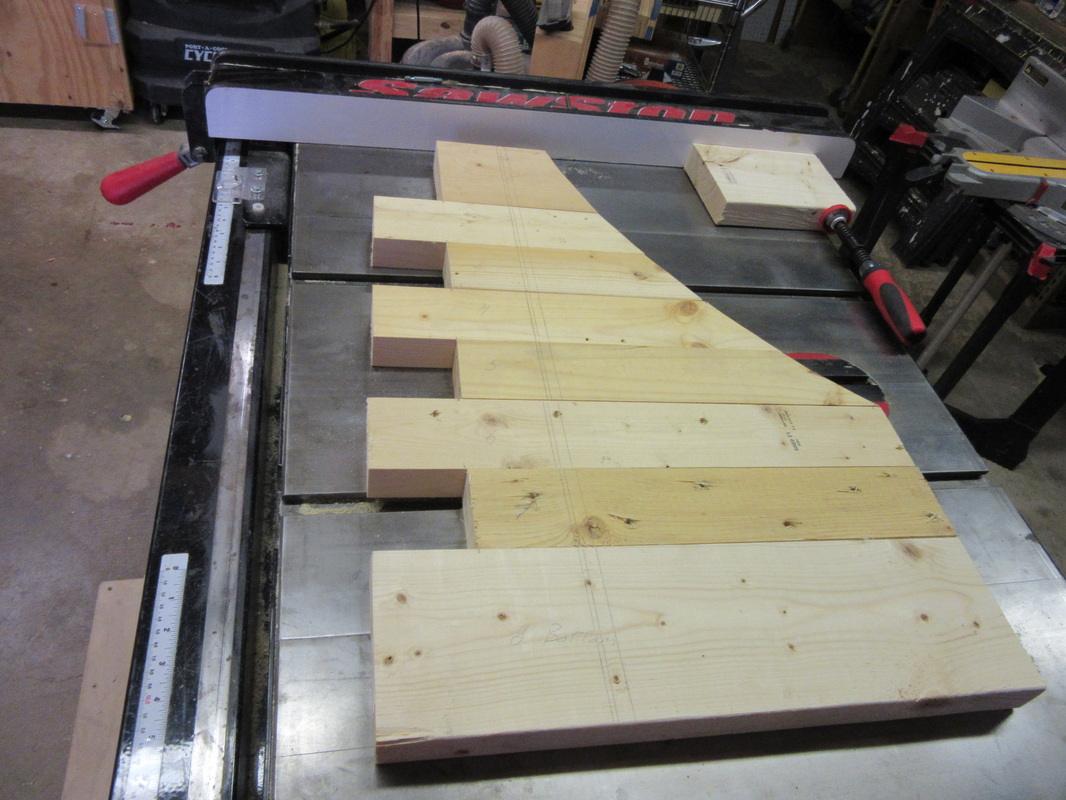
Originally the rudder was 30" long. After measureing that on the boat, it appeard way too big, so reduced it to 19 1/2" long. As witht he rudder support, I pieced the rudder together with the grain running paralle with the boat.

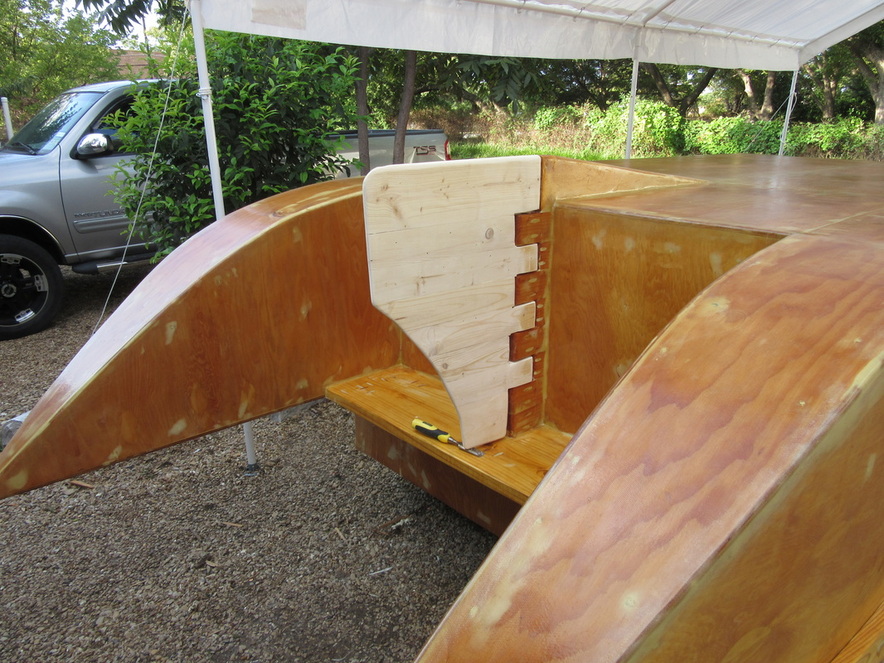
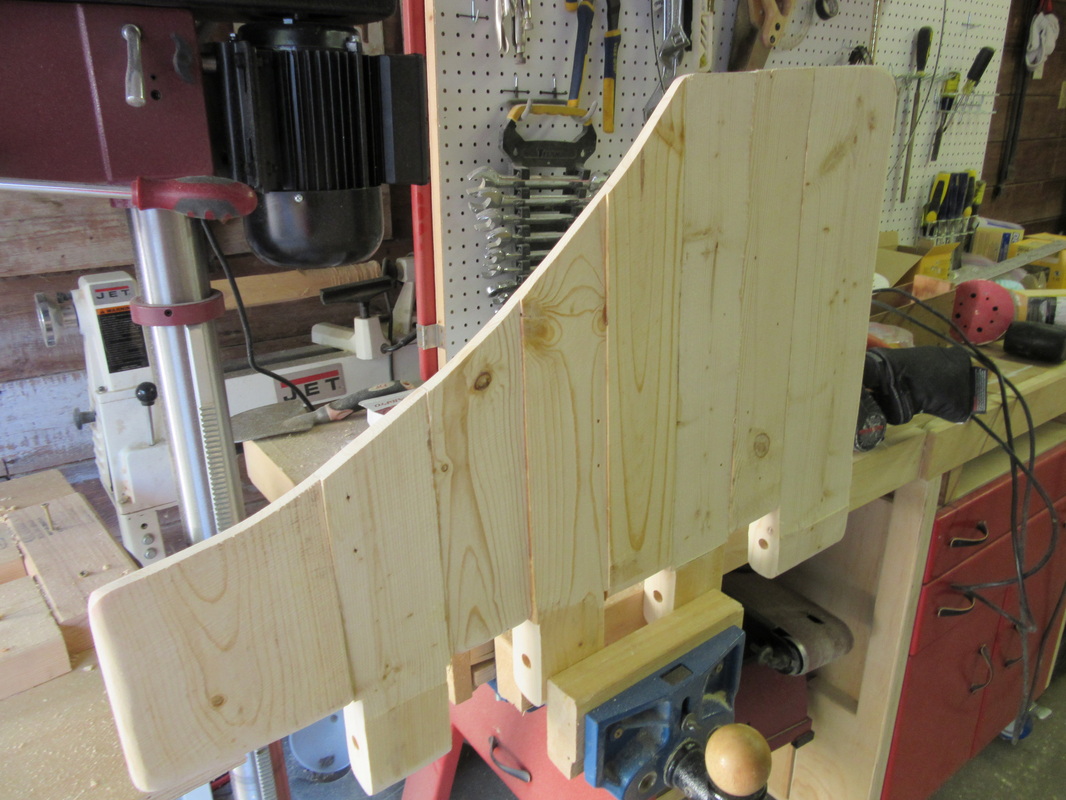
I first cut the wood to length, then traced the arc using a ruller and pencil. I cut along the line using my bandsaw and there you have the picture below. I then drilled the 1/2" hole for the rudder shaft.
Test fitting the rudder before gluing the pieces together. The curve will leave ample room for the rudder to turn without interfering withthe paddle wheel. Here you can also see where I had used my bandsaw to shap the rudder to be only 1/2" at the edge.
Gluing the rudder together. I used some boards to help align the bottom of the rudder.
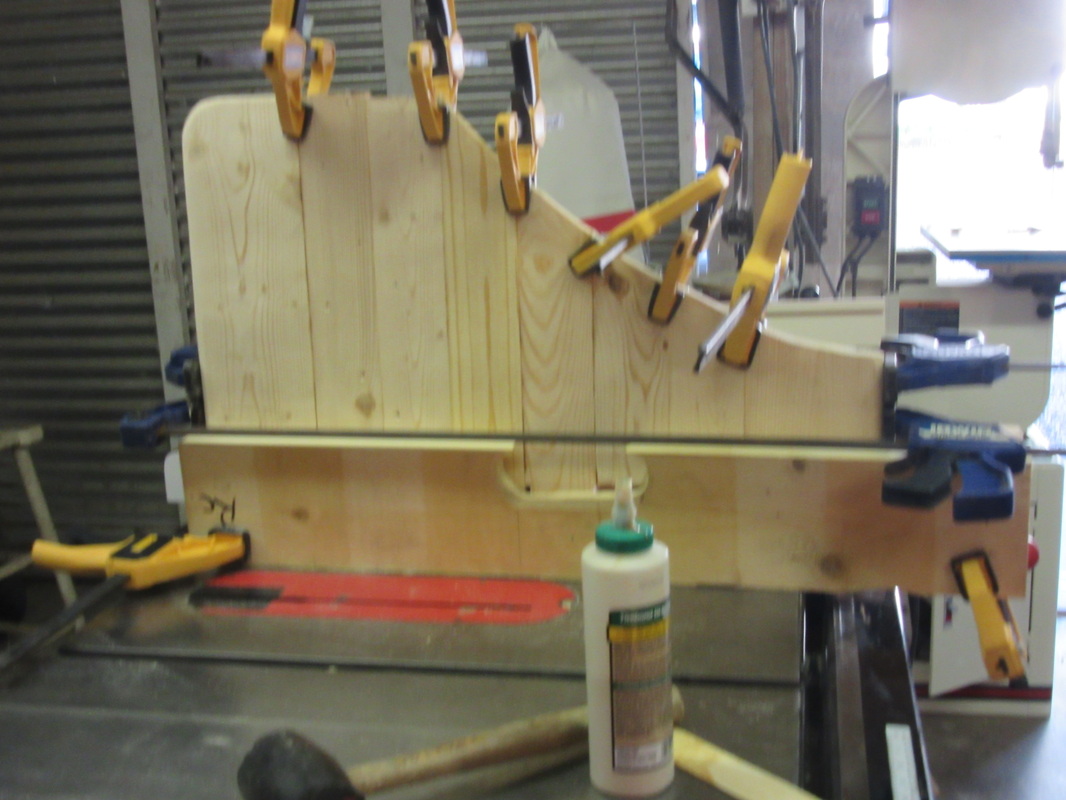
I had angled each piece for 1/2" thickness at end. After gluing you can see how there is a gradual widening of each part. A little sanding should take care of that nicely.
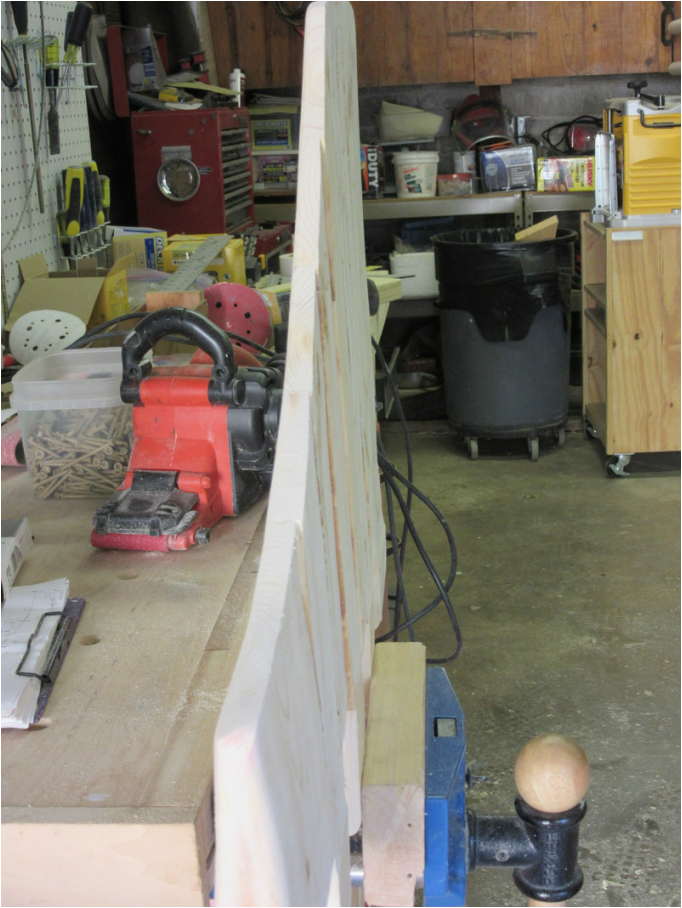
Rudder waiting to be sanded.
Test fitting the rudder after it has been glued and sanded. Now just waiting for resin to be delievered so I can putty and clothe rudder.