11/10/2020
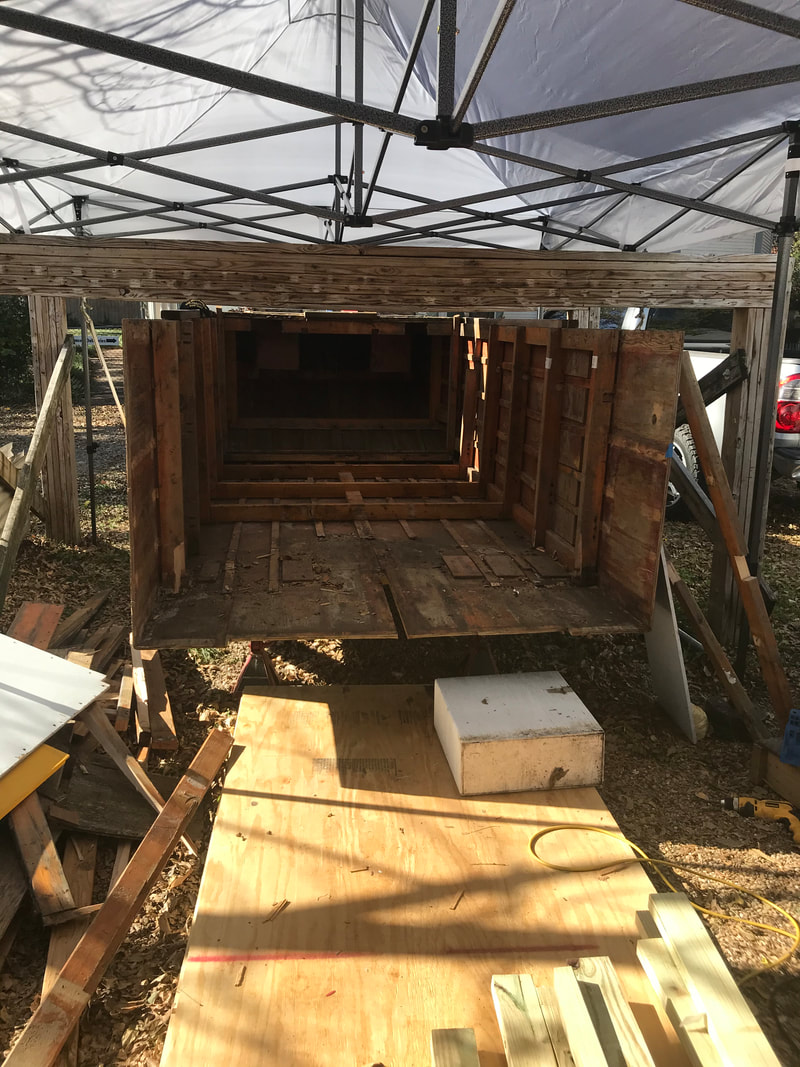
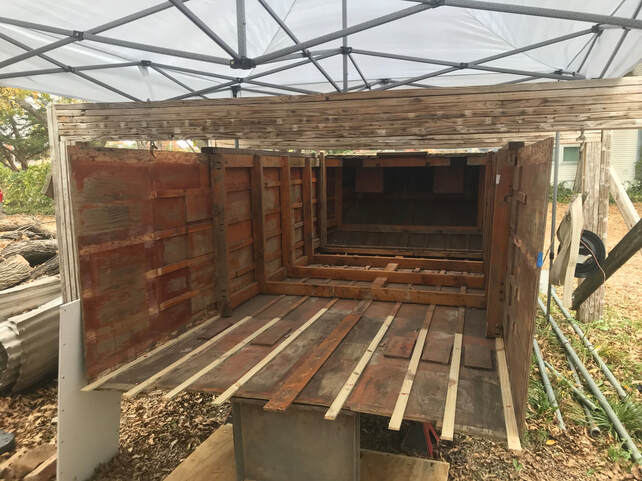
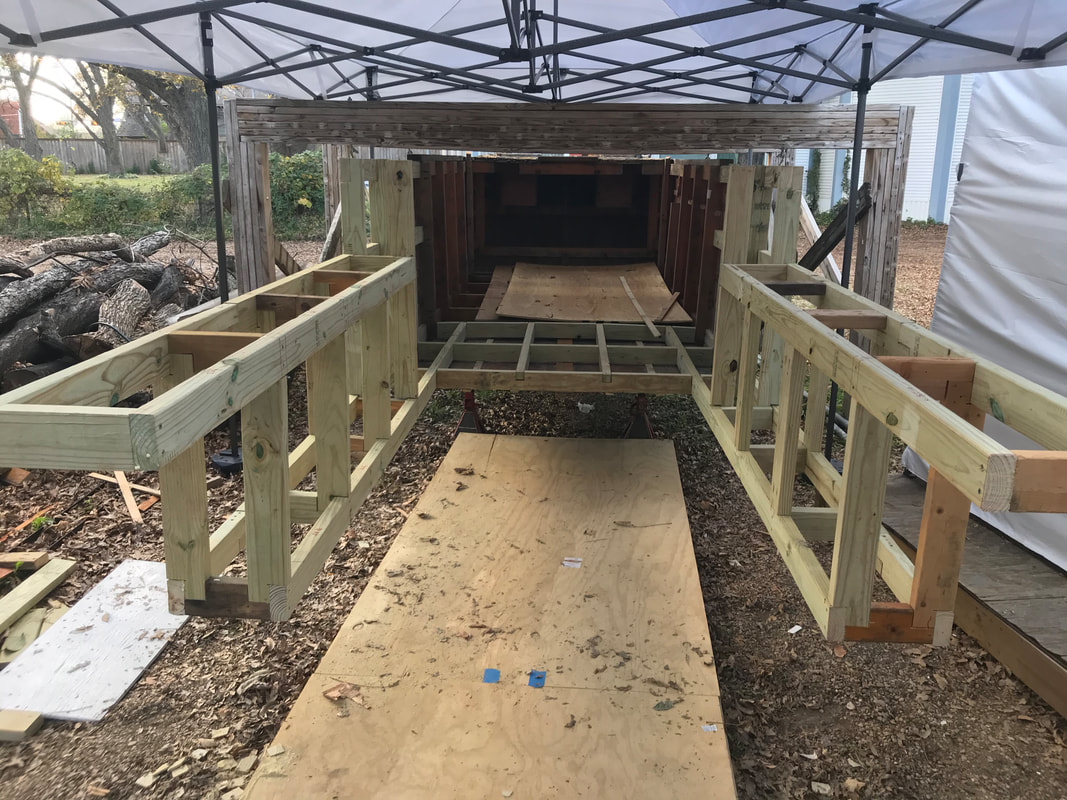
Good Morning all. I was able to remove the top of my boat safely. I figured the top weighed as much as the new engine does alone, so my draft should not change much. Going to make a canvas canopy to replace it. Giving up the ability to stand on top of the boat, but now will have no problem with bridge heights and being able to place a tent over the boat while working. Going to put together a platform between the boat and the shed, so that when the time comes to install the engine, the hoist will be able to roll more easily. At the moment there is a gravel driveway, and that does not allow heavy items to roll easily. Then we can begin reconstruction of the aft pontoons, the old ones warped, so I cut them off.
Good Morning all. I was able to remove the top of my boat safely. I figured the top weighed as much as the new engine does alone, so my draft should not change much. Going to make a canvas canopy to replace it. Giving up the ability to stand on top of the boat, but now will have no problem with bridge heights and being able to place a tent over the boat while working. Going to put together a platform between the boat and the shed, so that when the time comes to install the engine, the hoist will be able to roll more easily. At the moment there is a gravel driveway, and that does not allow heavy items to roll easily. Then we can begin reconstruction of the aft pontoons, the old ones warped, so I cut them off.
11/12/2020
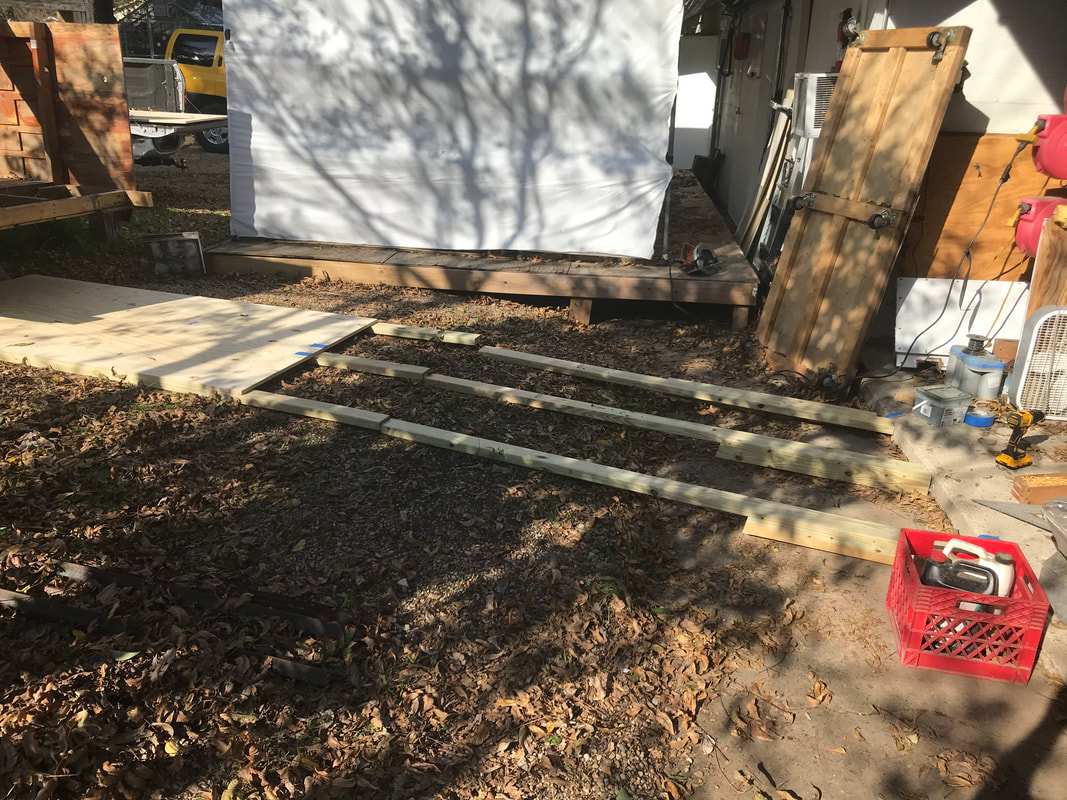
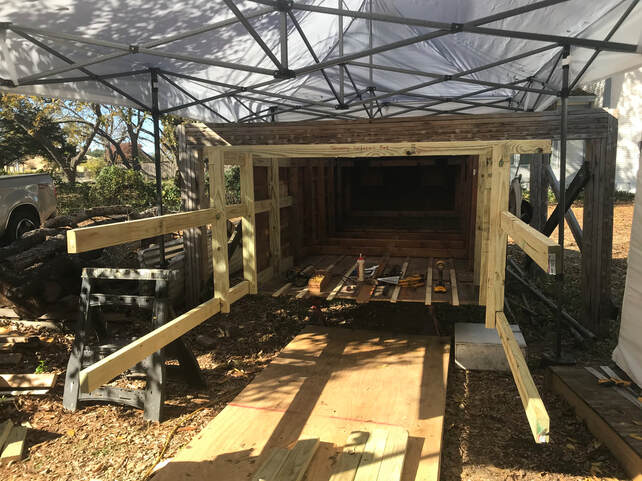
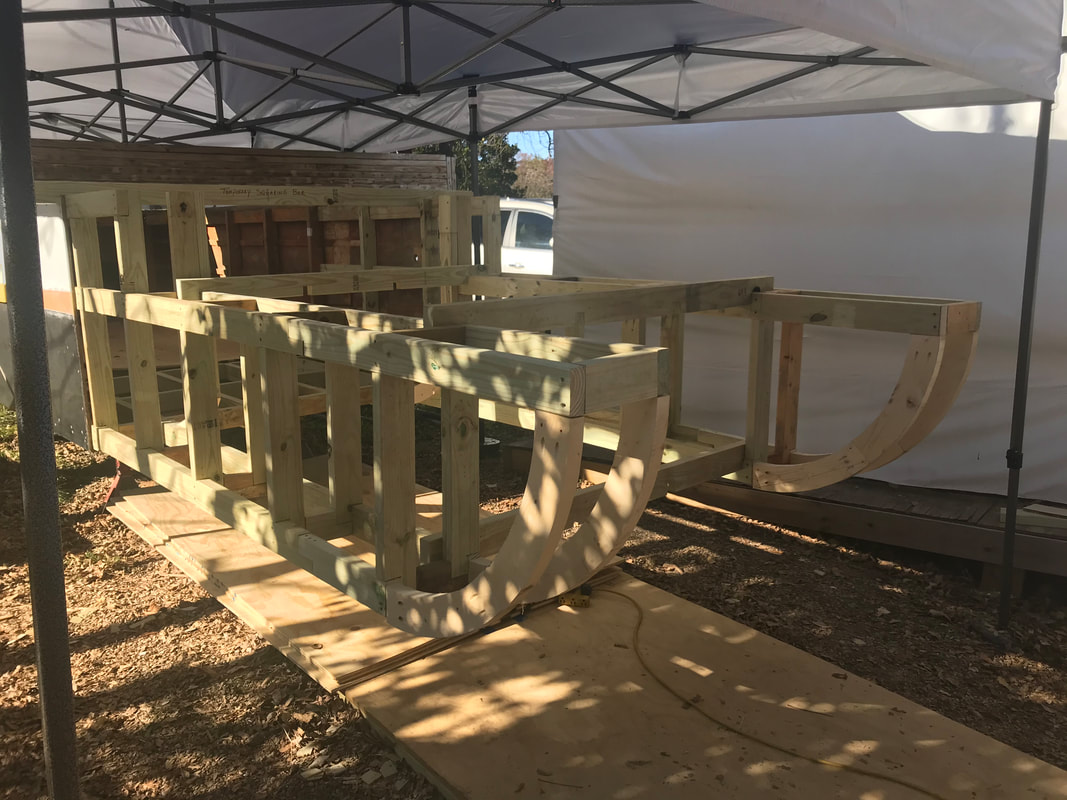
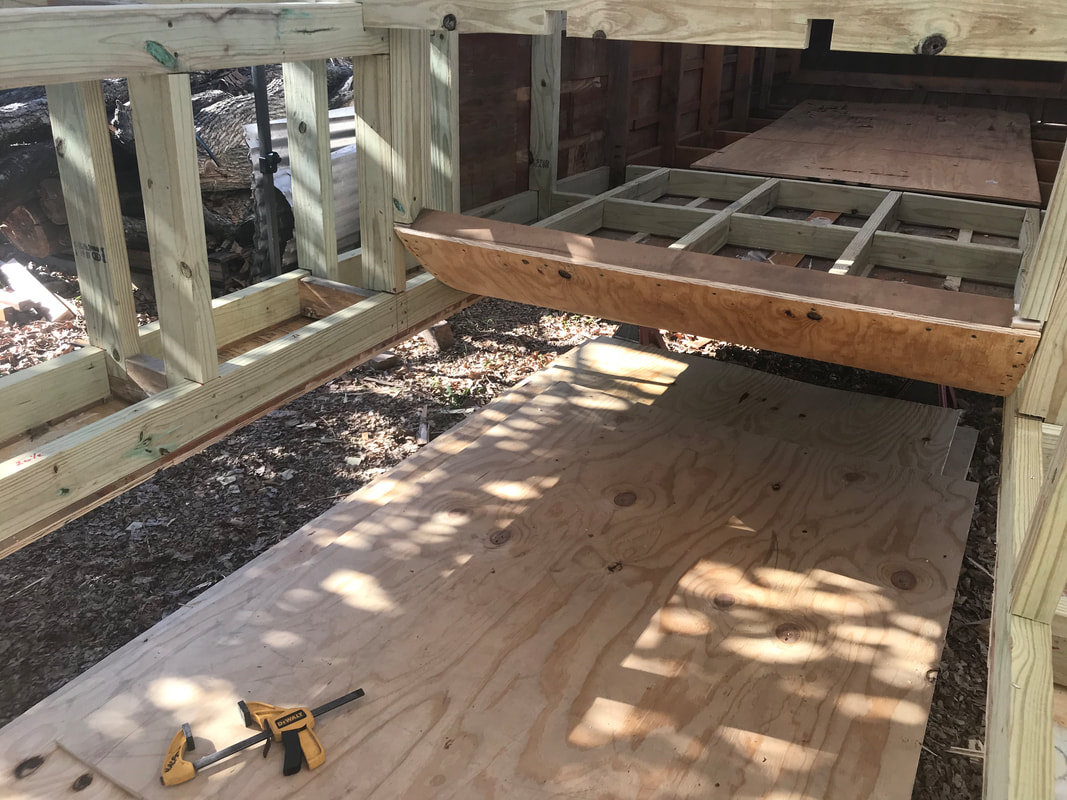
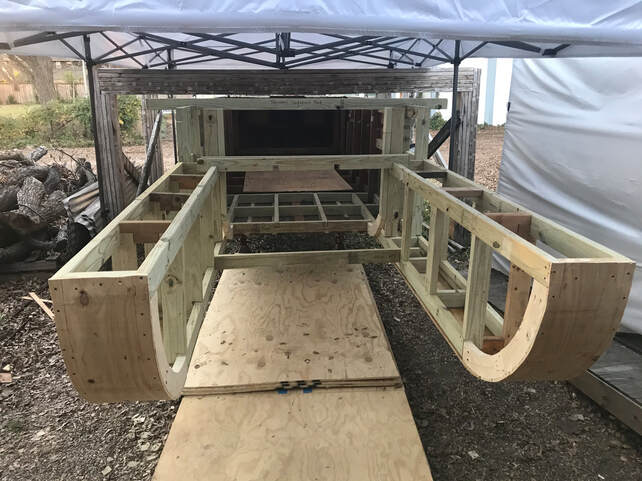
Laid down the frame for the platform running from the aft of the boat to the shed where the hoist holds the engine.
Laid down the frame for the platform running from the aft of the boat to the shed where the hoist holds the engine.
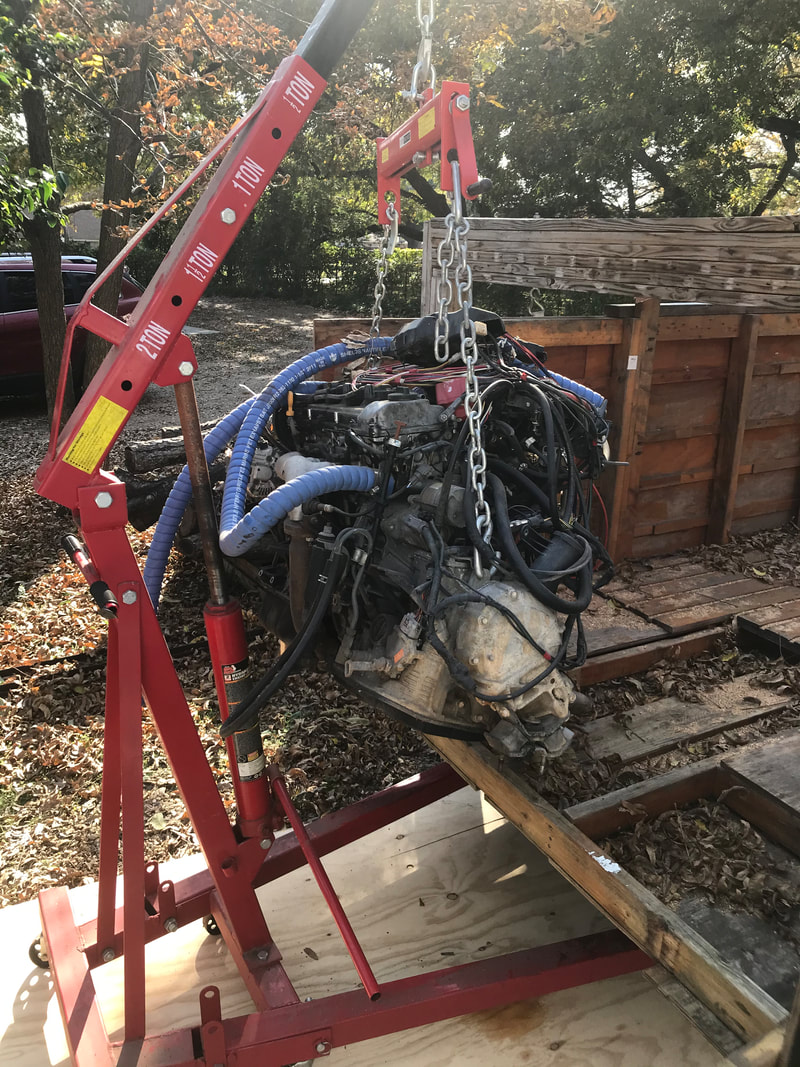
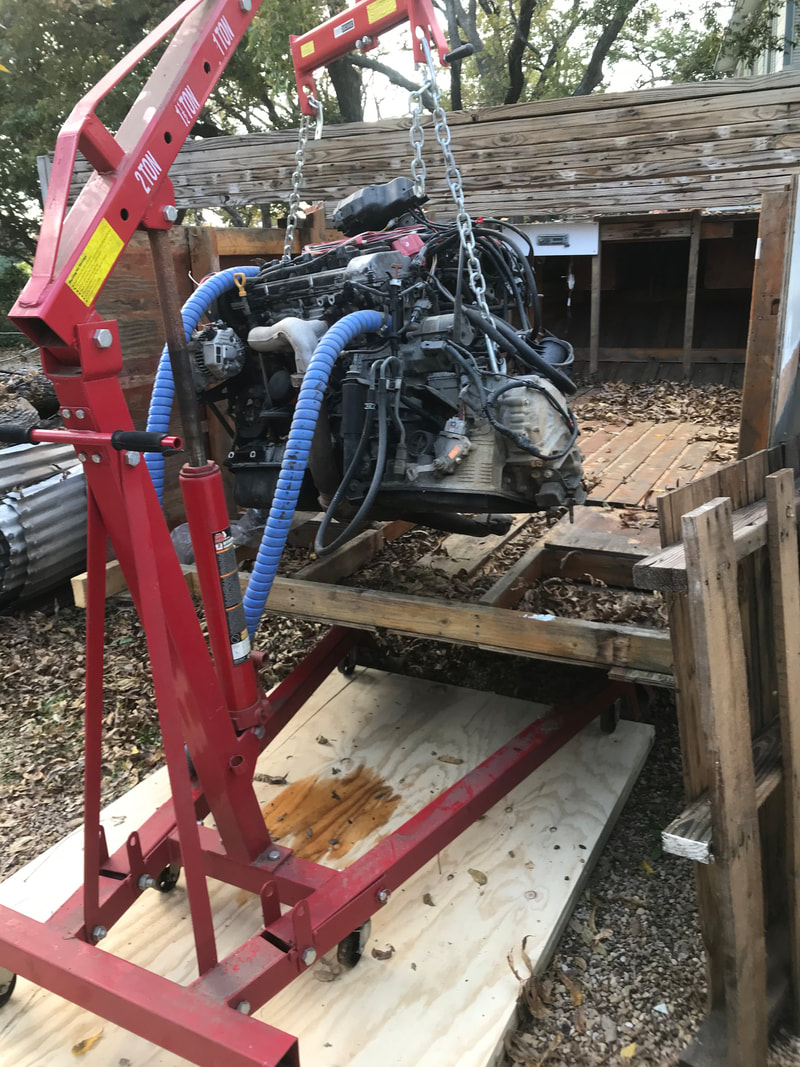
After building the platform, of course had to test it out. Where as I had originally planed to build the pontoons and then squeeze the engine in before building the transom, I thought wouldn't it be nice if I could complete the hull then lift the engine over the transom into the boat.
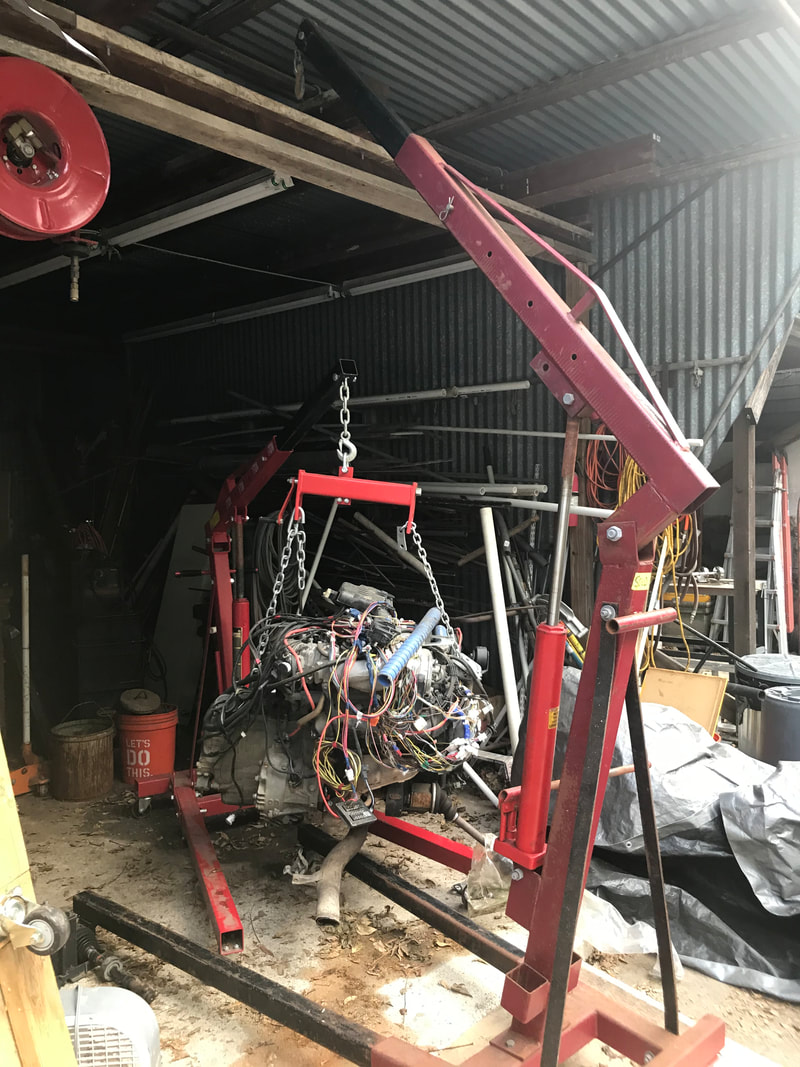
Where as the engine will fit in nicely, the hoist I originally bought would not be able to lift it higher than the bottom of the boat, but wait! I had helped a friend at her garage sale and she had an engine hoist she was getting rid of. Bought it for $75. Dragged t over to the engine and did a comparison. It can lift twice as much and I had to stop raising it, due to the height restrictions of the shed! Soon as I transfer the engine to the other hoist, will do another test run to verify I will be able to build the hull before installing the engine.
11/18/2020
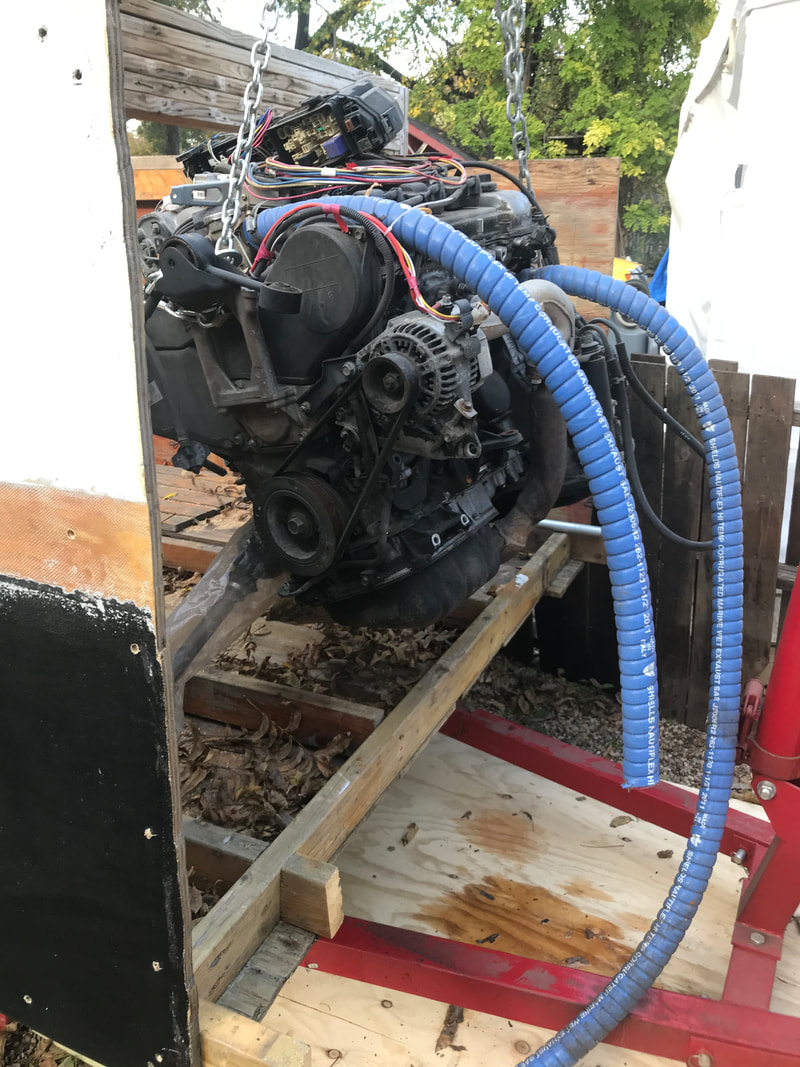
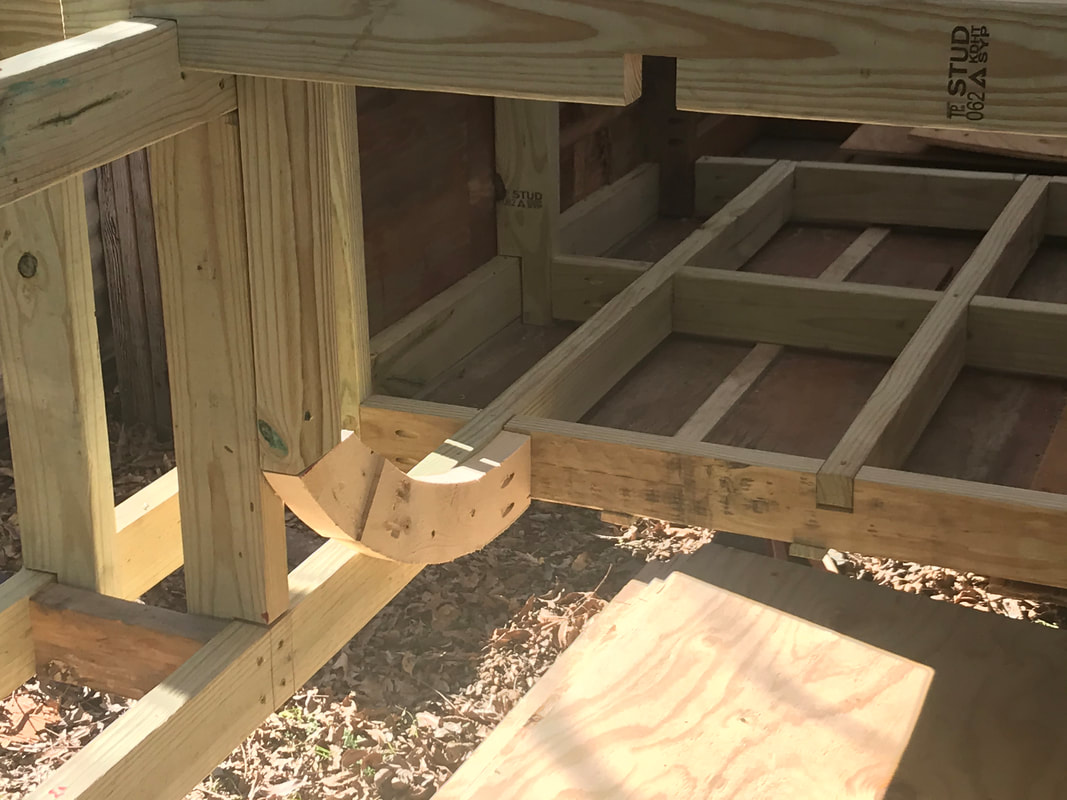
Replaced the hydraulic arm of the newly bought garage sale engine hoist with a new air power hydraulic arm. The pontoons will be about 27" high, so assumed the curved portion of the transom will also be that high, but after looking at the drawings, that is not the case. Per the drawings, the curved Transom is only 15 1/2" high from the bottom of the boat. I did not realize this till I was starting my log, the photos I took were assuming 27" height, so Fantastic! I will have more clearance than I need for sure. The blue tape on the ruler is from the platform to the top of a 27" pontoon.
Replaced the hydraulic arm of the newly bought garage sale engine hoist with a new air power hydraulic arm. The pontoons will be about 27" high, so assumed the curved portion of the transom will also be that high, but after looking at the drawings, that is not the case. Per the drawings, the curved Transom is only 15 1/2" high from the bottom of the boat. I did not realize this till I was starting my log, the photos I took were assuming 27" height, so Fantastic! I will have more clearance than I need for sure. The blue tape on the ruler is from the platform to the top of a 27" pontoon.
11/19/2020
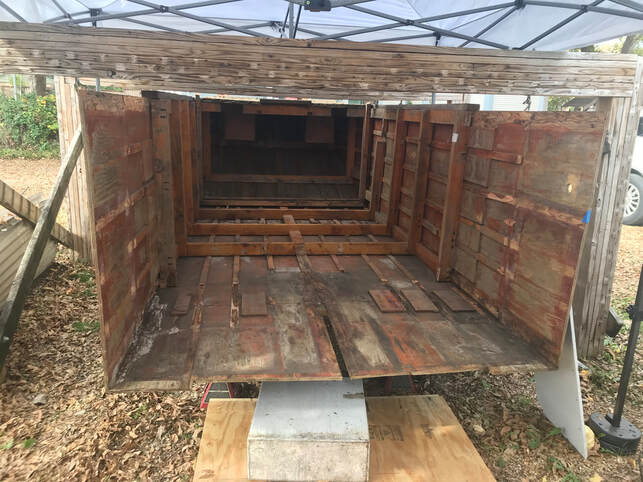
Completed tearing out all that I needed before beginning the new construction. I had some tear out on the bottoms of the side frames, but can be taken care of, by doubling up those frames. I could attempt to replace them, but so easy to rip holes in hull if done wrong. There was a large void where the gas tank used to reside. This will give me a perfect opportunity to reinforce the framing where the engine is going to sit, by using notches to give them strength.
Completed tearing out all that I needed before beginning the new construction. I had some tear out on the bottoms of the side frames, but can be taken care of, by doubling up those frames. I could attempt to replace them, but so easy to rip holes in hull if done wrong. There was a large void where the gas tank used to reside. This will give me a perfect opportunity to reinforce the framing where the engine is going to sit, by using notches to give them strength.
11/21/2020
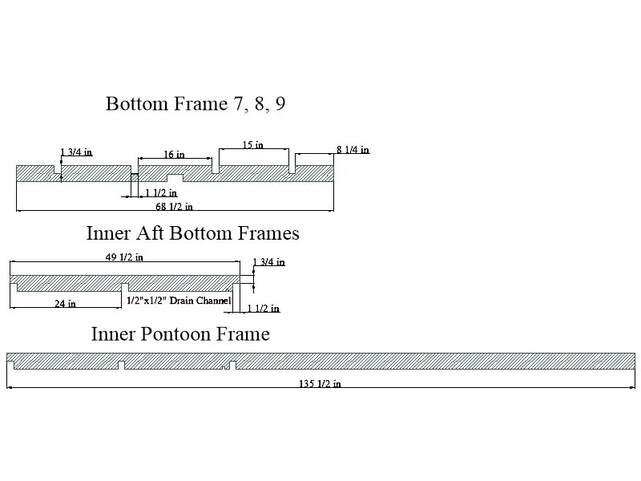
Here are the new plans, that incorporate the strengthening of the engine space via notching of the frames and adding extra frame supports.
Here are the new plans, that incorporate the strengthening of the engine space via notching of the frames and adding extra frame supports.
11/23/2020
Alright, thought I was finished removing parts from the boat, but decided to remove Frame 8 entirely. Now have gotten new battens in place. The engine space only extends about 2 1/2" past where I originally cut off the aft. Just as a refresher, my battens being only 1/2" thick, gives a 1/2" channel under the cross frame for water that has somehow gotten into the boat to flow aft towards the drain pump to be pumped overboard. Battens also gives support to wood, when bending along a curve. If a thin piece of batten can't be bent without breaking, then you will most likely have to steam your wood to bend . I ripped a 2" x 4" into 1/2" strips to make my battens. The blocks between the battens are butts used to attach two pieces of 1/2" plywood together and keep the ends flush. They are just 6" long 1/2" thick pieces of plywood. You need about 3" for each of the plywood sheets being joined. I just made sure there was at least a 1/2" gap between the battens and the butts. Since I will need a 2 1/2" piece for the bottom extension, I will probably just mill a 1" x 5" plank to include the butts needed.
Alright, thought I was finished removing parts from the boat, but decided to remove Frame 8 entirely. Now have gotten new battens in place. The engine space only extends about 2 1/2" past where I originally cut off the aft. Just as a refresher, my battens being only 1/2" thick, gives a 1/2" channel under the cross frame for water that has somehow gotten into the boat to flow aft towards the drain pump to be pumped overboard. Battens also gives support to wood, when bending along a curve. If a thin piece of batten can't be bent without breaking, then you will most likely have to steam your wood to bend . I ripped a 2" x 4" into 1/2" strips to make my battens. The blocks between the battens are butts used to attach two pieces of 1/2" plywood together and keep the ends flush. They are just 6" long 1/2" thick pieces of plywood. You need about 3" for each of the plywood sheets being joined. I just made sure there was at least a 1/2" gap between the battens and the butts. Since I will need a 2 1/2" piece for the bottom extension, I will probably just mill a 1" x 5" plank to include the butts needed.
11/25/2020
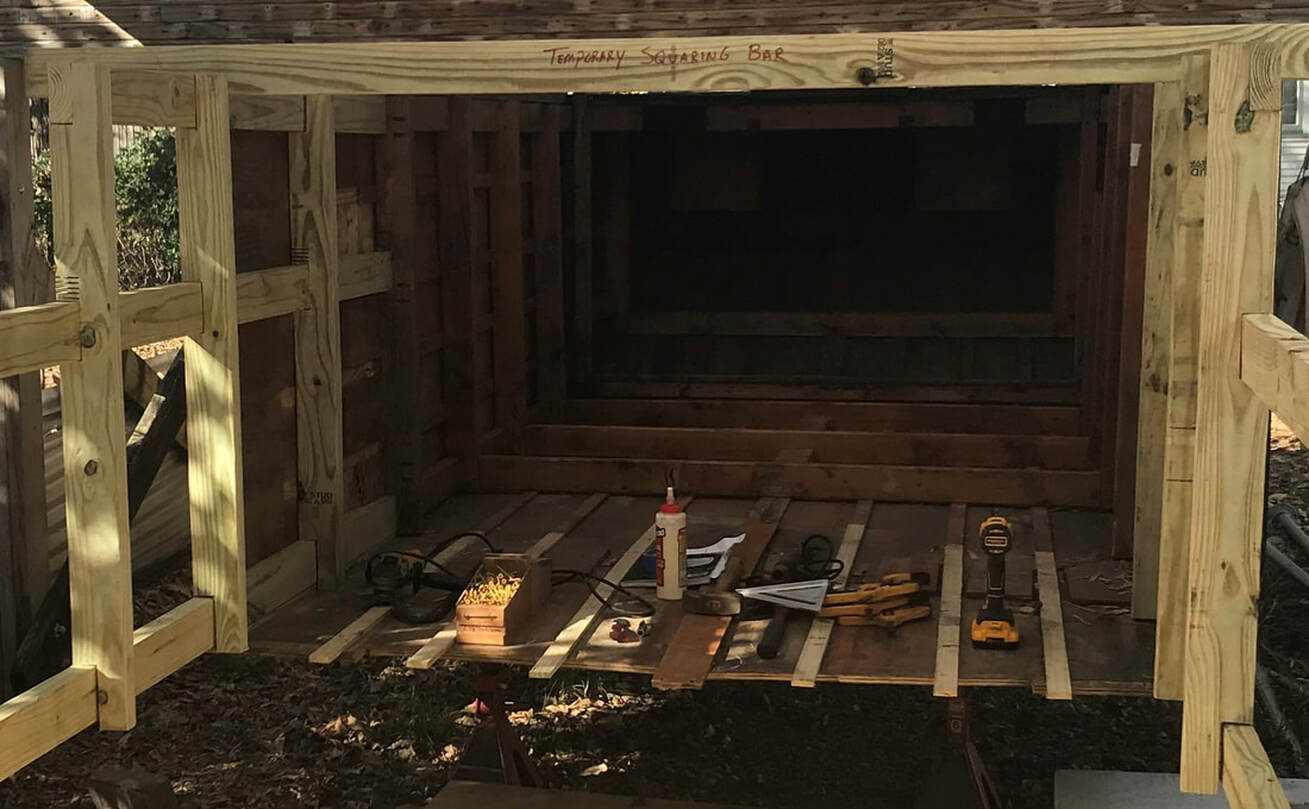
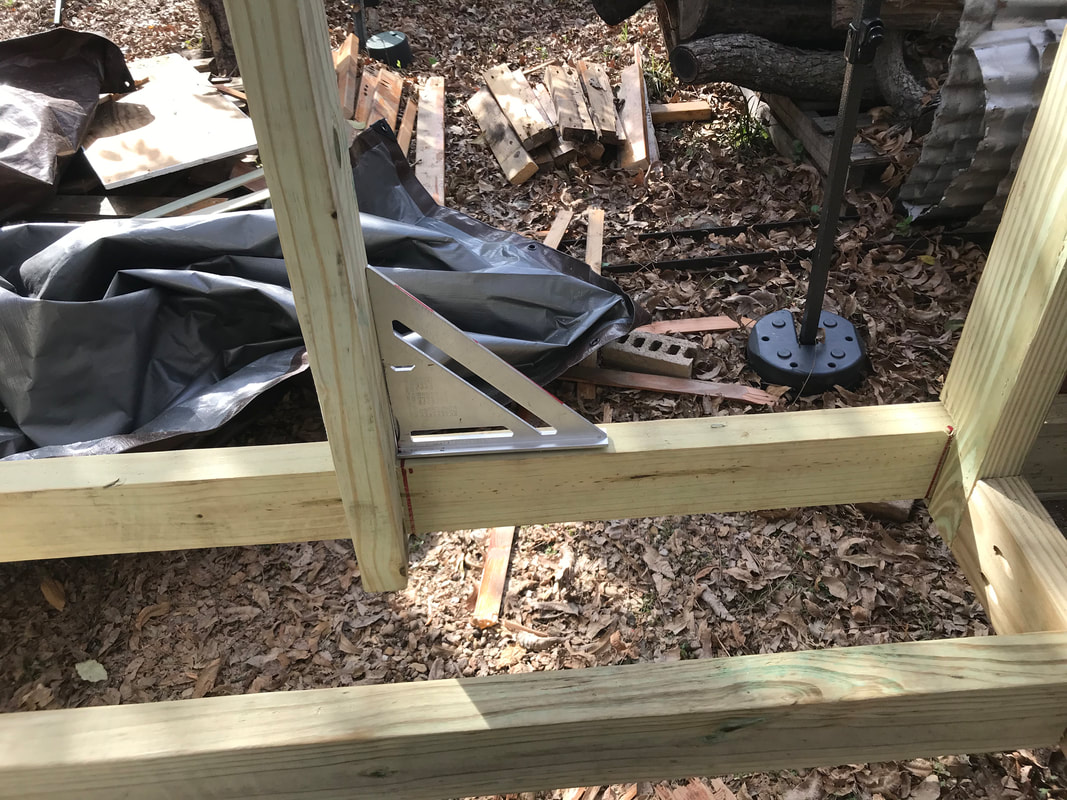
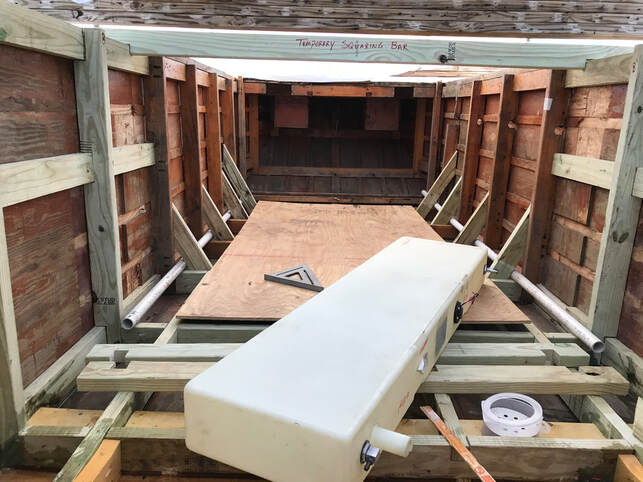
Starting to install framing. Noticed the sides were tilting outwards, so notched a 8 footer with 6 foot notch spacing to realign the sides, and placed it on top holding the side straight. Now the aft is nice and square. This is just a temporary board, which will be replaced when I start to finish the transom. I thought the side were still not square, but found it to be just an optical illusion, like railroad rails seem to bend towards each other as they go further away from you. I notched the side frames to fit snug against the boards running forward to aft.
Starting to install framing. Noticed the sides were tilting outwards, so notched a 8 footer with 6 foot notch spacing to realign the sides, and placed it on top holding the side straight. Now the aft is nice and square. This is just a temporary board, which will be replaced when I start to finish the transom. I thought the side were still not square, but found it to be just an optical illusion, like railroad rails seem to bend towards each other as they go further away from you. I notched the side frames to fit snug against the boards running forward to aft.
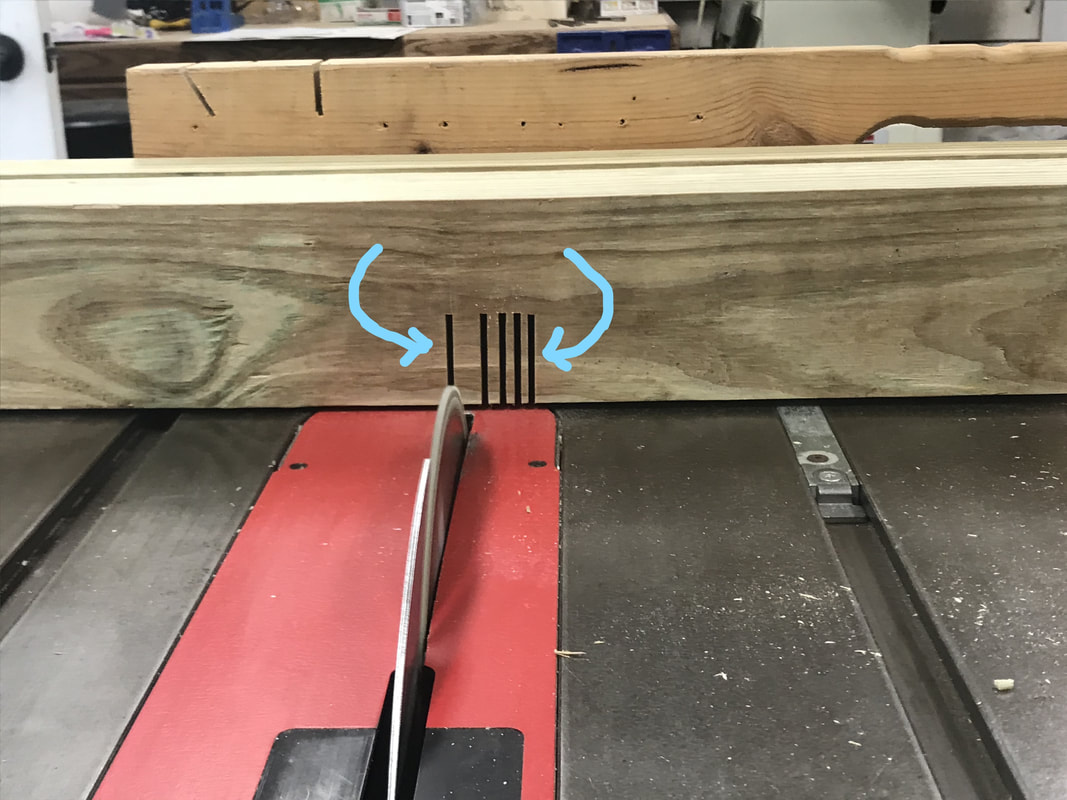
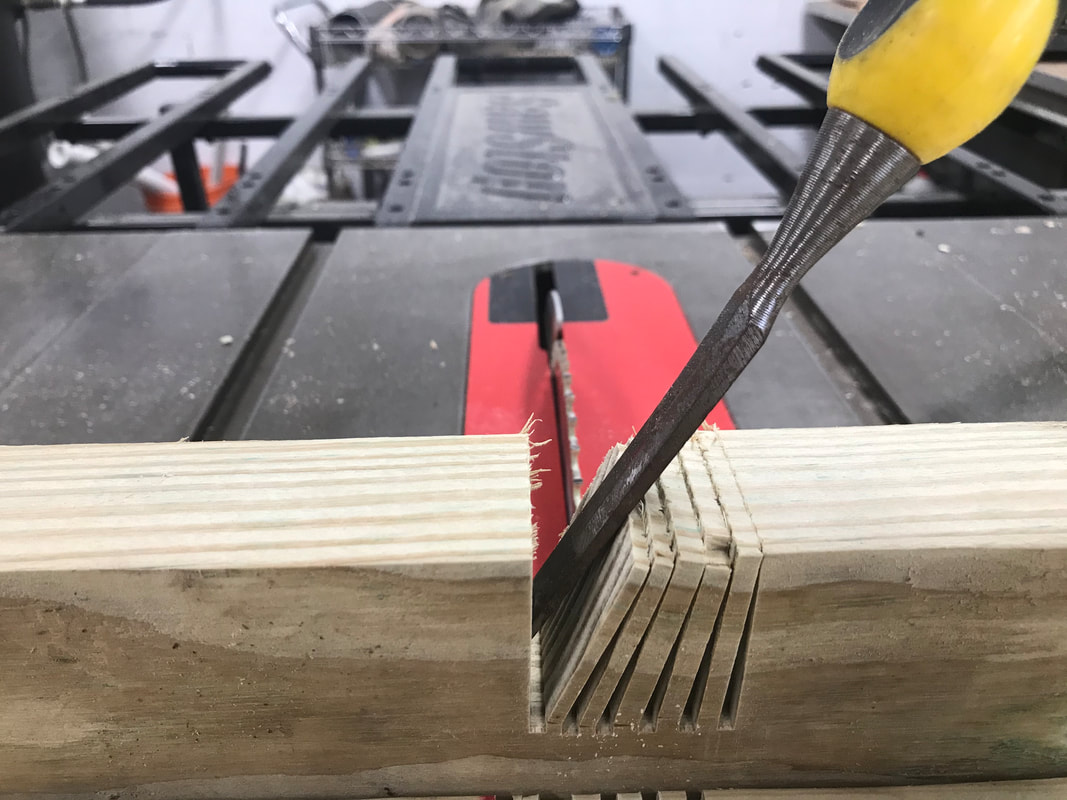
While I was notching the frames, I figured maybe it would be best if I wrote down how I do them, for reference sake. First adjust the blade height, and then cut the outer edges of the notch. Then begin feathering the notch, by making thin slices between. Size of slices not important. Next turn upside down and using a chisel, bend the slices both directions. The slices should break off easily. Now you just need to clean up the notch by turning notch side down and moving the board from side to side using the blade to clean the notch.
Got most the cabin framing in. Next is to begin installing the inner pontoon frames. Plywood is just being stored, not installed yet.
11/27/2020
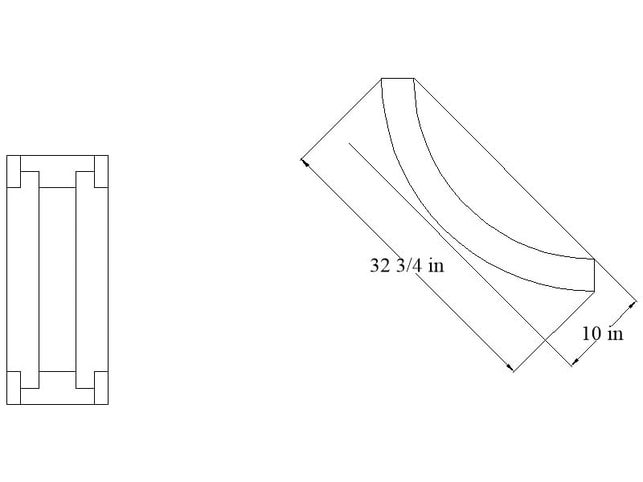
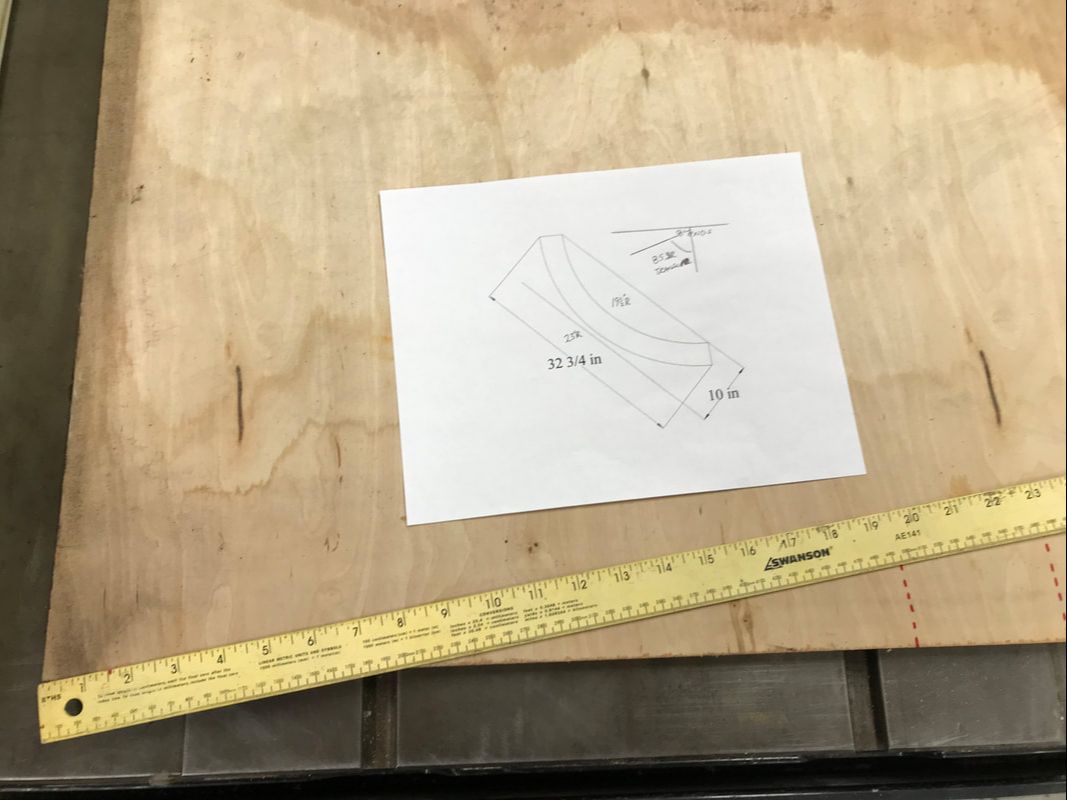
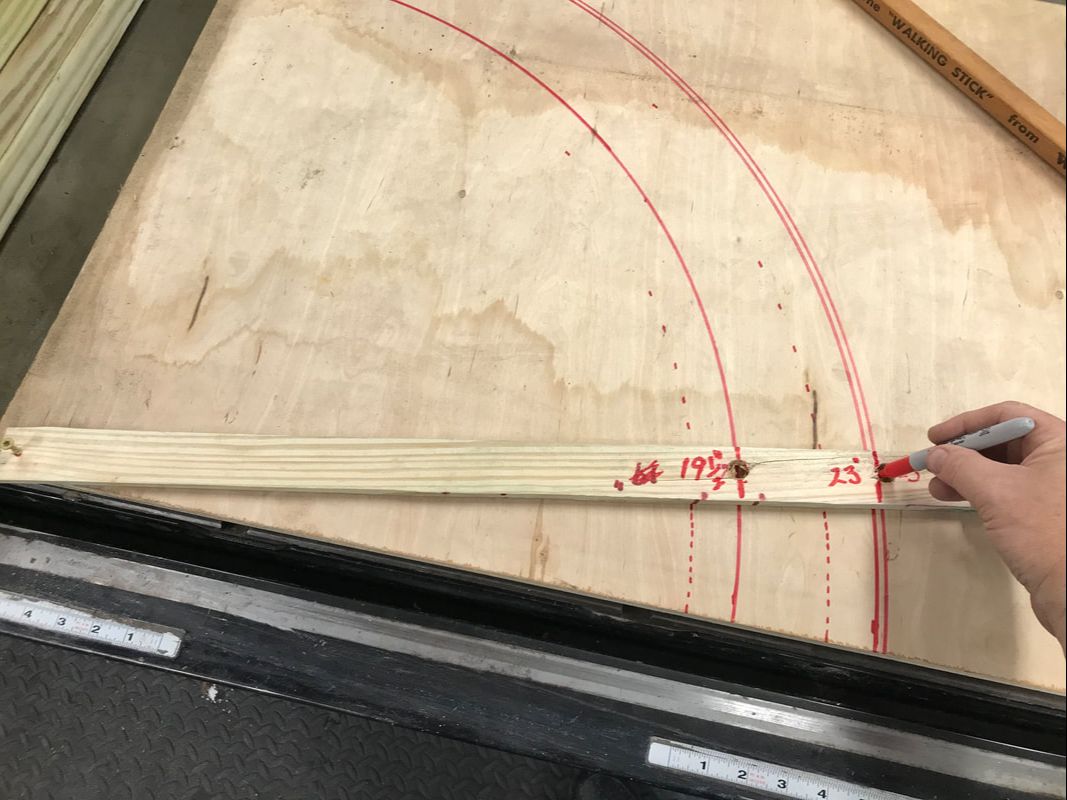
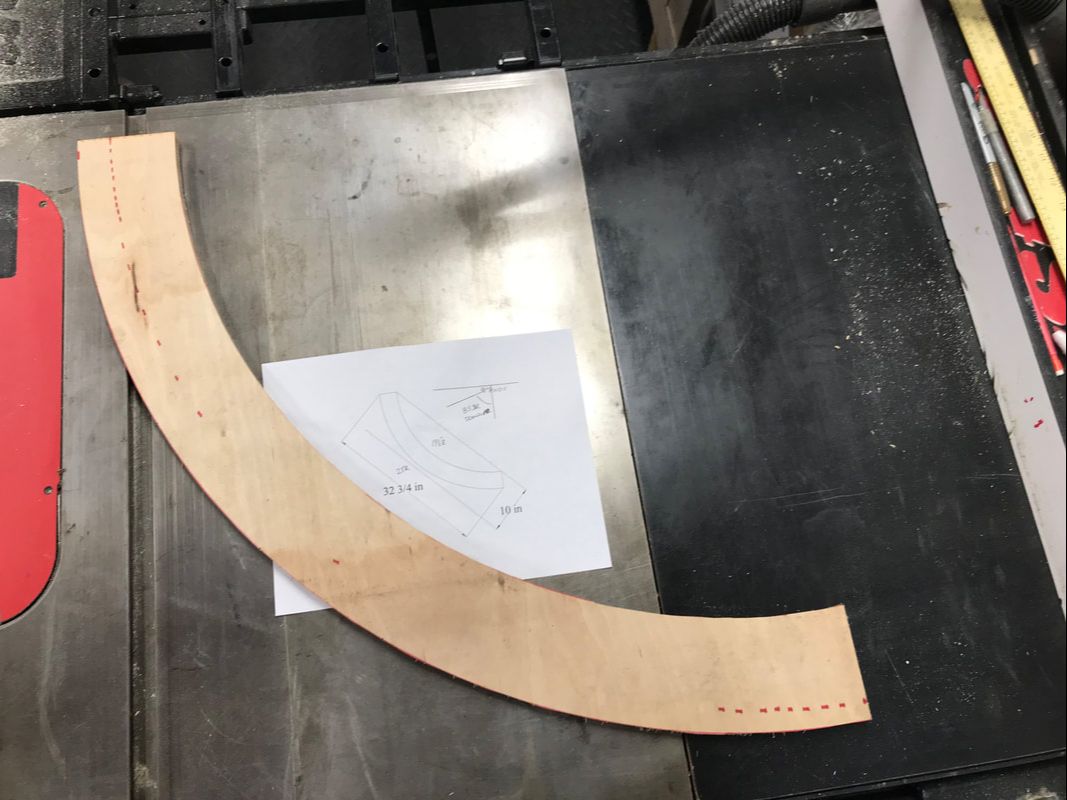
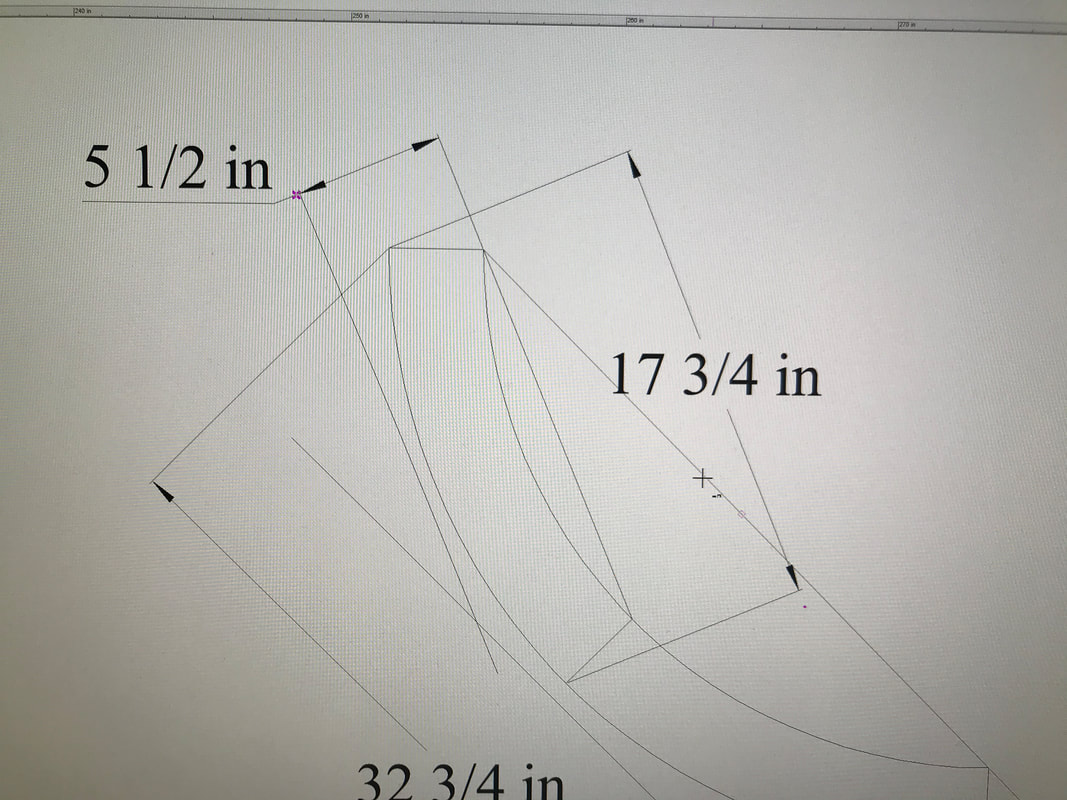
Hope everyone had a pleasant Thanksgiving. Figured out size of wood needed to cut the curved portion of the pontoons and the transom. I started making the pattern via ruler and making ink dot marks, but then I remembered I can just drill holes in a stick and use it to mark the curves. I bought (2) 2" x 10" x 12' boards and was able to get the 8 blanks needed to make the curved parts, but forgot about the stolen 1/2", that a 10" is really only 9 1/2".
Hope everyone had a pleasant Thanksgiving. Figured out size of wood needed to cut the curved portion of the pontoons and the transom. I started making the pattern via ruler and making ink dot marks, but then I remembered I can just drill holes in a stick and use it to mark the curves. I bought (2) 2" x 10" x 12' boards and was able to get the 8 blanks needed to make the curved parts, but forgot about the stolen 1/2", that a 10" is really only 9 1/2".
11/28/2020
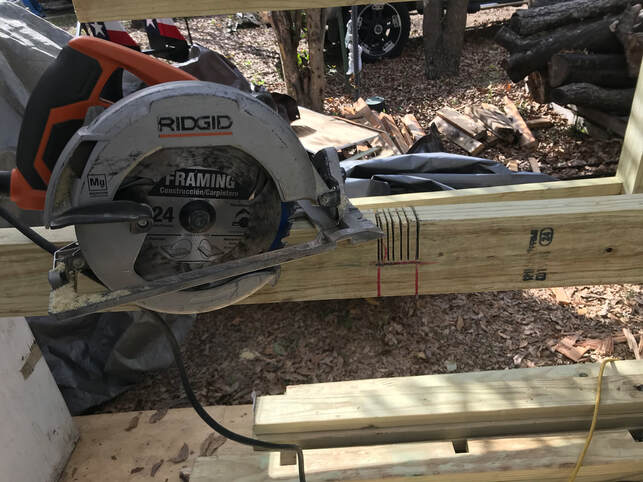
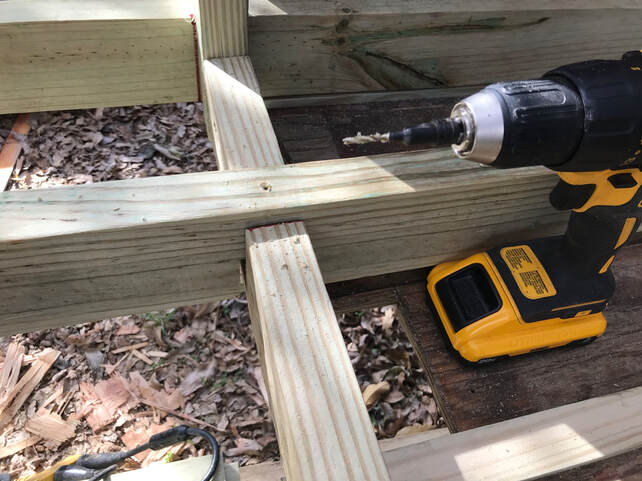
To install the inner lower frames for the pontoons, I needed to cut some notches. But the 12' board would not fit on my table in my wood shop, therefore I was able to use the circular saw to cut them at the boat. By setting the saw blade to the needed depth, you can still make the feathering to get a nice notch. I recommend drilling a pilot hole when you can, your prevent the chance of the wood splitting, when using screws to attach boards. Remember the goal is also to make sure everything is nice an square.
To install the inner lower frames for the pontoons, I needed to cut some notches. But the 12' board would not fit on my table in my wood shop, therefore I was able to use the circular saw to cut them at the boat. By setting the saw blade to the needed depth, you can still make the feathering to get a nice notch. I recommend drilling a pilot hole when you can, your prevent the chance of the wood splitting, when using screws to attach boards. Remember the goal is also to make sure everything is nice an square.
12/05/2020
Well, almost have the boat back to where I was before I sought out a new motor. Just need to mill the curved pieces. But I did learn a lesson to ensure the frame stays square till I can skin it with plywood.
Well, almost have the boat back to where I was before I sought out a new motor. Just need to mill the curved pieces. But I did learn a lesson to ensure the frame stays square till I can skin it with plywood.
12/07/2020
Finally have boat back to where next step is skinning it with plywood. Had originally bought pressure treated wood, but so hard to shape via band-saw. decided to make it easier on myself, and cut pattern in half so only need 2x6 instead and used untreated wood. Even was able to get framing for transom in with its curve.
Finally have boat back to where next step is skinning it with plywood. Had originally bought pressure treated wood, but so hard to shape via band-saw. decided to make it easier on myself, and cut pattern in half so only need 2x6 instead and used untreated wood. Even was able to get framing for transom in with its curve.
12/12/2020
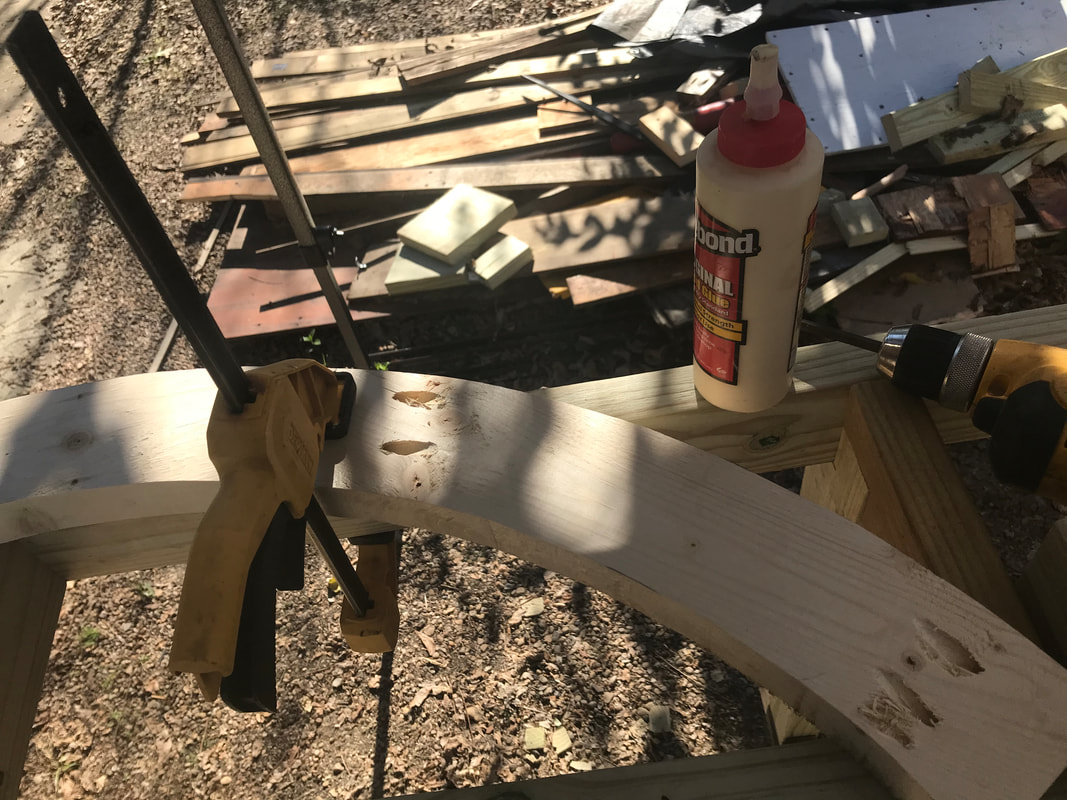
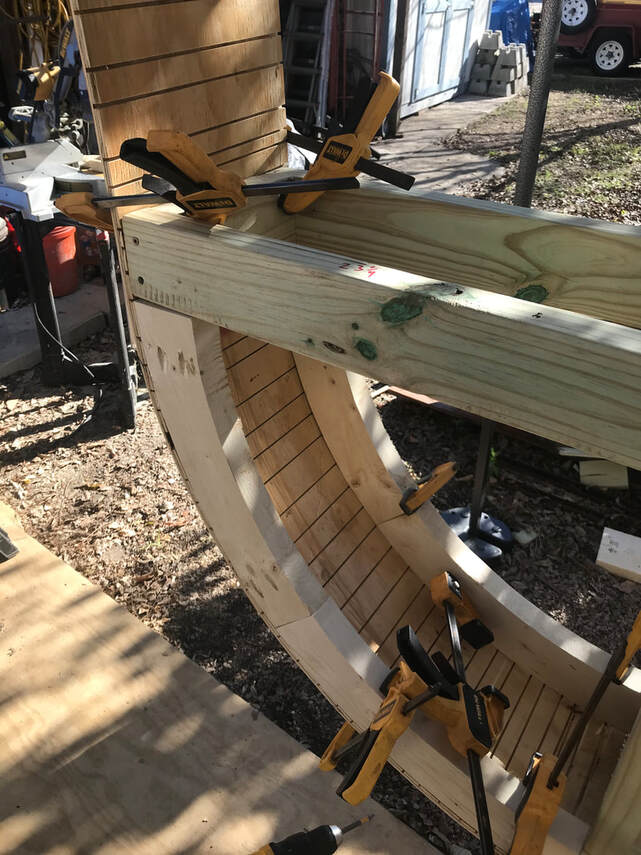
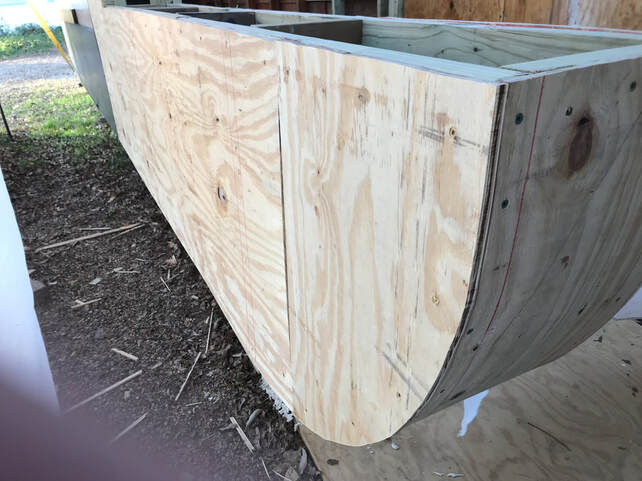
I started laying the plywood bottom first. I attempted to bend plywood gently using clamps, but ended up tearing the board. Luckily I remembered kerfing, this is where you make shallow slits in the board to allow it to bend more easily. I set my table saw height to about little less than half the thickness of the plywood and made slits about 1" apart. It made bending the plywood so much easier. I had pre-drilled my holes along the sides and top and bottom with about a 2" spacing ensuring not to place a screw within a slit. Then with some clamps to hold the board in place, I glued and screwed. You do knot want to drill holes in a row across a bend, or the wood will most likely break there like a piece of paper being perforated so you can tear it easier. I also was able to skin the bottom transom curve. I initially did not have a frame across the top, but found I needed one to be able to clamp and hold the curve. The transom piece was attempting to bow in the center otherwise. After installing the frame, it came together very nicely. I even went ahead and installed the inner pontoon sides. This required tracing the pontoon's ends and cutting them on my band-saw, the transom curve I drew and then cut out, but now that I am looking at the pictures, I probably could have clamped the side that butt up to the transom to the pontoon end and used that curve, since they are all the same size and radius. The transom only curves up 10" from the bottom and then straight up. It leaves a 1/2" gap where I can slide the top transom piece in after I install the engine. What is nice, is I have an oscillating saw which can trim the plywood very cleanly once installed to insure everything is flush. Perfection is not required, since I plan to route the edge with a 1/2" round over bit, to make the edges more smooth and allow fiberglass to lay down without binding or creating bubbles under it. Square corners are hard to fiberglass and besides, you can hurt yourself more by falling on a sharp edge than one that has been rounded over.
Next step is to sand the inside. I need a warm day around 60 degrees to be able to make resin putty to fill and gaps and knots, and then to waterproof the inside bottom, to prevent the wood from soaking up any water. Boats sit on water and the water seems to always find a way in which is expected since I made channels for it to flow to the aft to be drained overboard via a bilge pump. But I do not need the wood to soak up any, which would encourage wood rot. Bad for a boat. I will not plywood the outer side of the pontoons till I waterproof the inside. Also will allow me to install the gas tank easier.
I may begin laying down the inner deck again, and start working on building the metal frame to hold the engine. So far the plywood floor is just a spare piece of plywood not attached to anything.
I was thinking about extending the inner deck all the way to the transom and then placing the engine mount, but I want to install a way to drain the oil from the engine to the bottom of the boat, so I will not have to tie myself into knots to reach the drain plug beneath the oil pan of the engine. Easier to go from the oil pan to a value via some tubing and then from the value to a drain plug recessed in the bottom, reached from underneath the boat. Will be same with transmission fluid, and possibly also a drain for winterizing the boat by draining the water that keeps the engine cool while running.
12/22/2020
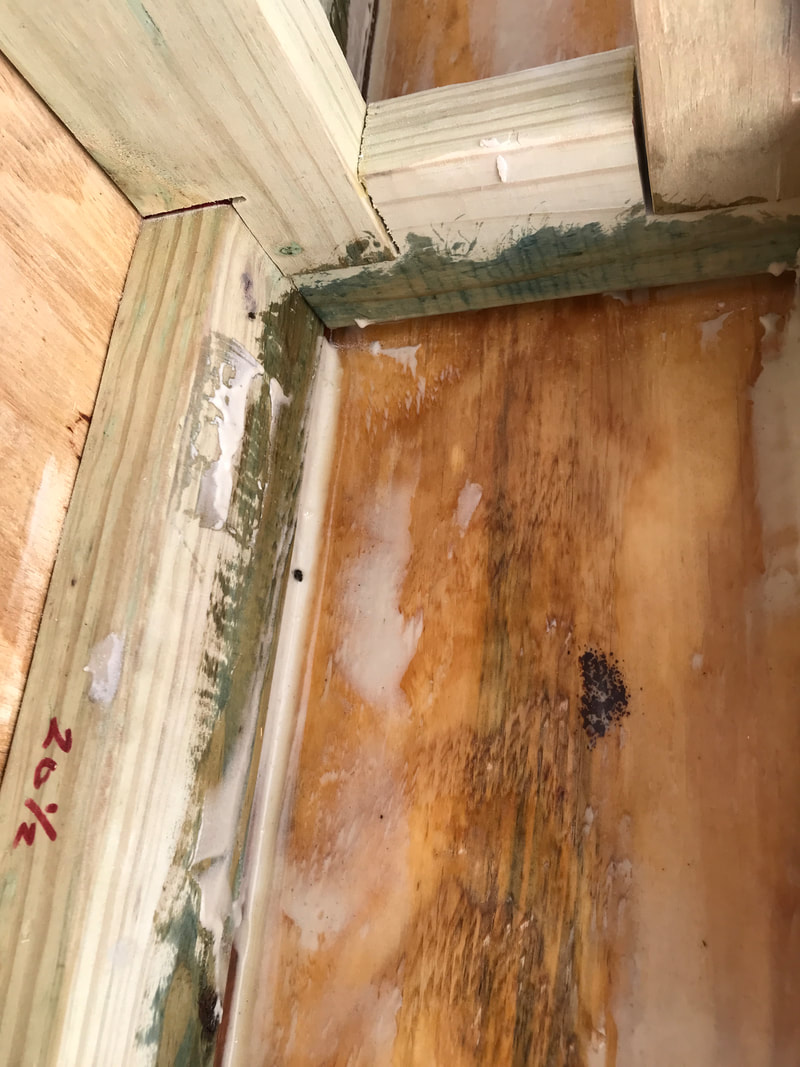
Temperatures were high enough to be able to make resin putty and ensure that it cured. I used the putty as calk to ensure water in the boat would not seep between the frames and the bottom of the hull, but continue to flow towards the bilge pumps. I also resined the bottom of the pontoons interior for waterproofing.
Built the compartment to hold the gas tank, and also resin putty the inside corners as well. After the compartment is dry, will sand and resin it as well to ensure no gas leak allows gas to soak into the wood. Then I will install straps to hold the tank in place and install the tank.
12/23/20
Good Morning all! Just two days till Christmas and yesterday was 70 degrees. Was able to resin the gas tank compartment and the tank straps arrived, so can finally install the gas tank today. Also I had been thinking on how to run the wires and possibly hydraulic line from aft to forward and decided to use 1 1/4" PVC tubes. To secure them, I came up with installing braces along the sides, which will also ensure the sides remain 90 degrees, so now I can remove my temporary braces. I will definitely include the braces in any new designs. Finally was able to place the pontoons' outer sides on. Next is to install the flooring, tank, bilge pumps. and start putting the screw holes and gaps. The reason you place putty on the screw heads, is I find that when you lay fiber cloth, as the resin hardens, it creates a lot of heat, which will cause the air trapped in the notches of the screw head to expand. Which then causes bubbles to form, that will need to be popped and filled in with putty anyways. So I just fill everything in first time and ensure a nice flat surface for the fiberglass cloth to be resined on.
Good Morning all! Just two days till Christmas and yesterday was 70 degrees. Was able to resin the gas tank compartment and the tank straps arrived, so can finally install the gas tank today. Also I had been thinking on how to run the wires and possibly hydraulic line from aft to forward and decided to use 1 1/4" PVC tubes. To secure them, I came up with installing braces along the sides, which will also ensure the sides remain 90 degrees, so now I can remove my temporary braces. I will definitely include the braces in any new designs. Finally was able to place the pontoons' outer sides on. Next is to install the flooring, tank, bilge pumps. and start putting the screw holes and gaps. The reason you place putty on the screw heads, is I find that when you lay fiber cloth, as the resin hardens, it creates a lot of heat, which will cause the air trapped in the notches of the screw head to expand. Which then causes bubbles to form, that will need to be popped and filled in with putty anyways. So I just fill everything in first time and ensure a nice flat surface for the fiberglass cloth to be resined on.
Here are a set of 4 photos showing the tank installation.
12/30/20
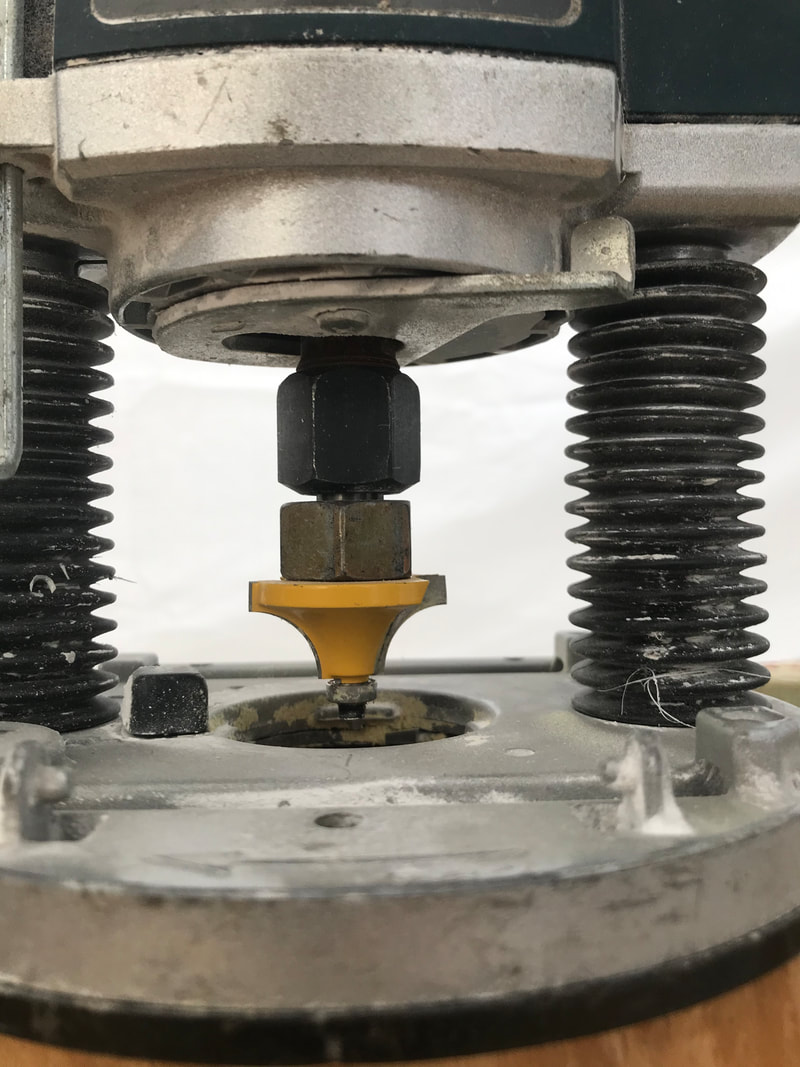
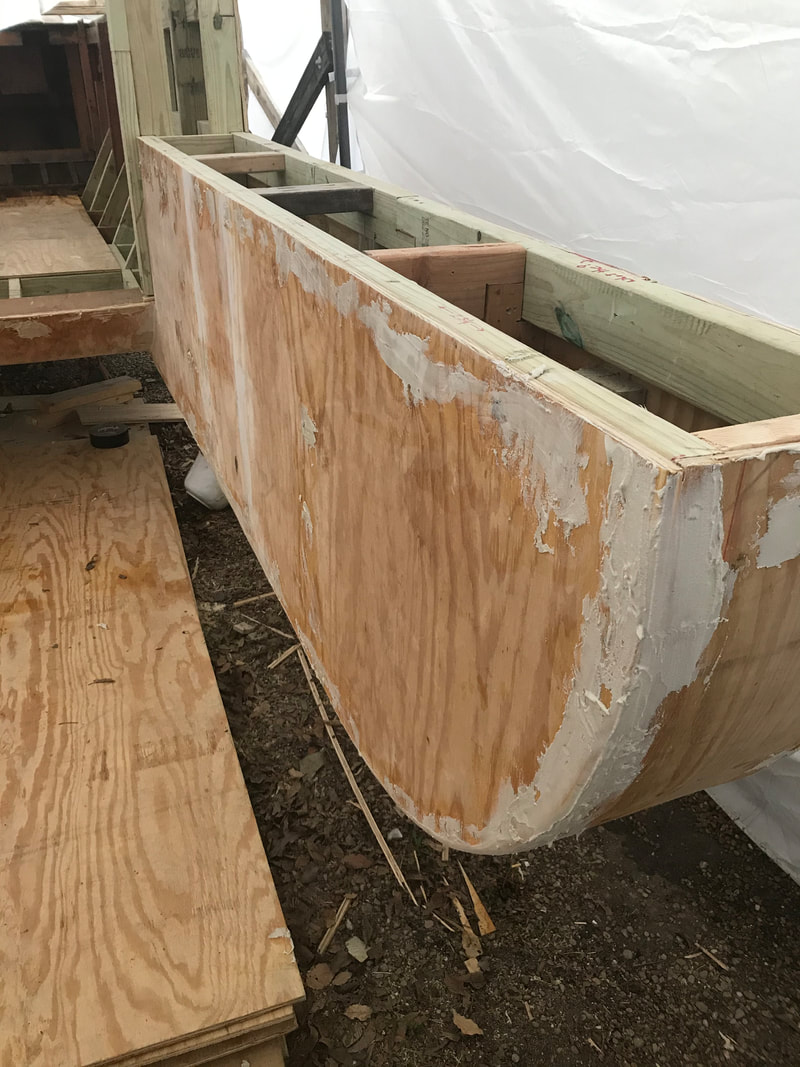
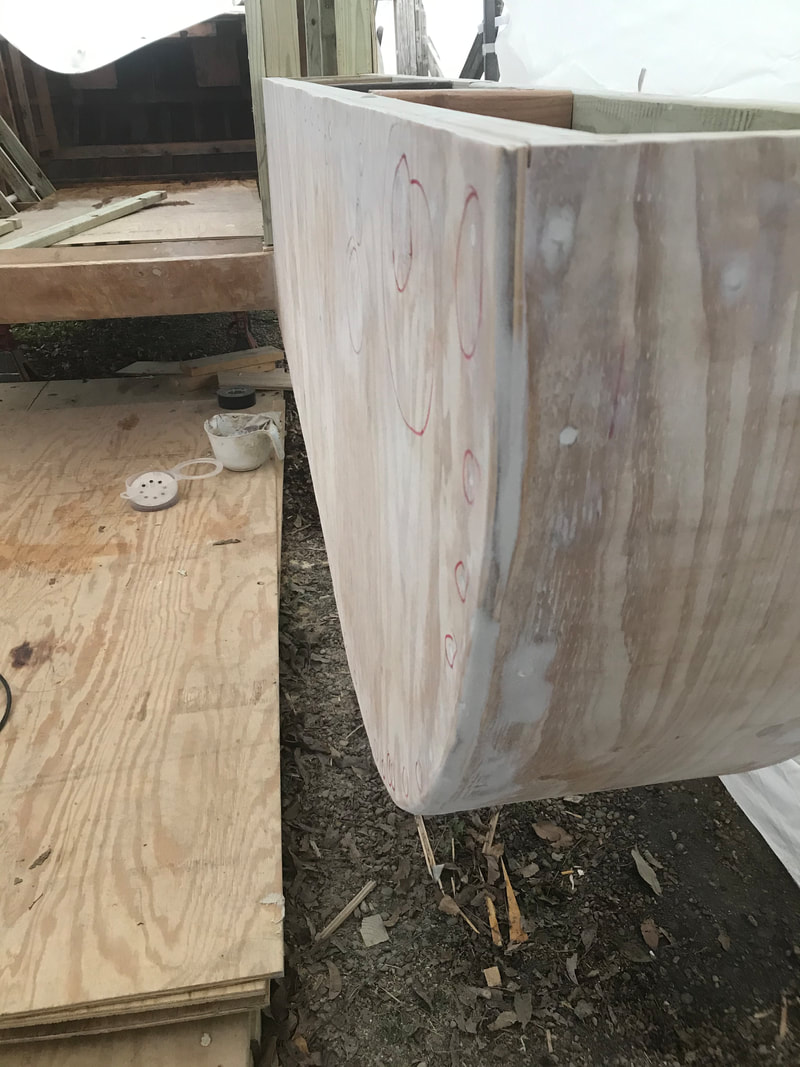
I routed the edges with a 1/2" round-over bit to soften the them. Afterwards I mixed some resin putty and filled in all the screw holes, cracks, knots, and joints. Now comes the sanding part and hopefully with some warm days, I can start laying the fiber cloth.
I routed the edges with a 1/2" round-over bit to soften the them. Afterwards I mixed some resin putty and filled in all the screw holes, cracks, knots, and joints. Now comes the sanding part and hopefully with some warm days, I can start laying the fiber cloth.
1/15/2021
Been spending weeks, puttying and then sanding. Believe I have just one more putty mix to finally fill enough imperfections to be able to go to the next step. As Leonardo da Vinci said, " Art is never finished, only abandoned." Meaning, you will always see something to tweak, but if you want to ride in a boat, you need to say, this is good enough.
Next step is to put fiber tape on area where the flair was removed, when the rudder placement was center aft of the boat. Then sand and paint. This will allow me to shift the boat supports in preparation to bear the weight of the engine. I want to install the engine, and add the upper transom, before I cover the new pontoons with fiber cloth. Once that is done, I can reinforce the corners with fiber tape, paint and begin working on extending the trailer.

