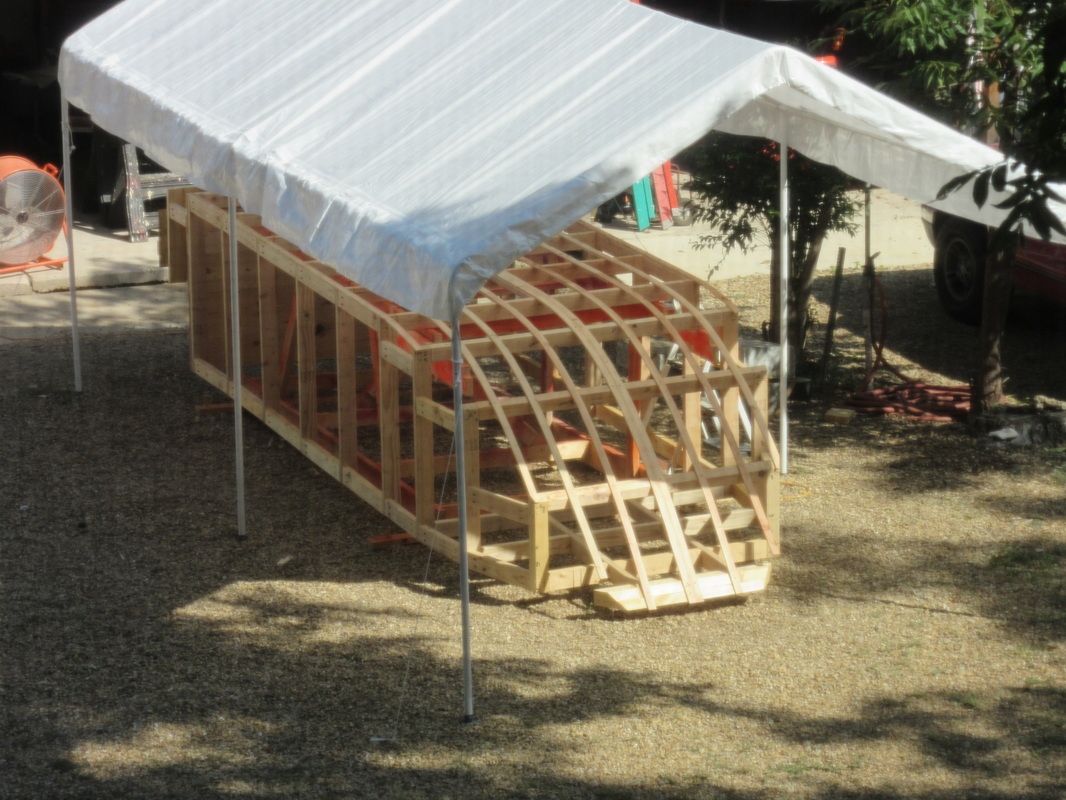
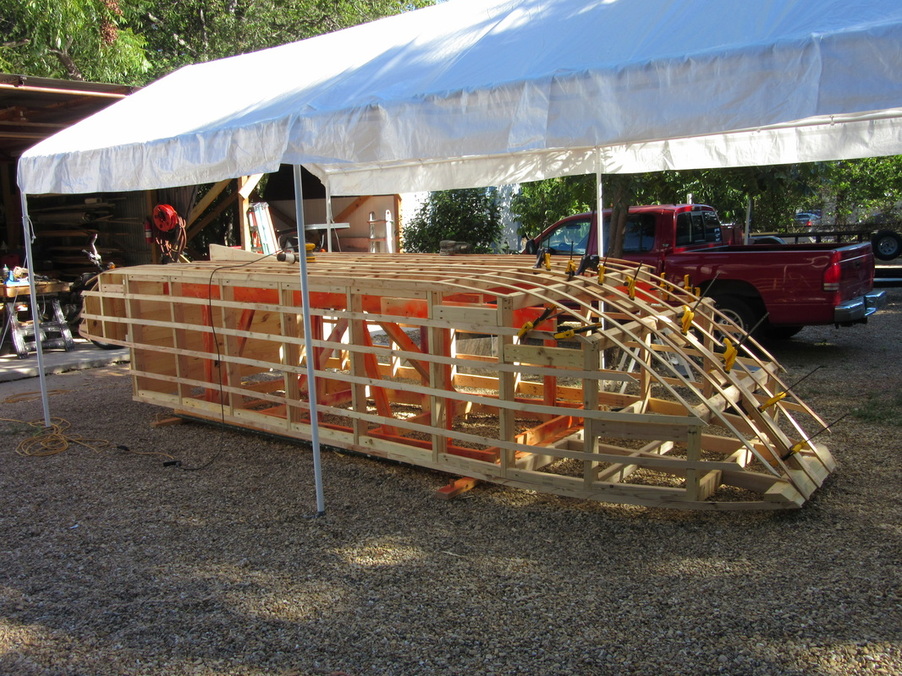
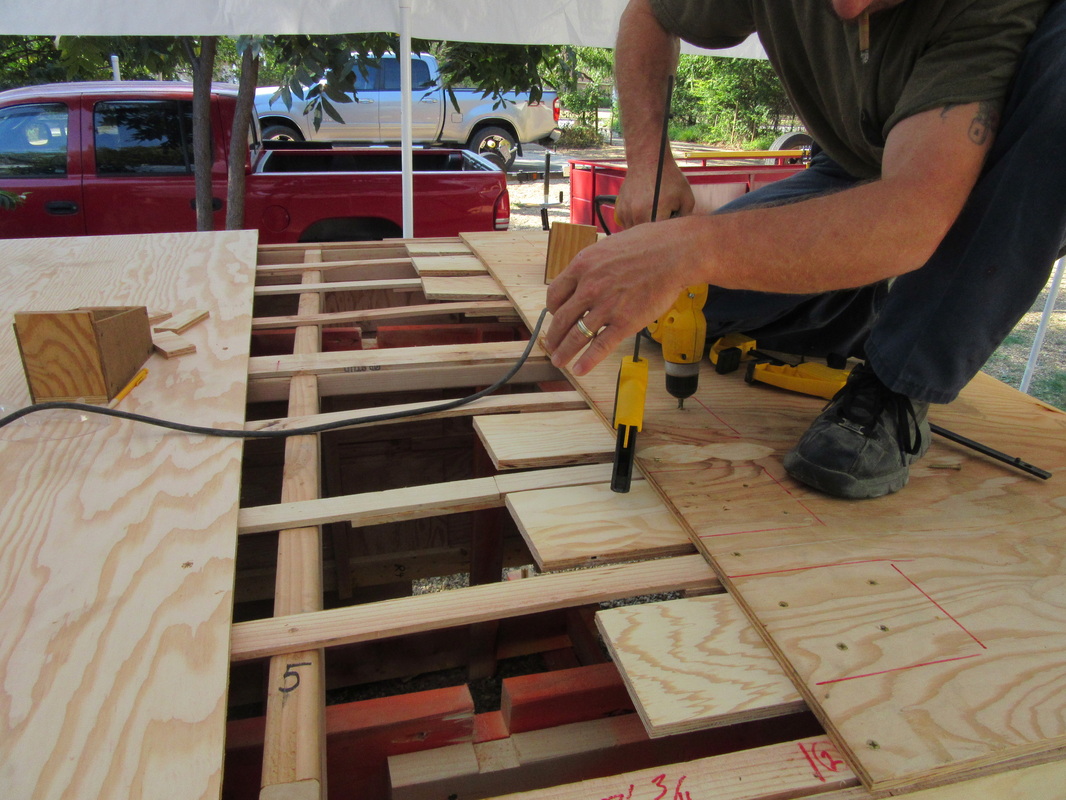
Ok. Could not wait to start putting on the chines. Have finished all but the aft sides.
I was busy gluing, predrilling and screwing the slats on, delicately so as not to snap the boards when my father-n law came by. I was like thinking, "Oh great, he's can't stand not telling me how I should be doing my job." when he says, "How come your not using your nail air-gun?" I was just about to come back with a tart come back, when what he said hit me. Hey, why not use the finishing nail air-gun! Ok, this time I just grinned at him and told him that is exactly what I will do. Went so much faster.
I was busy gluing, predrilling and screwing the slats on, delicately so as not to snap the boards when my father-n law came by. I was like thinking, "Oh great, he's can't stand not telling me how I should be doing my job." when he says, "How come your not using your nail air-gun?" I was just about to come back with a tart come back, when what he said hit me. Hey, why not use the finishing nail air-gun! Ok, this time I just grinned at him and told him that is exactly what I will do. Went so much faster.

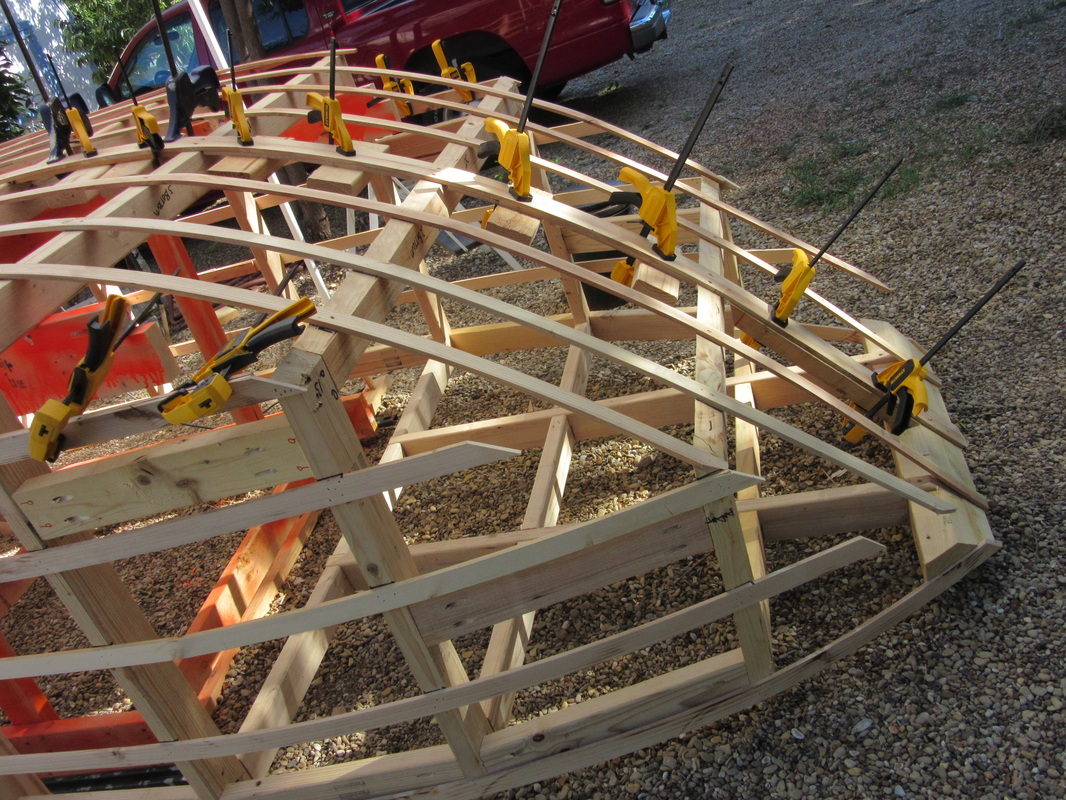
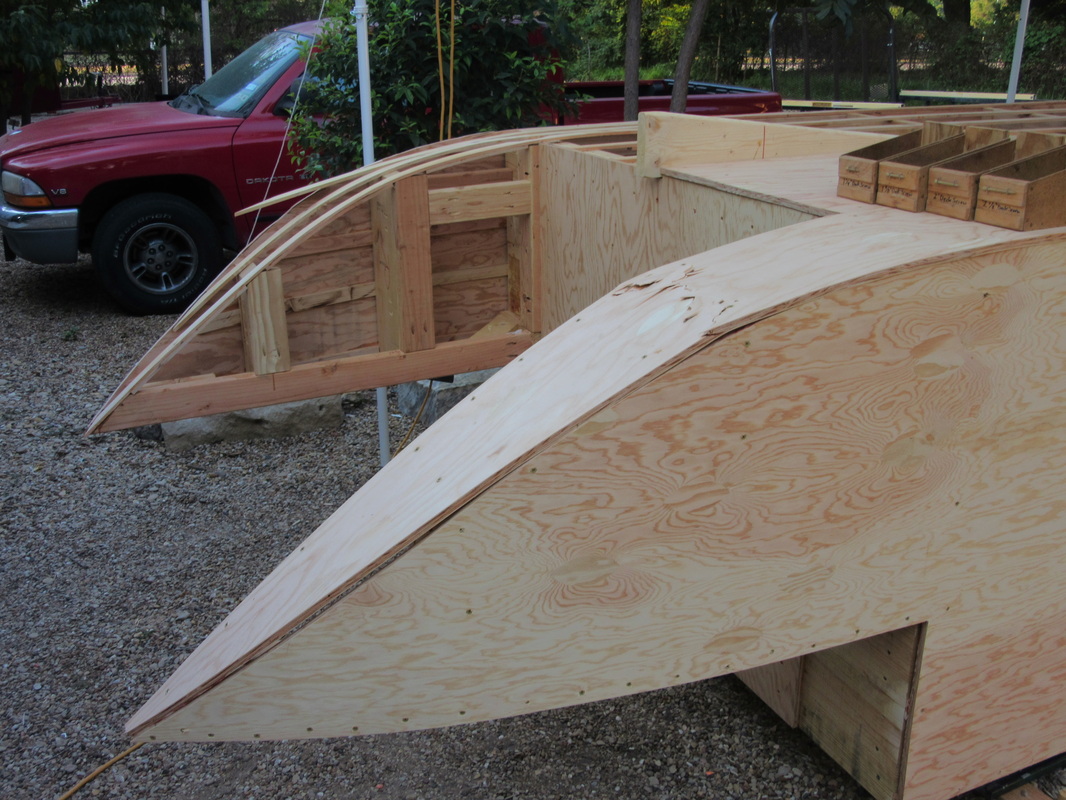
OK! All the chines and battens installed. Now going to reinforce the center battens where the plywood hull pieces will meet. Gives me a better screwing power to pull the pieces together. Also added a 2x4 piece in the very front center, which will be great when I want to install the rope eye bolt so I can attach the trailer wench to pull the boat onto the trailer.
Using scrap wood to help the extra thickness pieces to form the necessary curves.
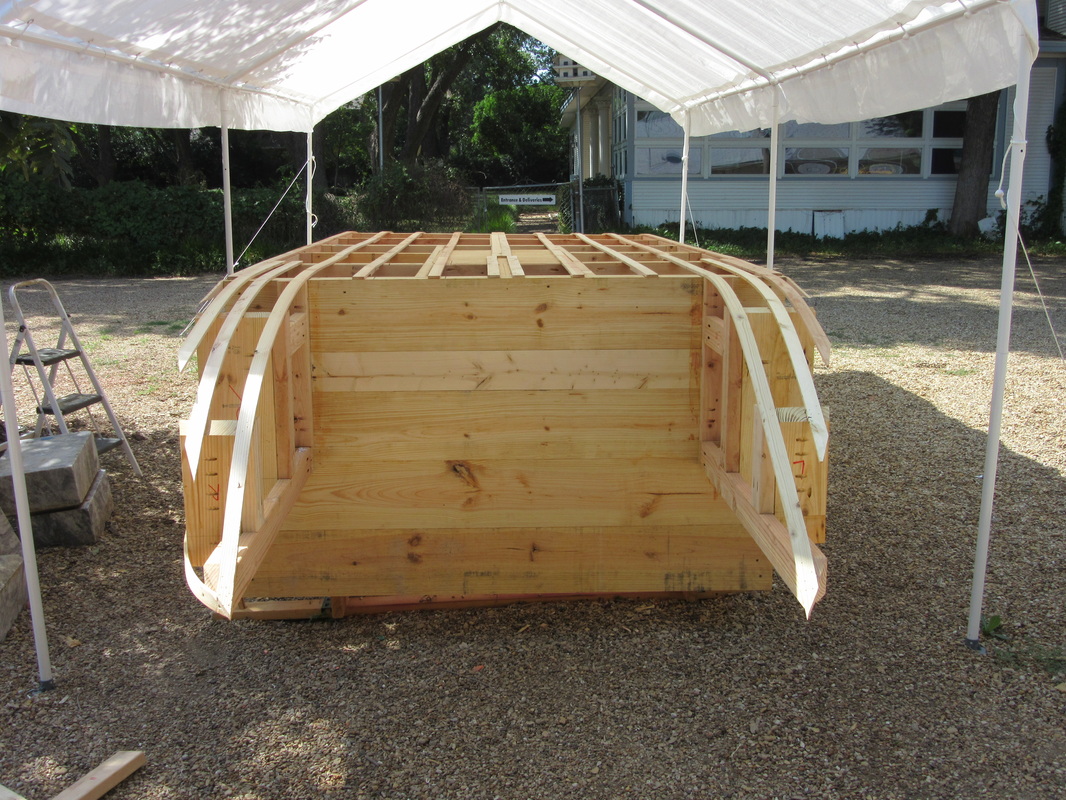
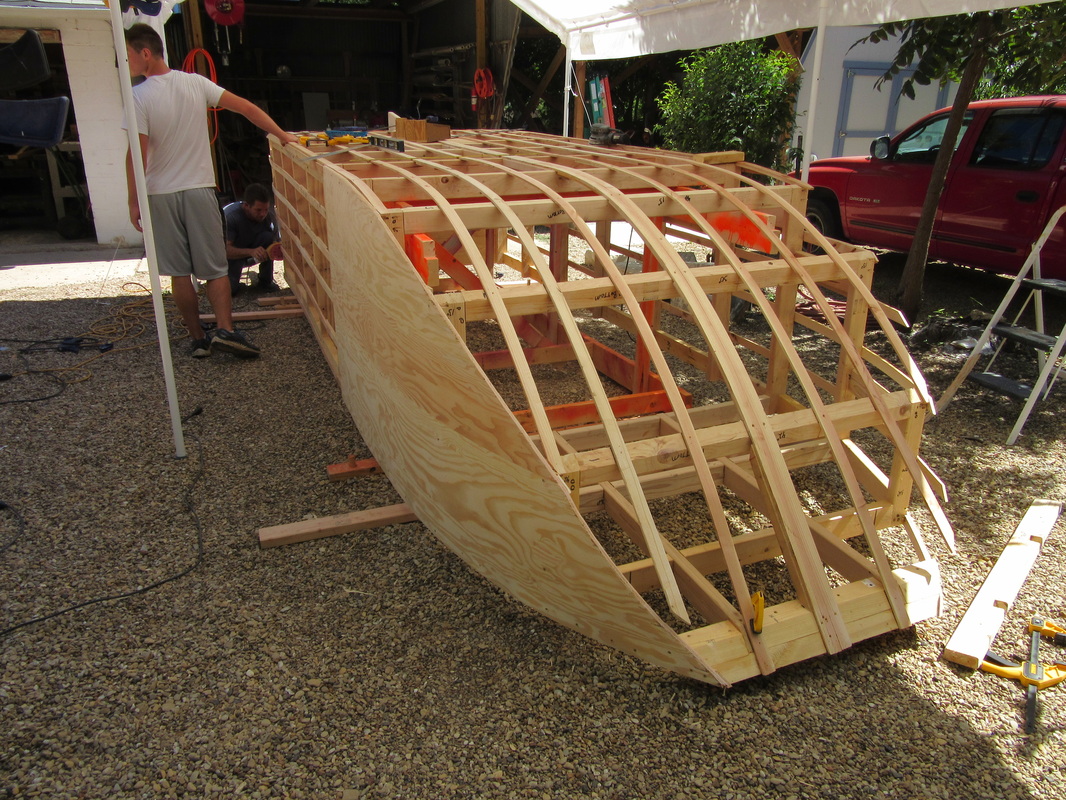
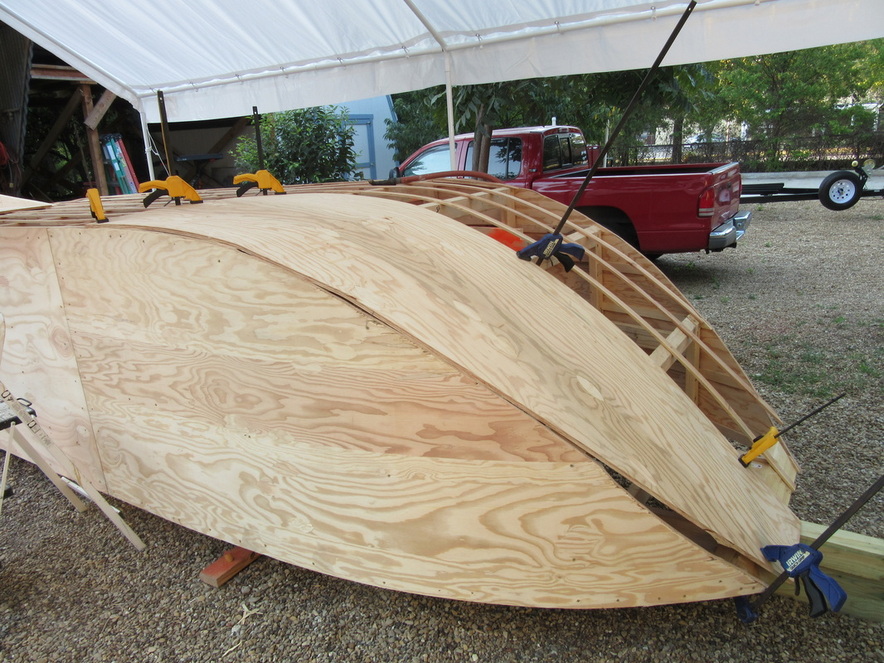
Yea! Time to start putting on the hull pieces. Placed the plywood against the boat front and traced it. Then cut using my circlar saw. Glued the chines and then clamped and screwed the wood on.

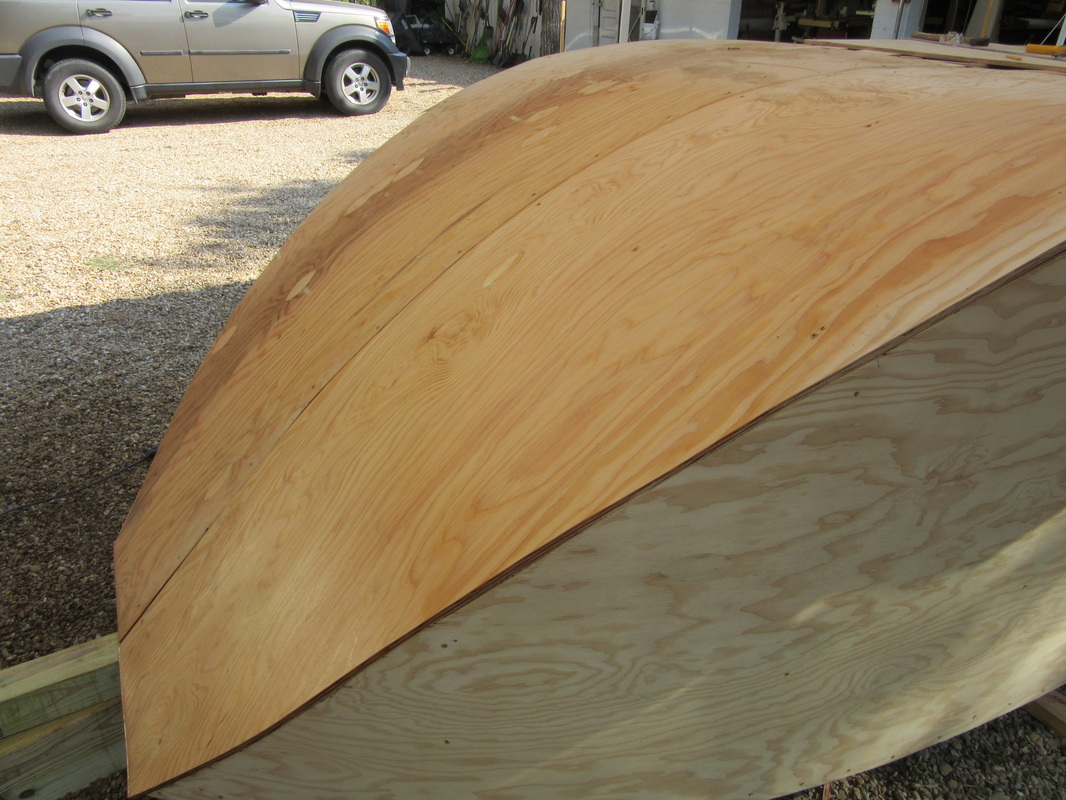
What a nice curve.
Last time I had also pieced together the aft bulkhead and immediately fiberglassed it. Unfortuanlty after a large ground dropping event, the aft bulkhead cracked right where the wood pieces met. This time I am also covering it with plywood then fiberglassing it.

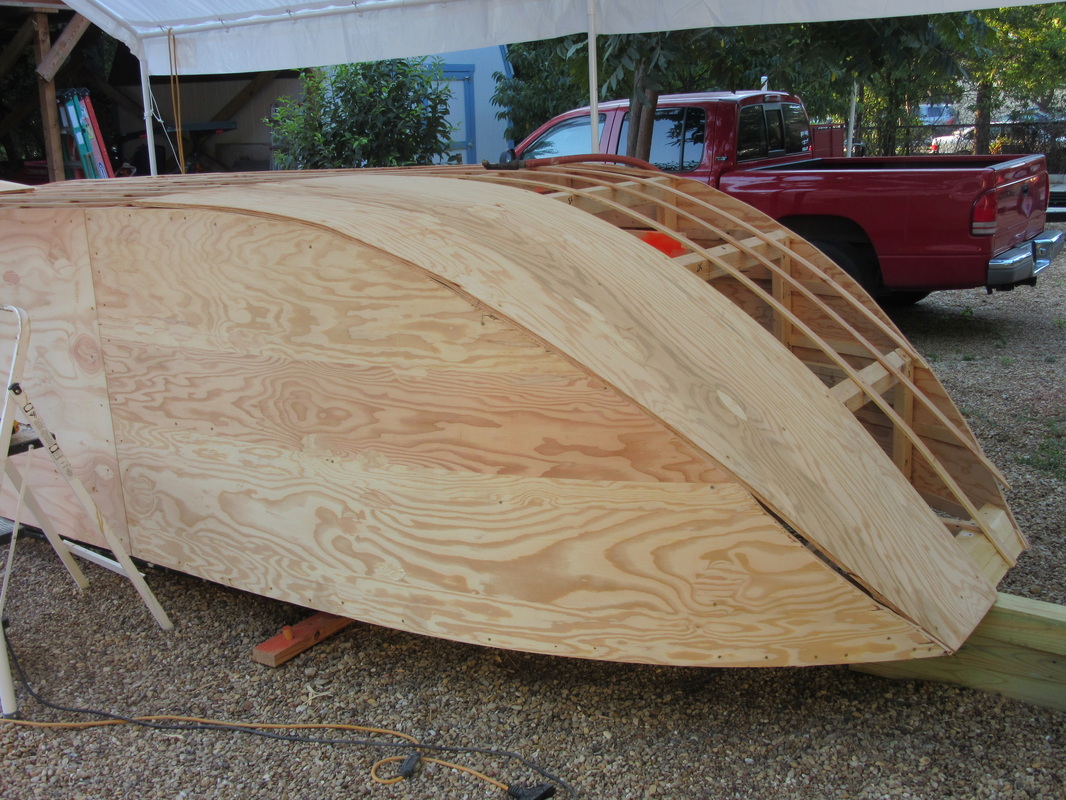
One side almost done, fore and aft pieces cut and attachted. Unfotuantely have to wait till lumber yard gets more 1/2" marine grade plywood. Needed 16 sheets, and they only had 5, they plan on getting some more tomorrow. Will just have to see.


Apparently I was too eager to get the wood to bend. Will try slowly bending next.
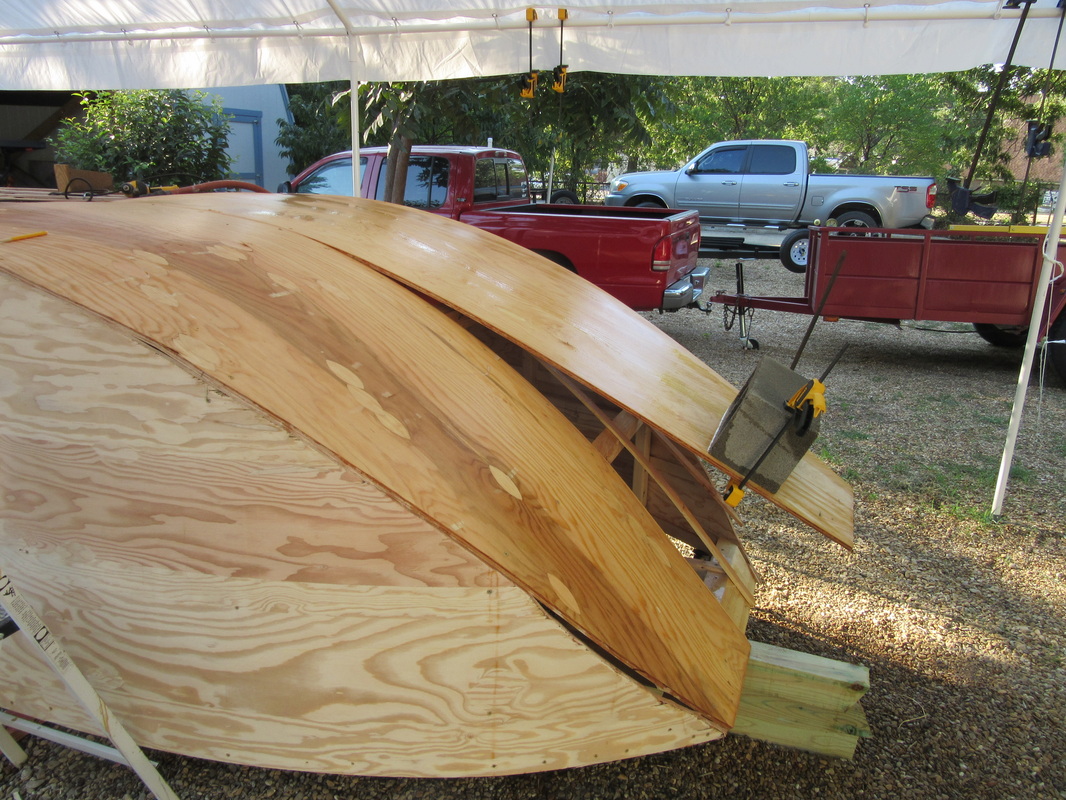
What a beautiful bend. Just needs some sanding and then we can start filling in spaces with resin putty.
This time I placed a wieght at the end and while wetting the board slowly tightened the clamp . I would adjust the clamp about every 30 minutes. Got it to bend perfectly without any splitting.
Here we are adding splicing boards. I am not enclosing the entire space, but leaving space for water to flow towards the back if any should get into the boat.
Using the wetting method, I was able to get the otherside of the aft pontoon to bend without breaking or splitting. I plan on replacing the broken board.

Cut out the broken portion of the plywood and replaced it. Cutting and bending the smaller board was so much easier, that I plan on redesigning the plans to show the separate boards.
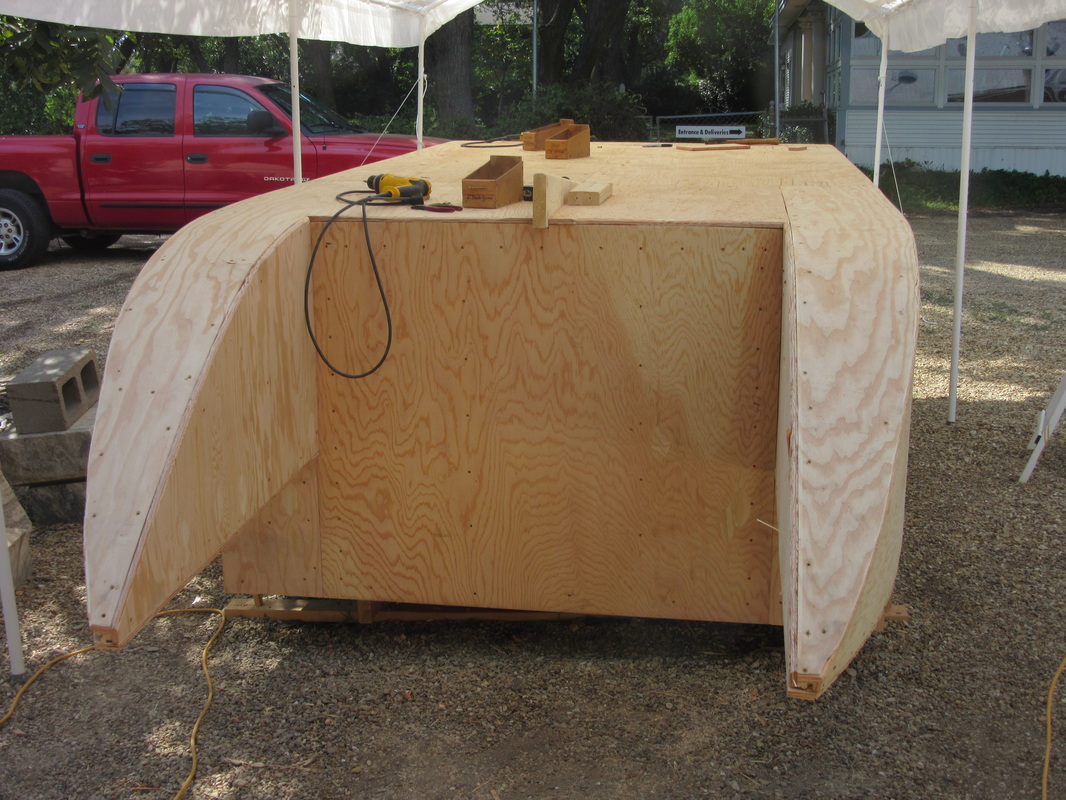
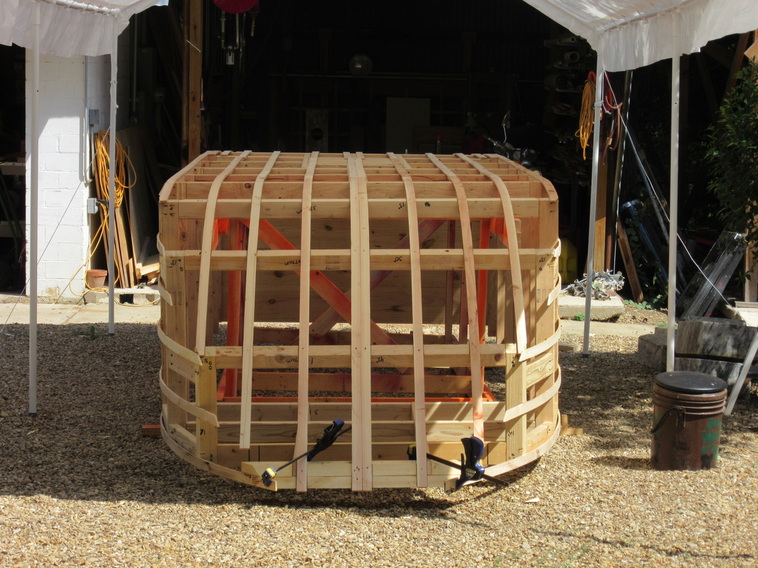
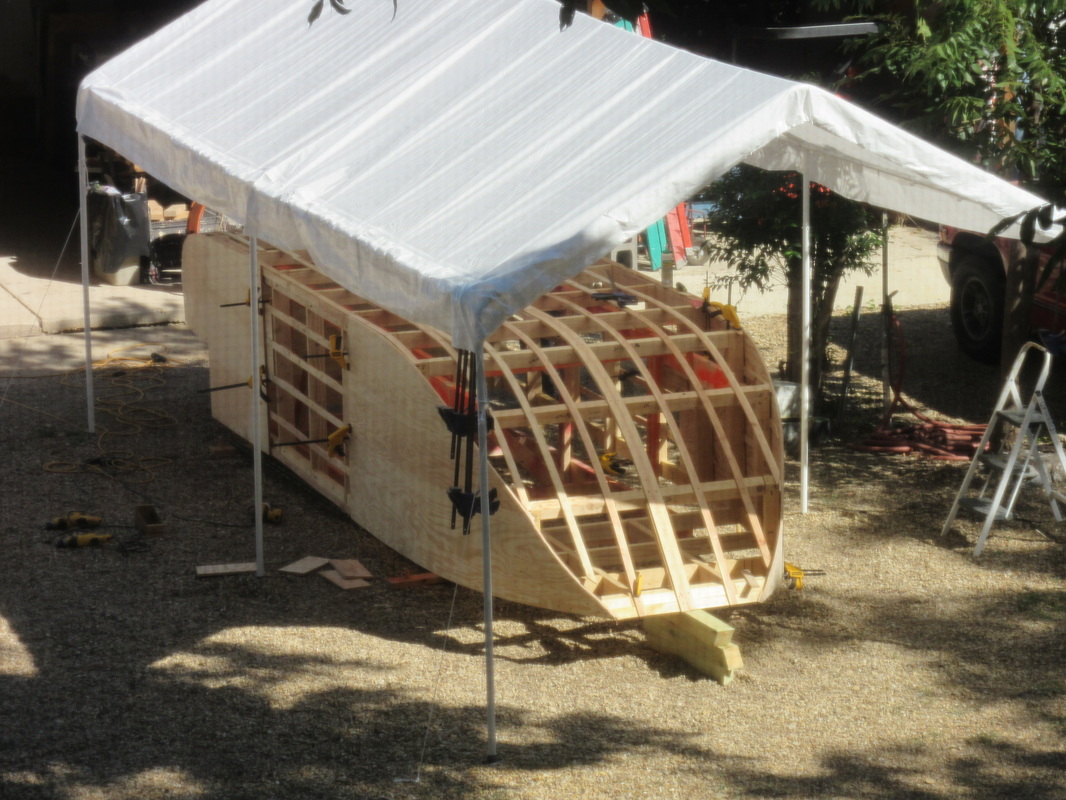
Finished fleshing out the boat. Used 13 sheets of 1/2" marine grade plywood. Next need to fill in the spaces with resin putty, and then fiberglass the hull. Orded 32 yrds of 50" 7oz fiberglass cloth from Glen-L. And would like to thank them for the speedy delievery.
I had raised the bow with a few 4x4s so it would be easier to get clamps and hands under the nose.
I had raised the bow with a few 4x4s so it would be easier to get clamps and hands under the nose.

Working on correct mixture of silica (prevents sagging) & micro-spheres (great filler) to resin. After careful testing, found 1 1/2 cup silica and 1/2 cup micro-spheres to cup of resin makes a nice workable putty.
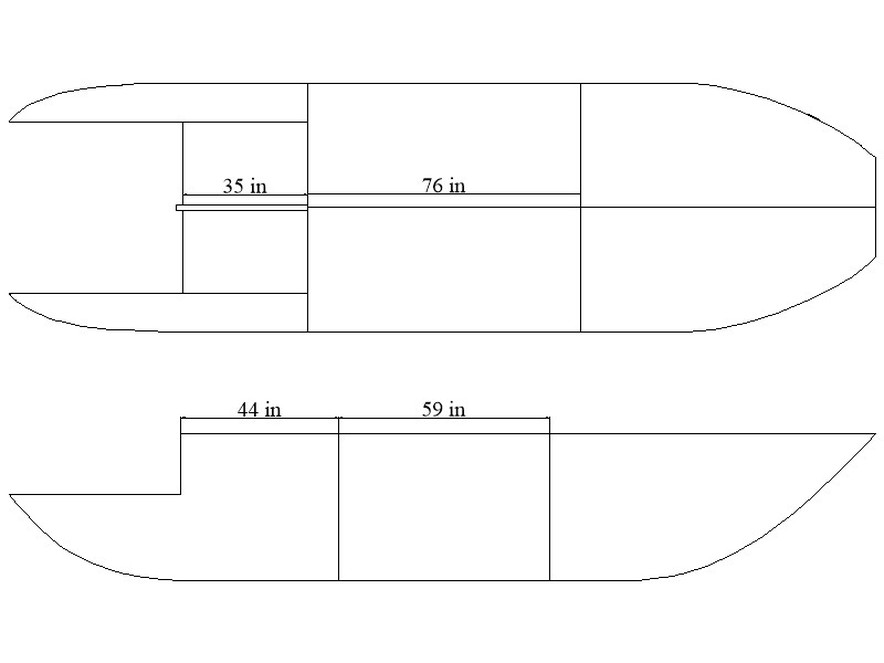
Here is the plot for laying down the plywood for the hull. I used 13 sheets of 1/2" marine grade plywood. I started with the sides and from the aft. I found it was best to measure from the aft bulkhead. Like I said it was easier to bend the aft pontoon when the piece was thin so I redrafted the drawing to reflect that.