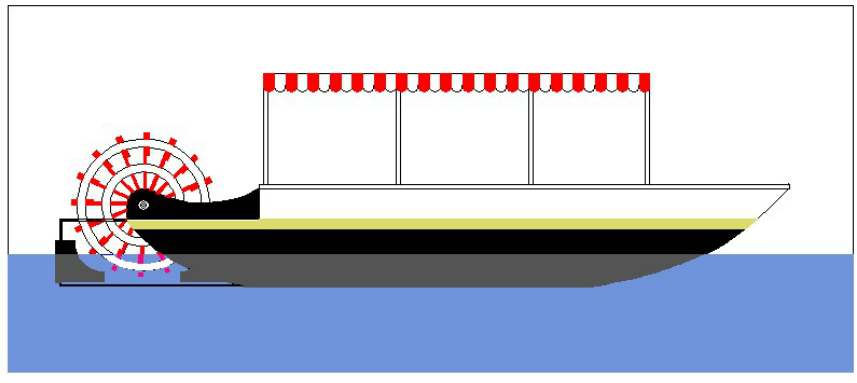
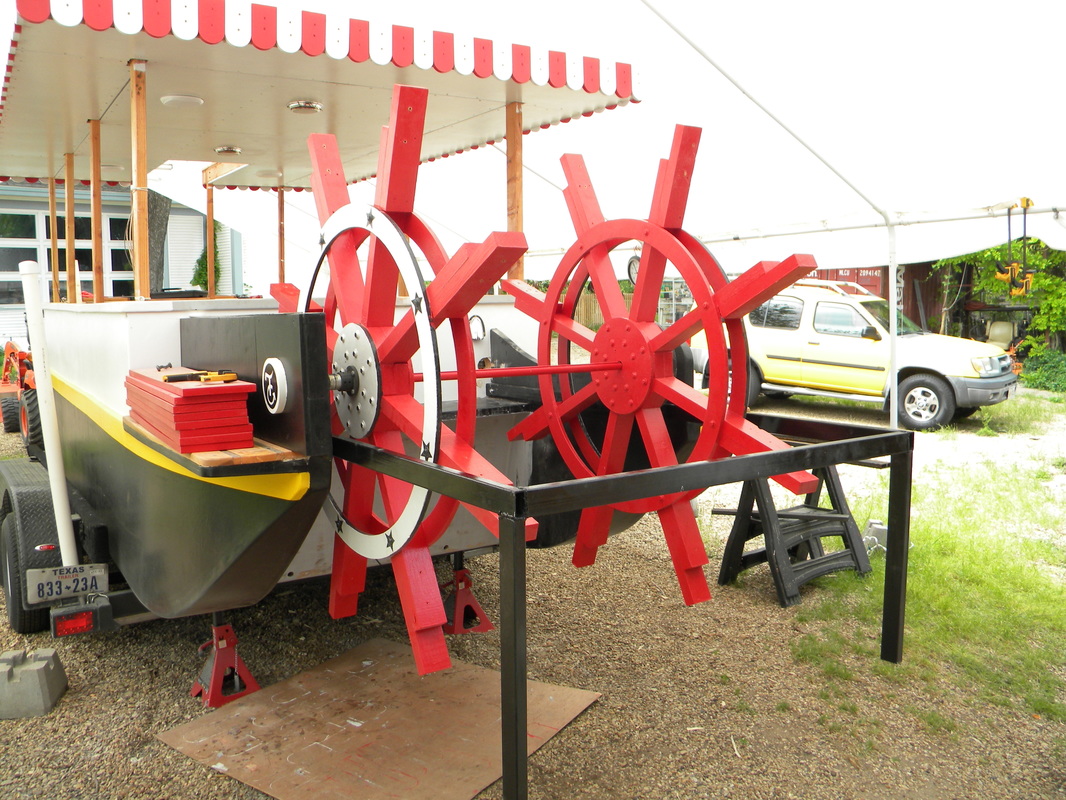
Updated the drawing to show new placements of the rudders.
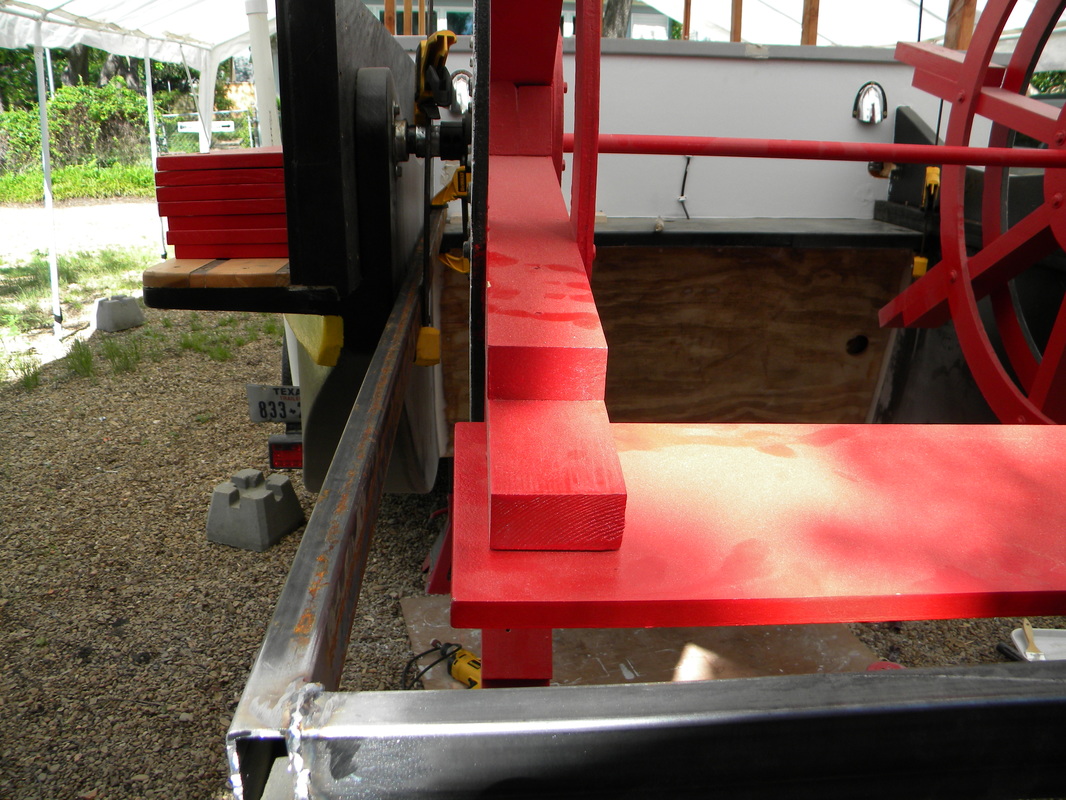
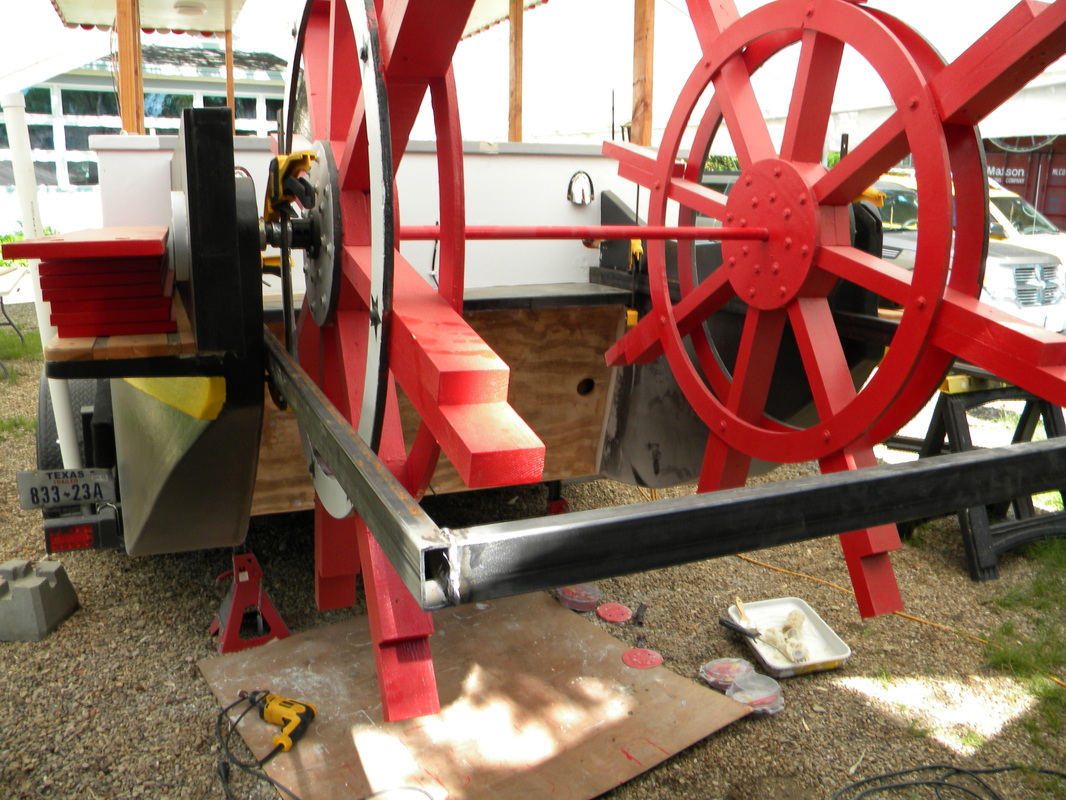
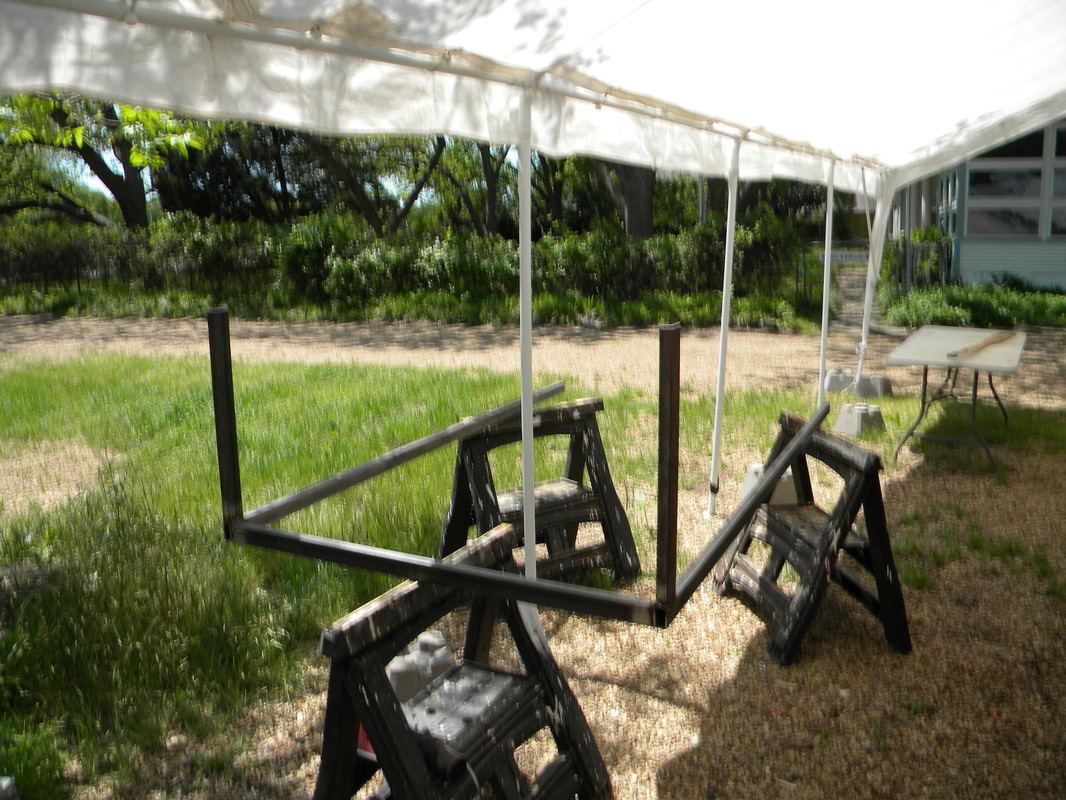
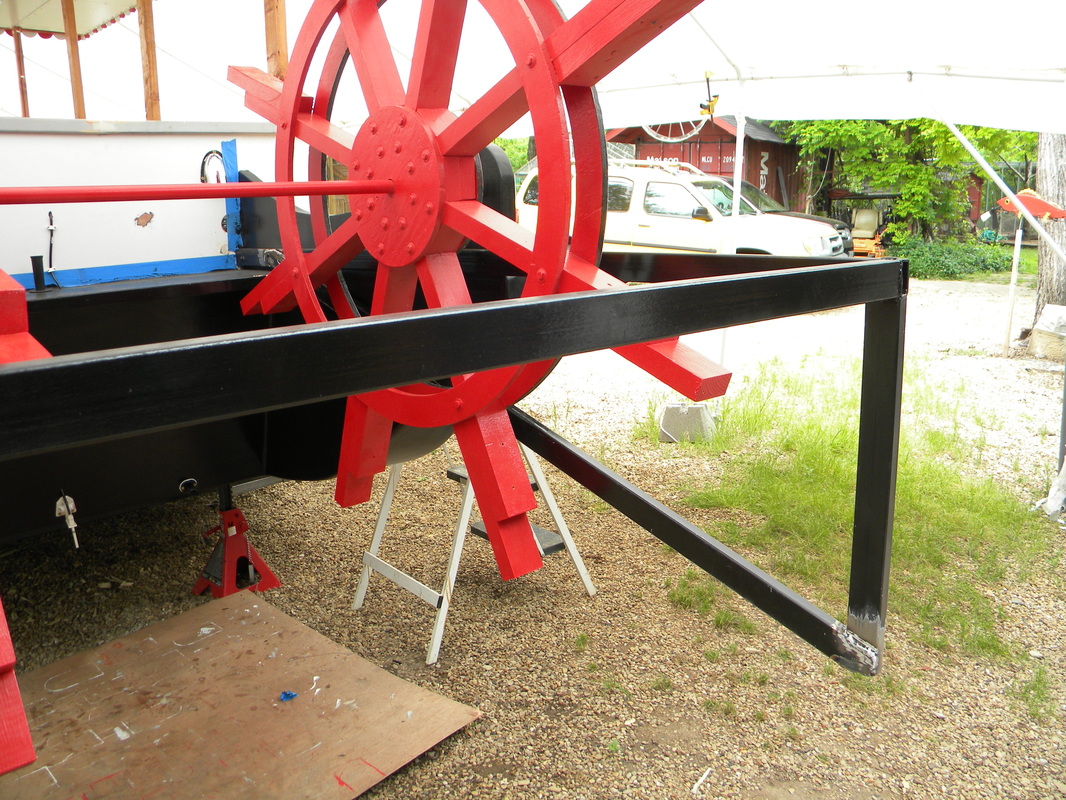
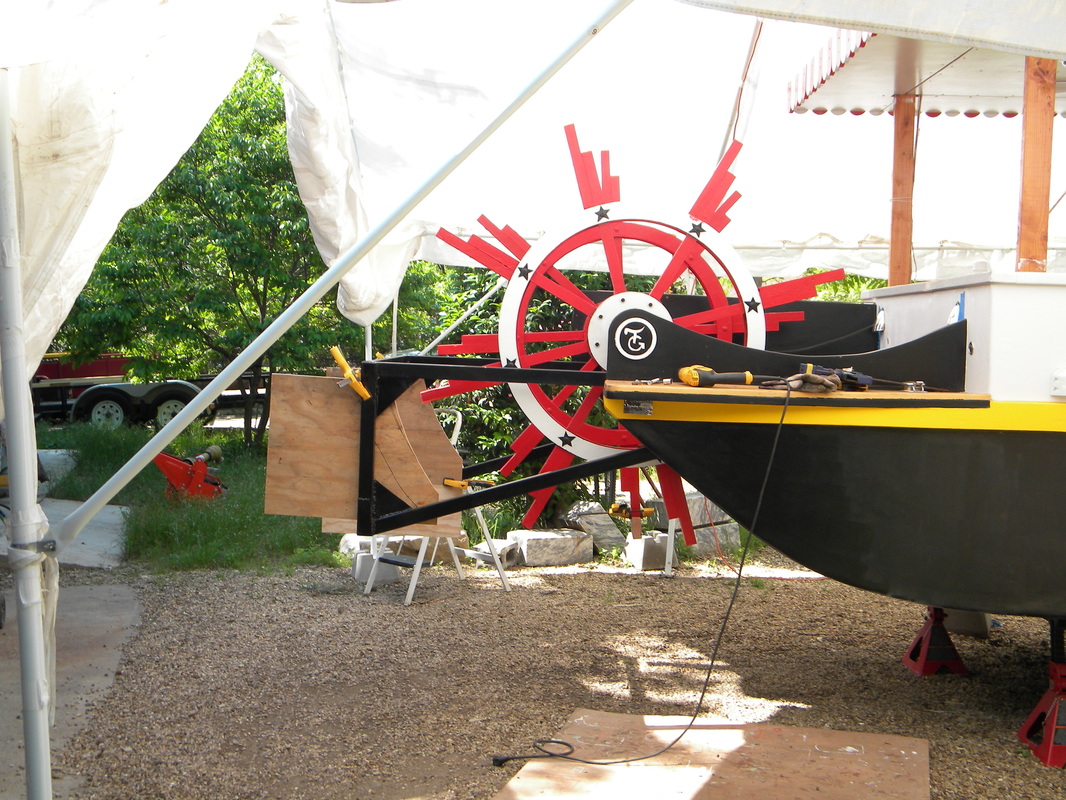
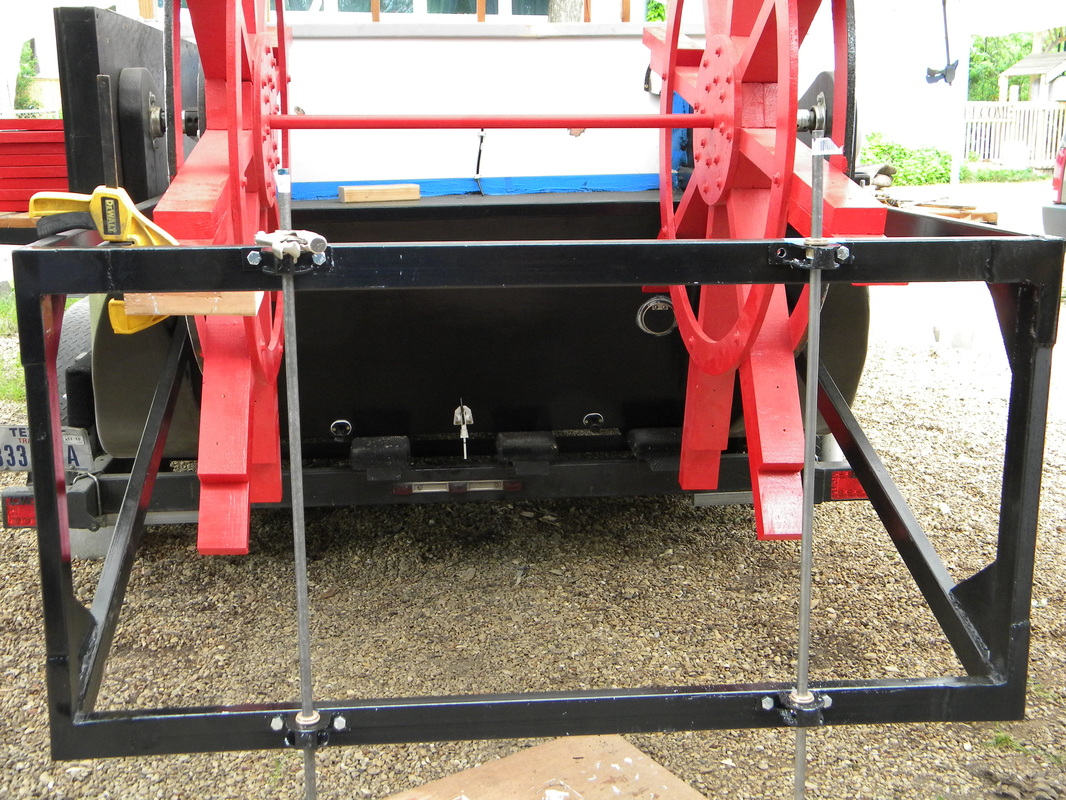
Got the top rudder brace welded together. Test fitting it and there is plenty of room to spare between the brace and the paddle wheel. Setting up to prime and paint the brace so it can be mounted.
Got the rudders top brace bolted on. Also I have the tansom primed.
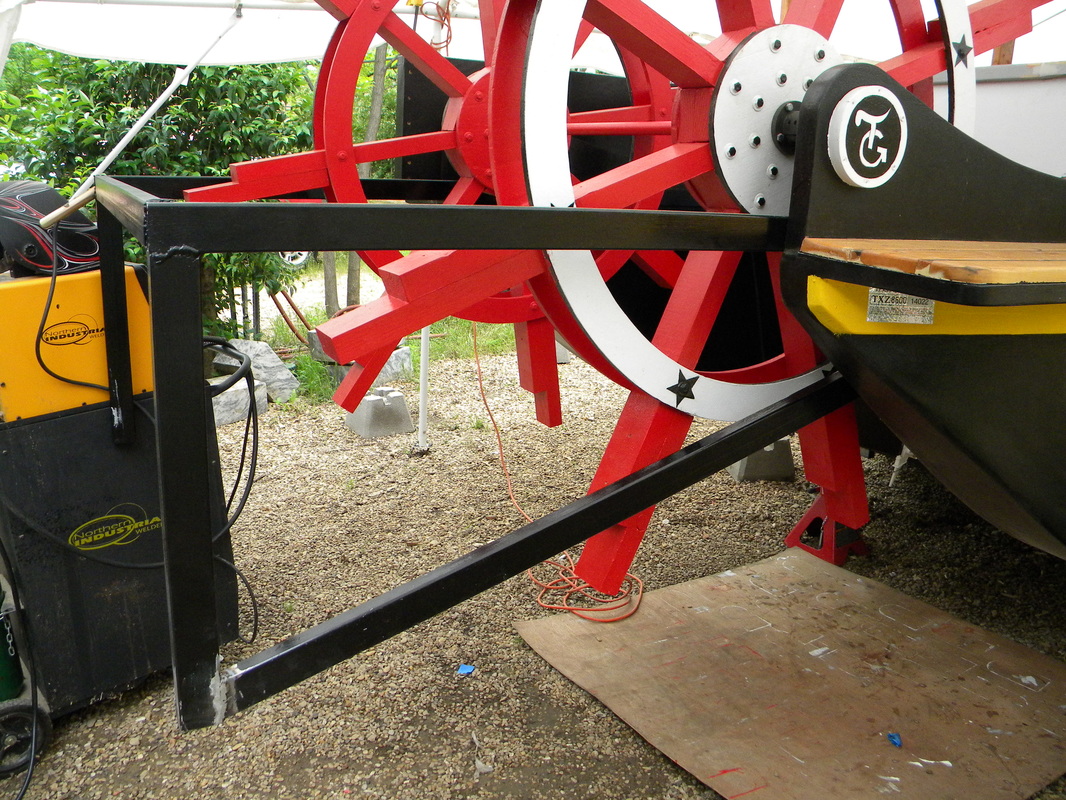
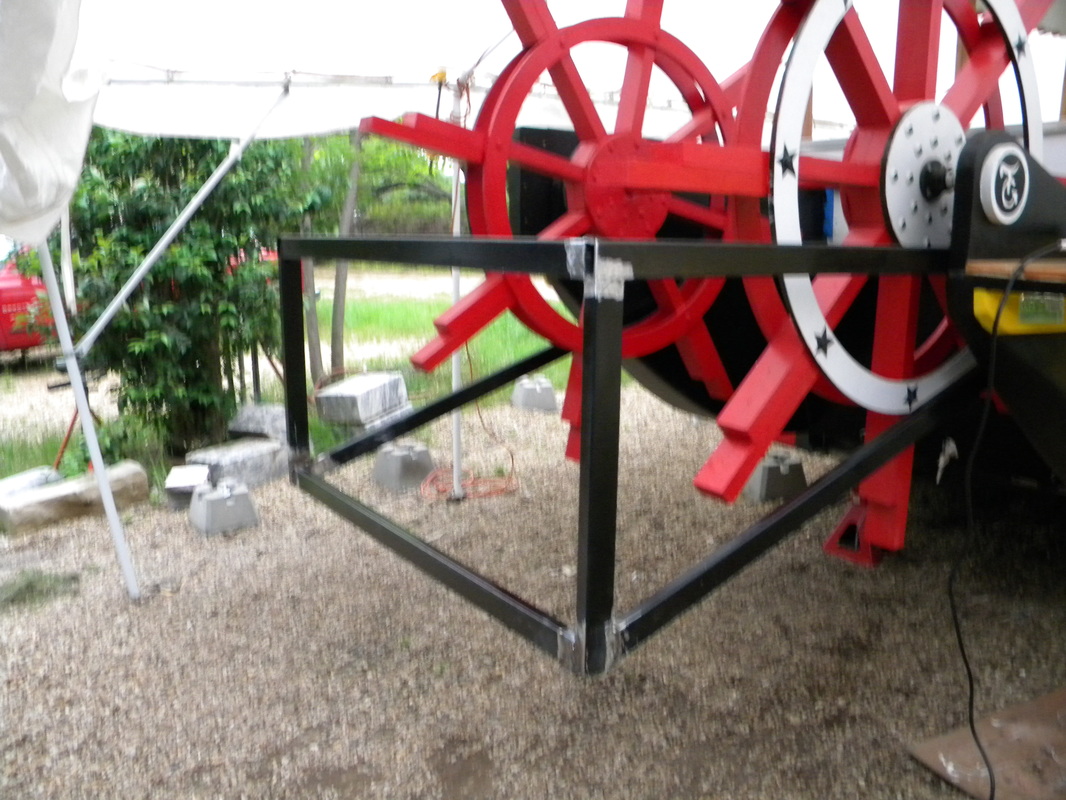
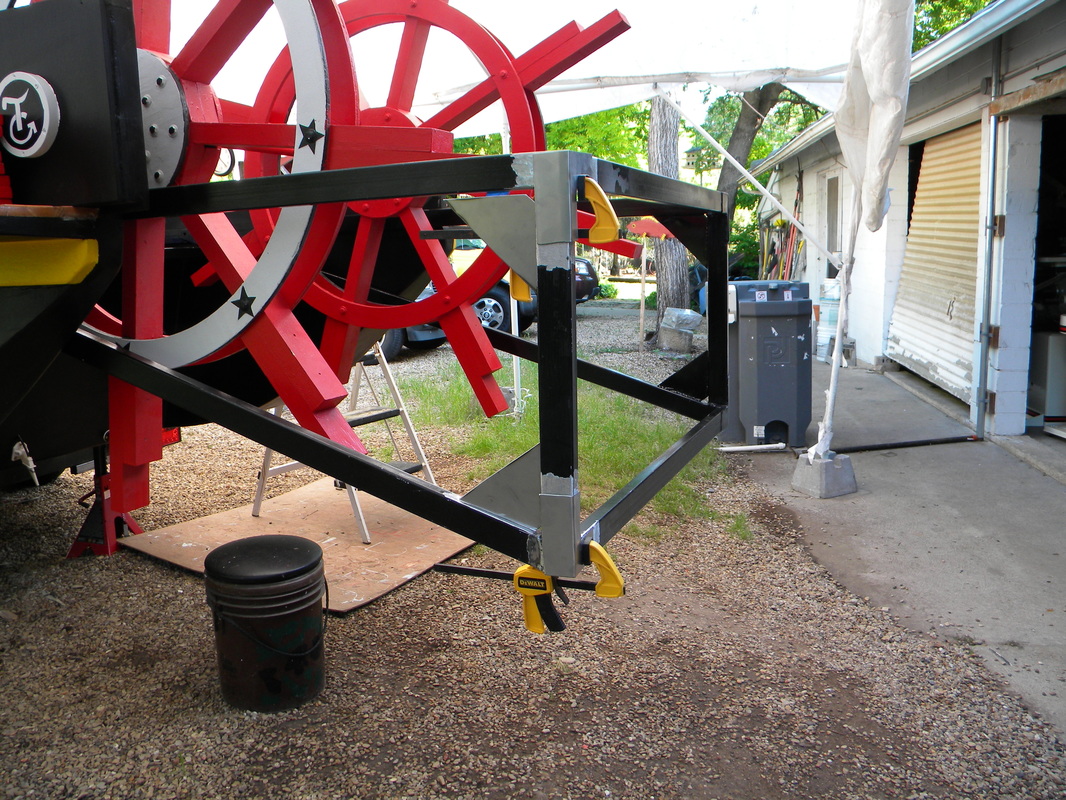
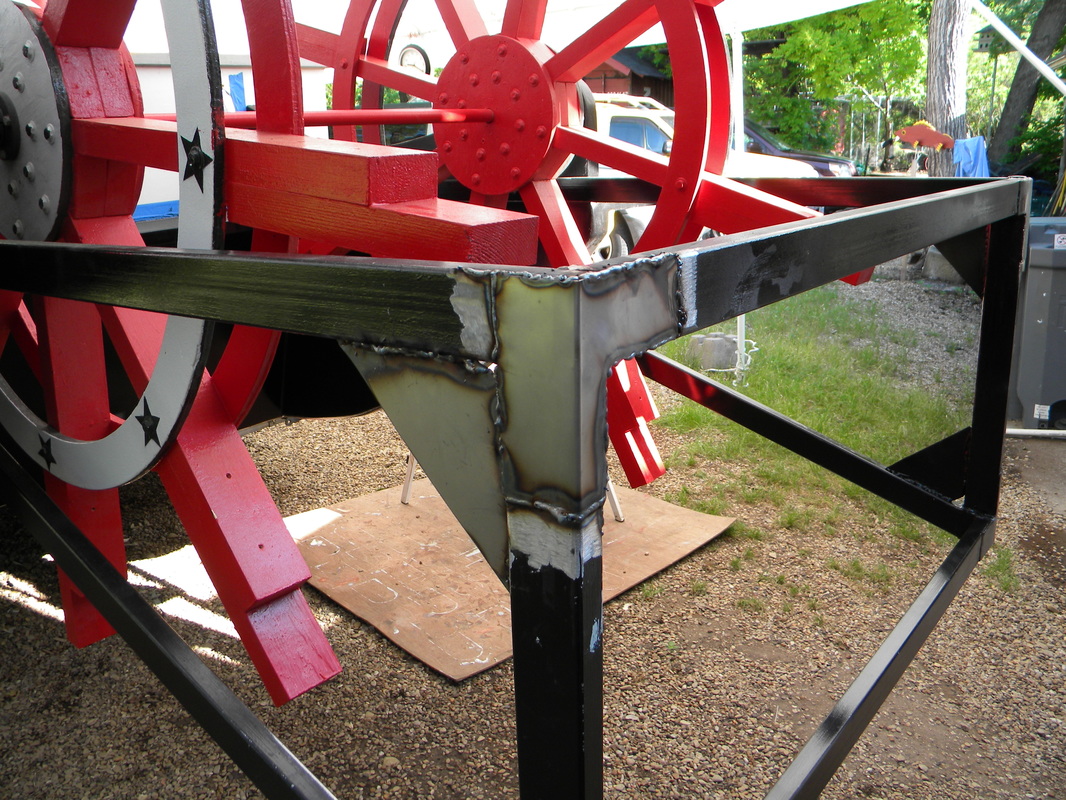
Finally got the lower brace welded on. I was going to make the frame square by bolting the lower ends to the bottom of the boat, but my cousin suggested that bolting things below the water line would be asking for trouble later on. He suggested using an angle brace and then weld on gussets for added strength. Well now all I need is to make the gussets. He also suggested I place red reflector tape on the frames back to help motorists stay a safe distance from the boat.
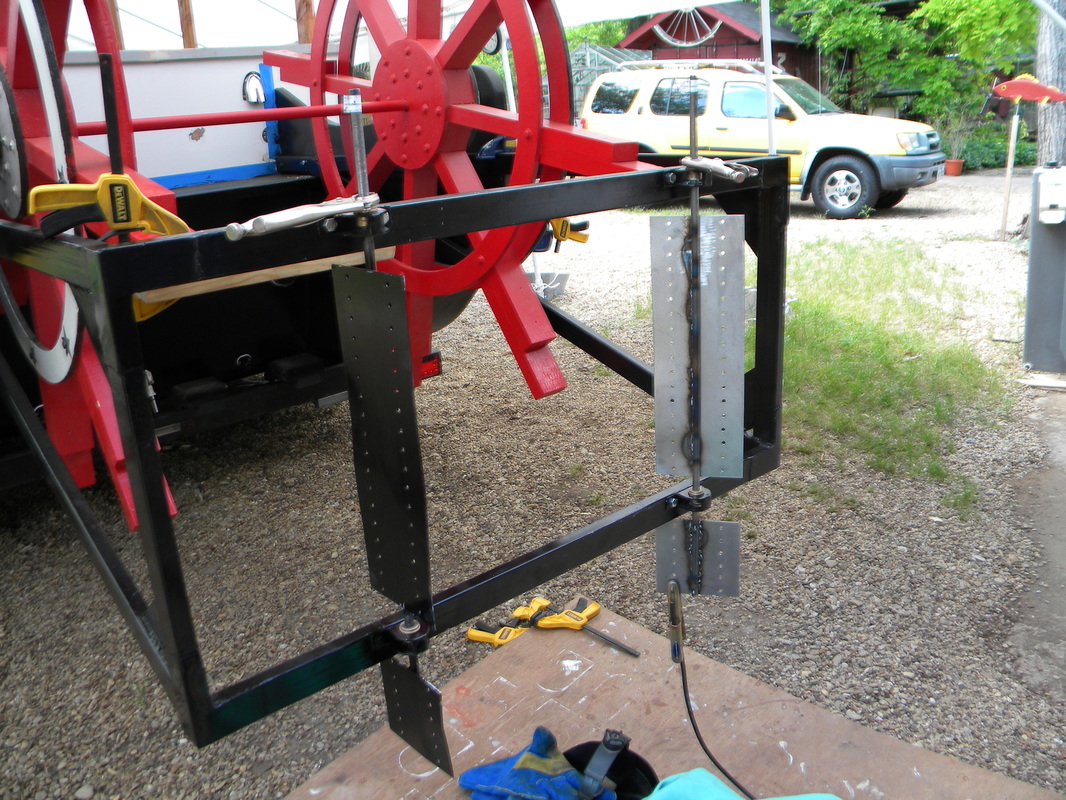
My cousin Darrel had advised me that since the rudder support would be vibrated due to the paddle wheel, that I should also add extra brace brackets as well as the gussets.
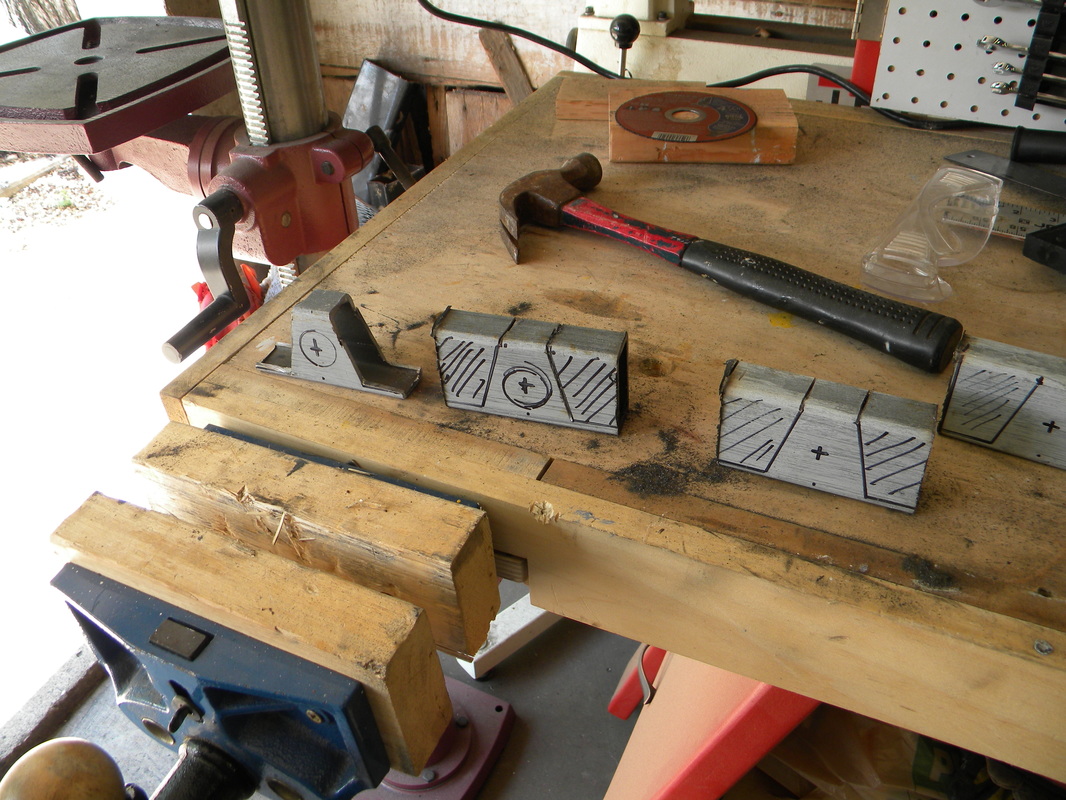
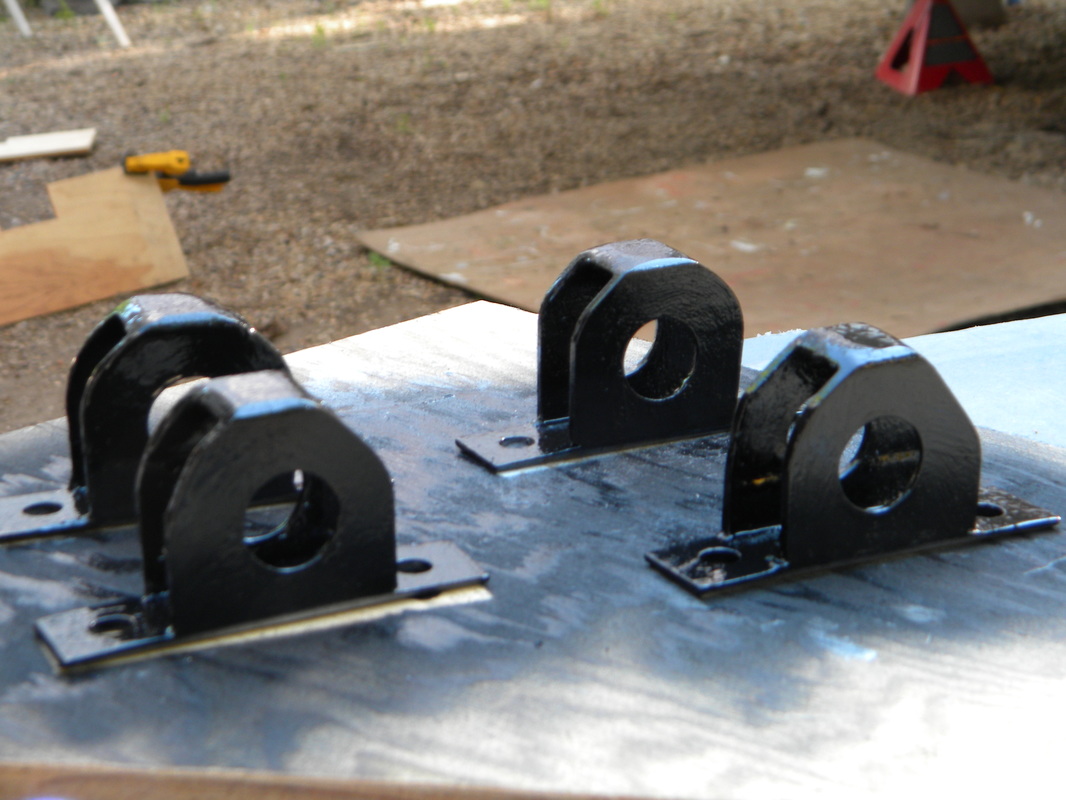
Taking scrap tube stock and making brackets for the rudder.
I was test fitting the rudders when I noticed that the paddle wheel went well below the rudder. Then I realized only about 2" of the rudder would actually be in the water. Apparently when I had measured the frame, I was planning on mounting it below the splash guard, but upon testing the tansom, I did not want to cut slots for the brace to poke through. After deciding to mount the brace above the splash guard, I never changed the dimensions of the brace. Luckily I had planned on welding a plate onto the rudder pole to screw the rudder to, so can just extend the pole below the brace and add a second piece to the rudder. Now the rudder extends to just 1" above the bottom of the boat.
After attempting to drill the required hole for the brass bearing, I noticed the thinness of the metal along the sides of the hole. So I decided to remake new brackets. I cut off the corners so the hole in the rudder would be smaller.
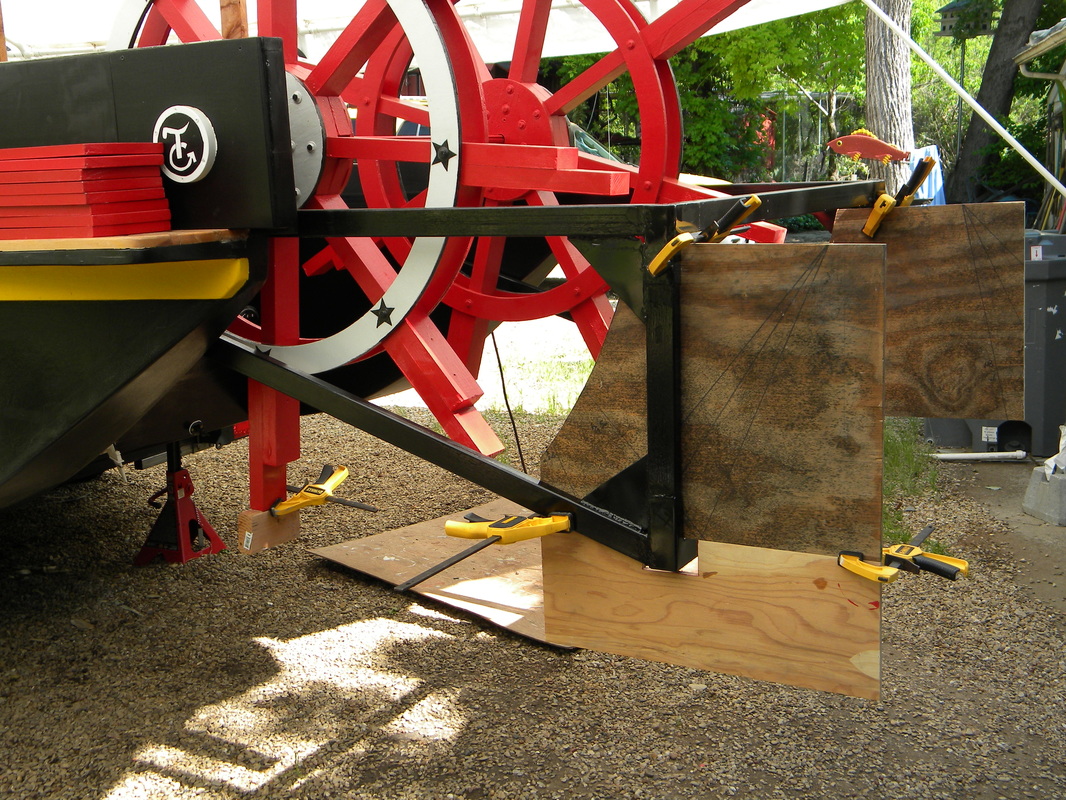
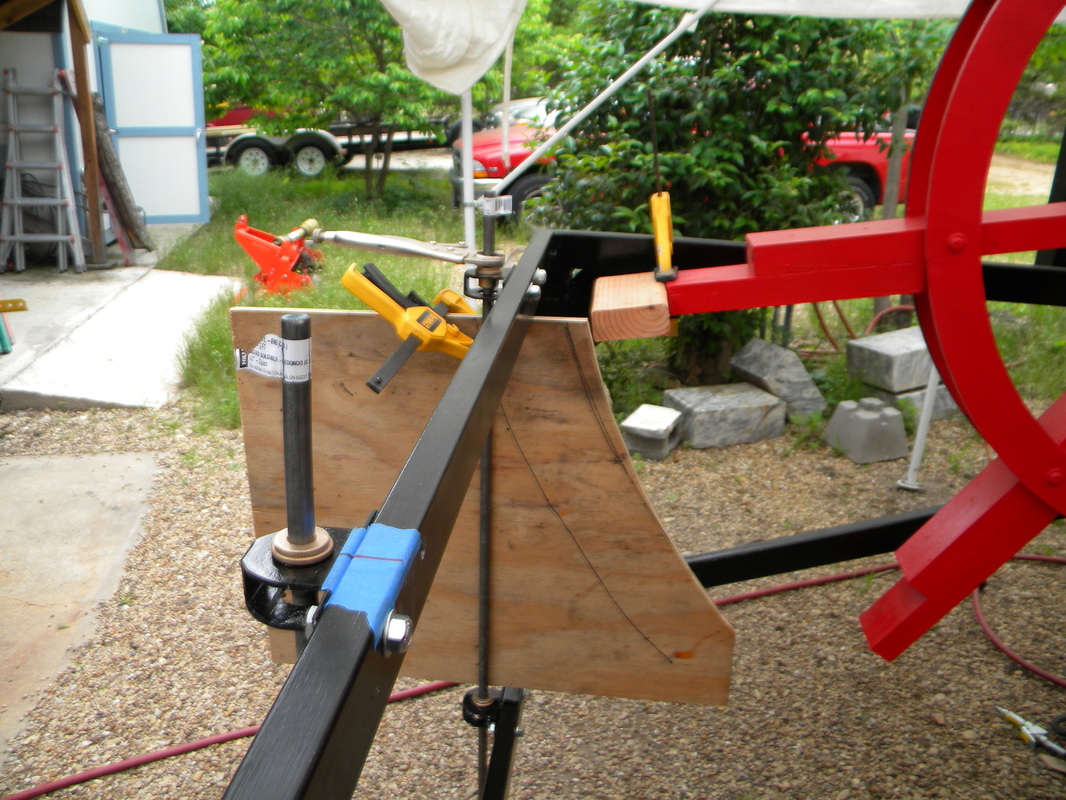
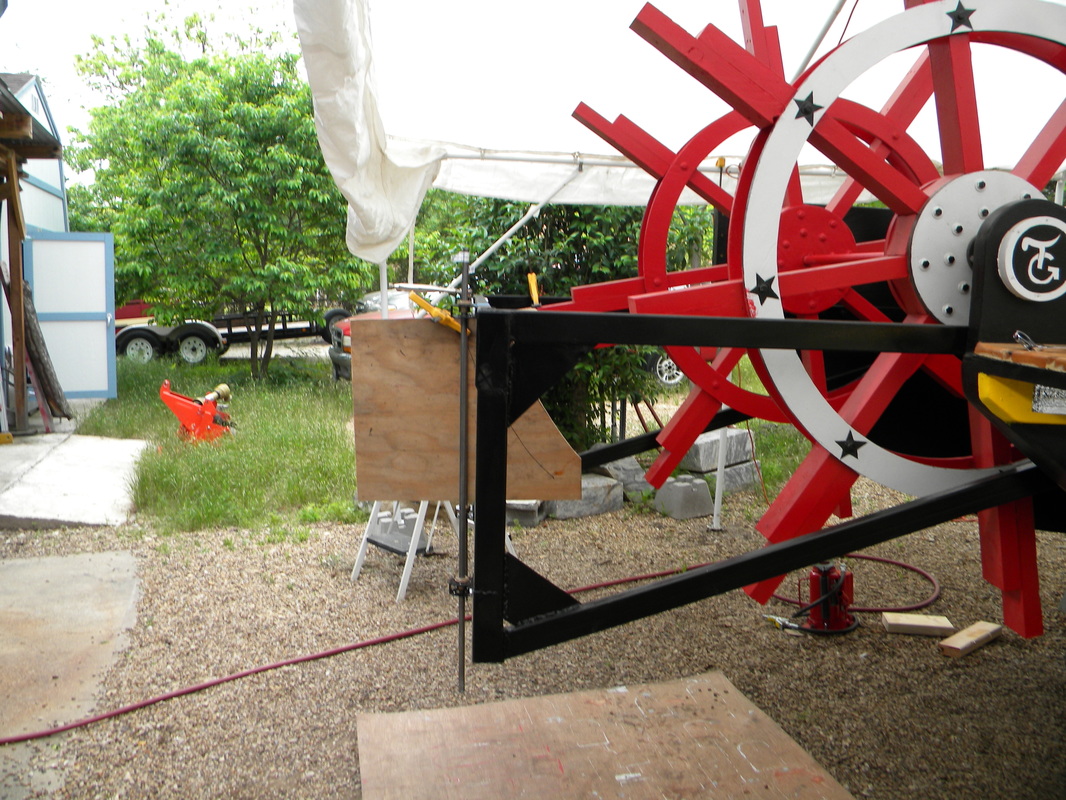
Test fitting the rudders for position on the frame.
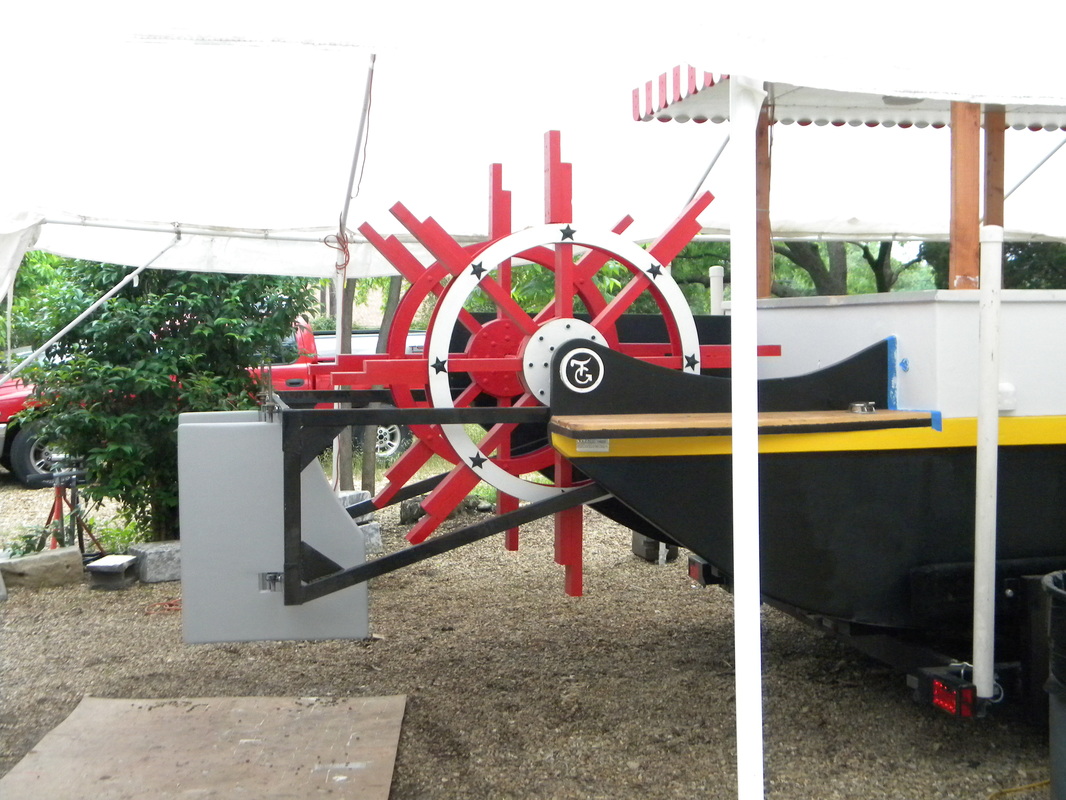
Finally got the boat back onto the trailer. Here you can see the position of the rudders. This should direct the flow of water from the paddle wheel, like the steering tube of a jet ski.
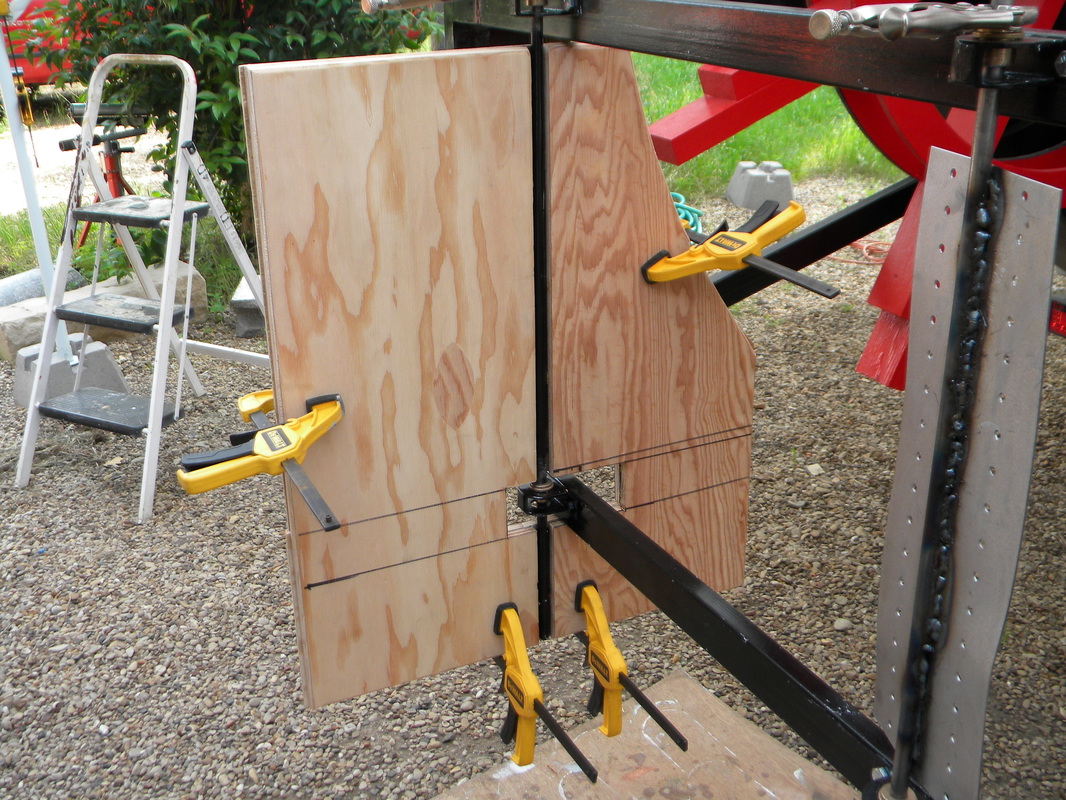
Welded on the rudder attachment plates.
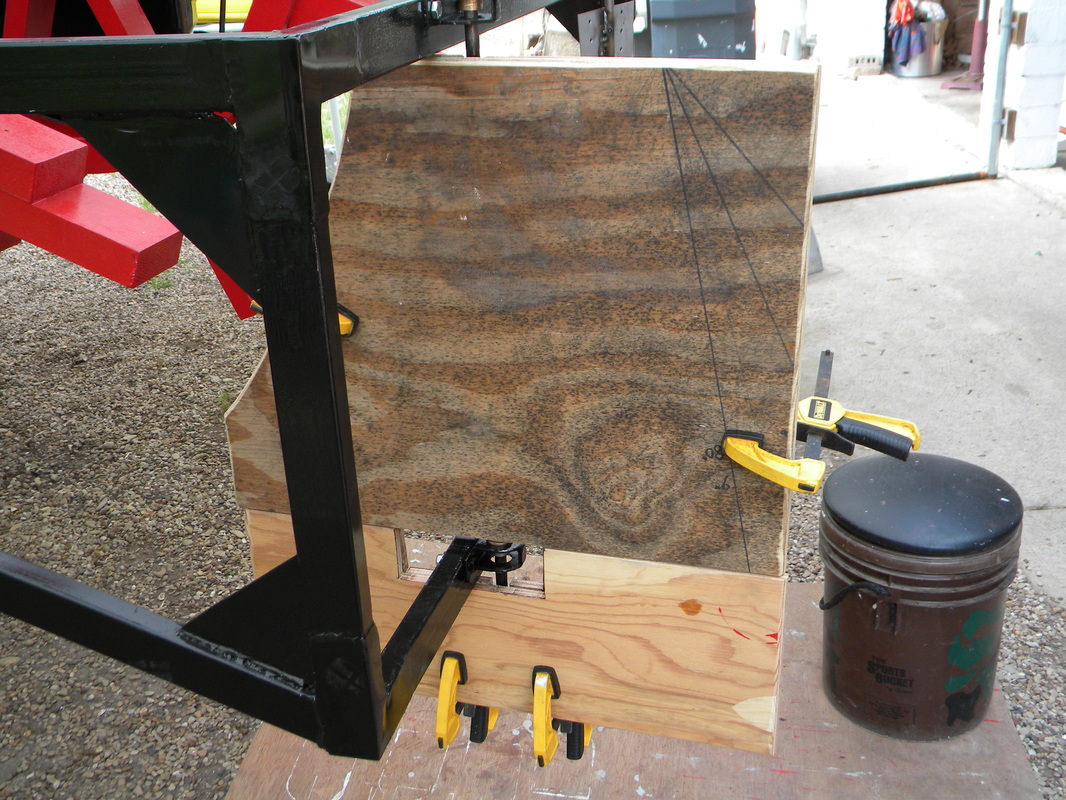
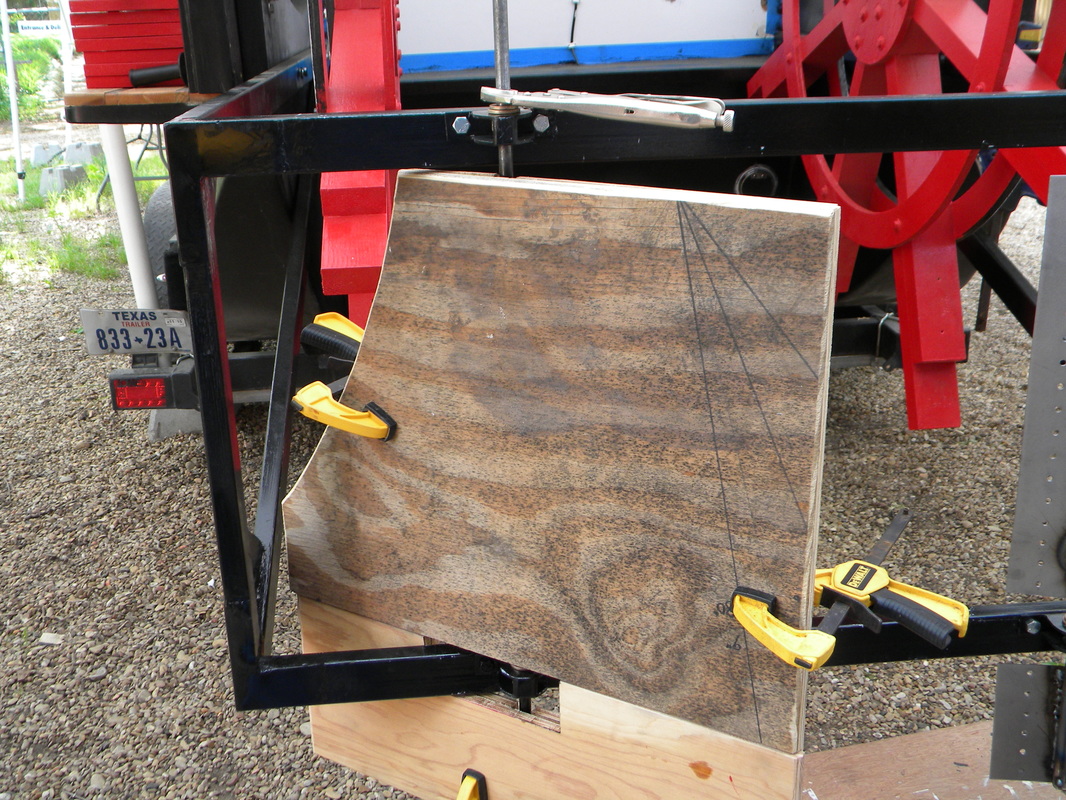
I am sandwiching the attachment plates between sheets of 1/2" plywood.
The center notch is wide enough for good turning of the rudder. As you can see, the rudders will direct most of the water flow from the paddle wheel.
Have one side of each rudder attached.
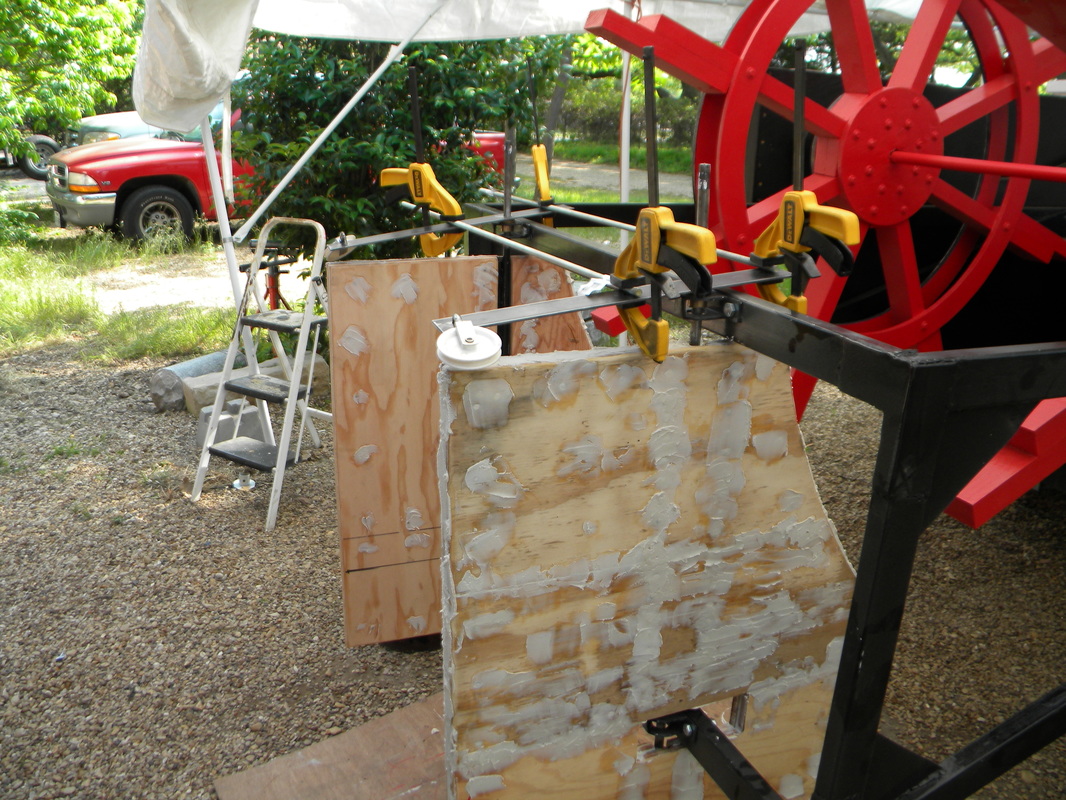
Rudders installed, and now just to fill in voids with resin putty, sand, lay two layers of fiberglass tape along the edges, and then we are pretty much done except painting. Test fitting the rudder arms. Going to link them with a pair of tie rods.
Got the rudders primed, but having to wait a few days for the paint to cure. Been rainy last few days. Been trying to wire new engine up, but seem to be having some troubles.
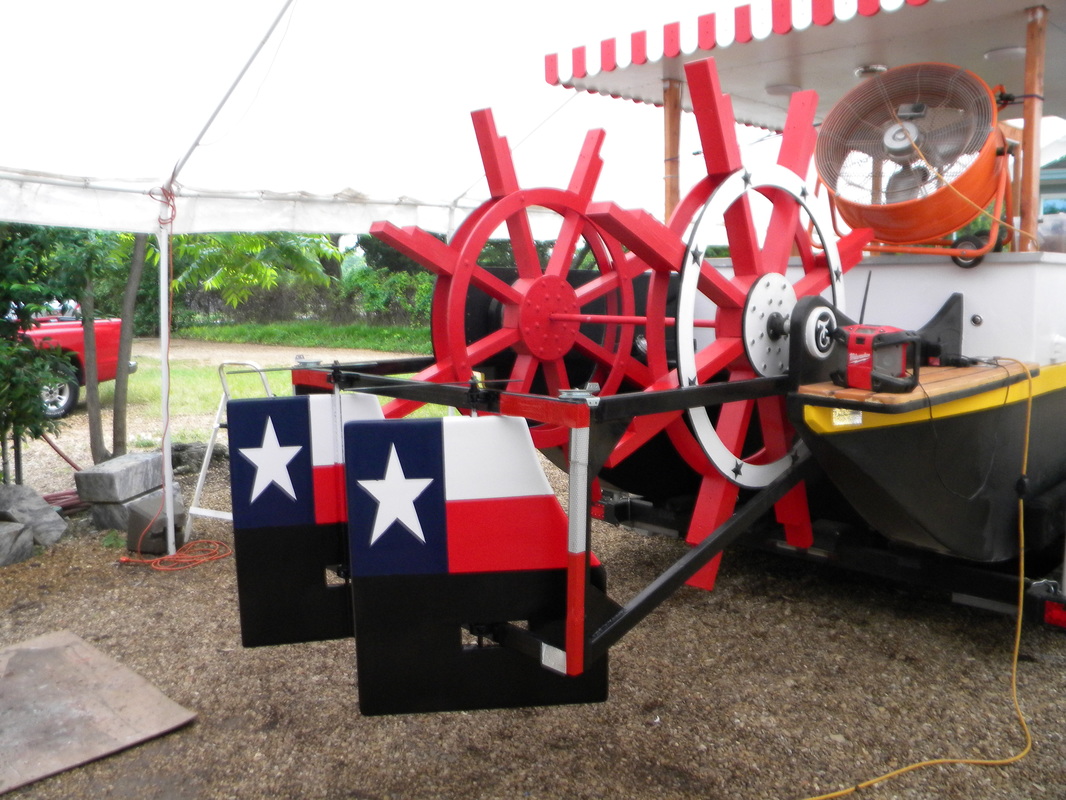
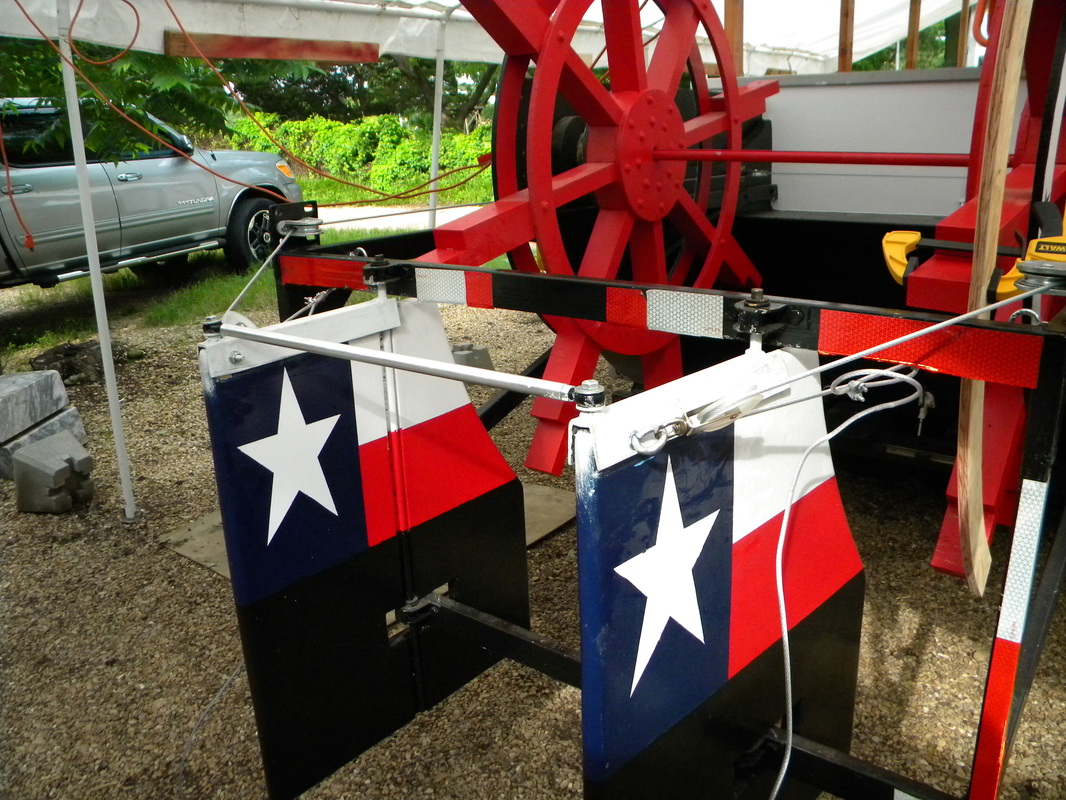
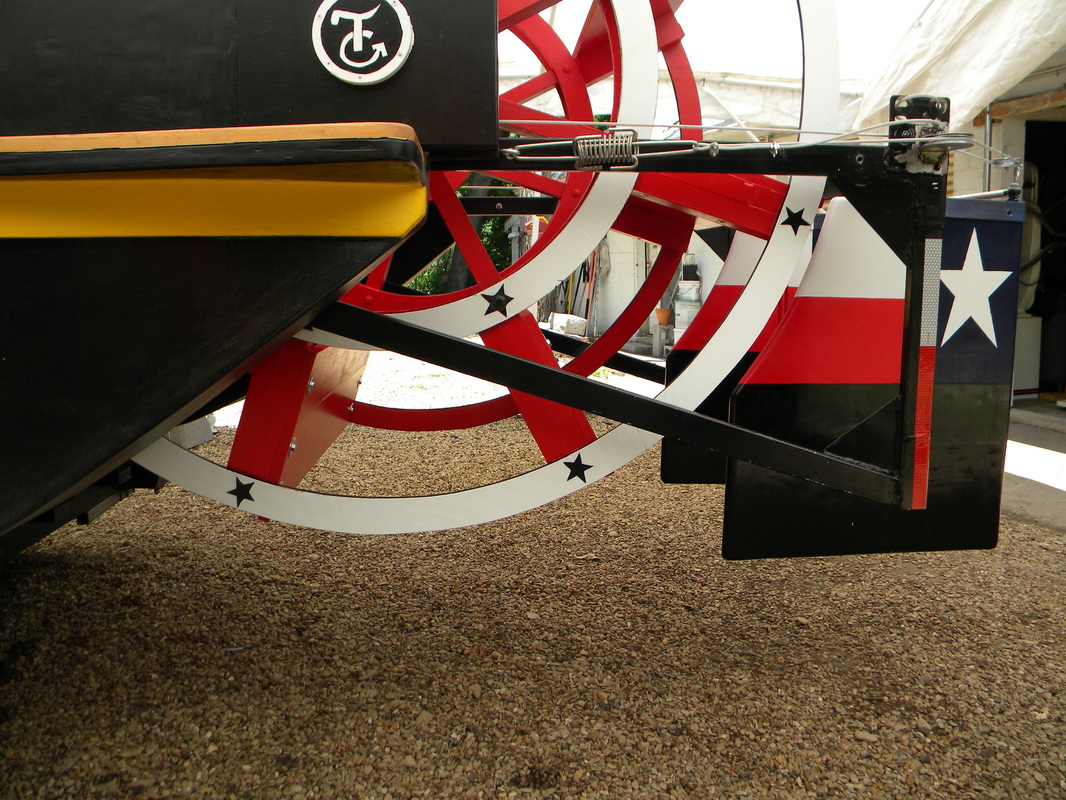
Added just a touch of style, with my rudders sporting the Texas Flag.
Here is the finished rudders. I have also welded on the rudder steering arms, and just waiting for the tie bars to be delivered. You can also see the reflecting tape on the rear of the frame.
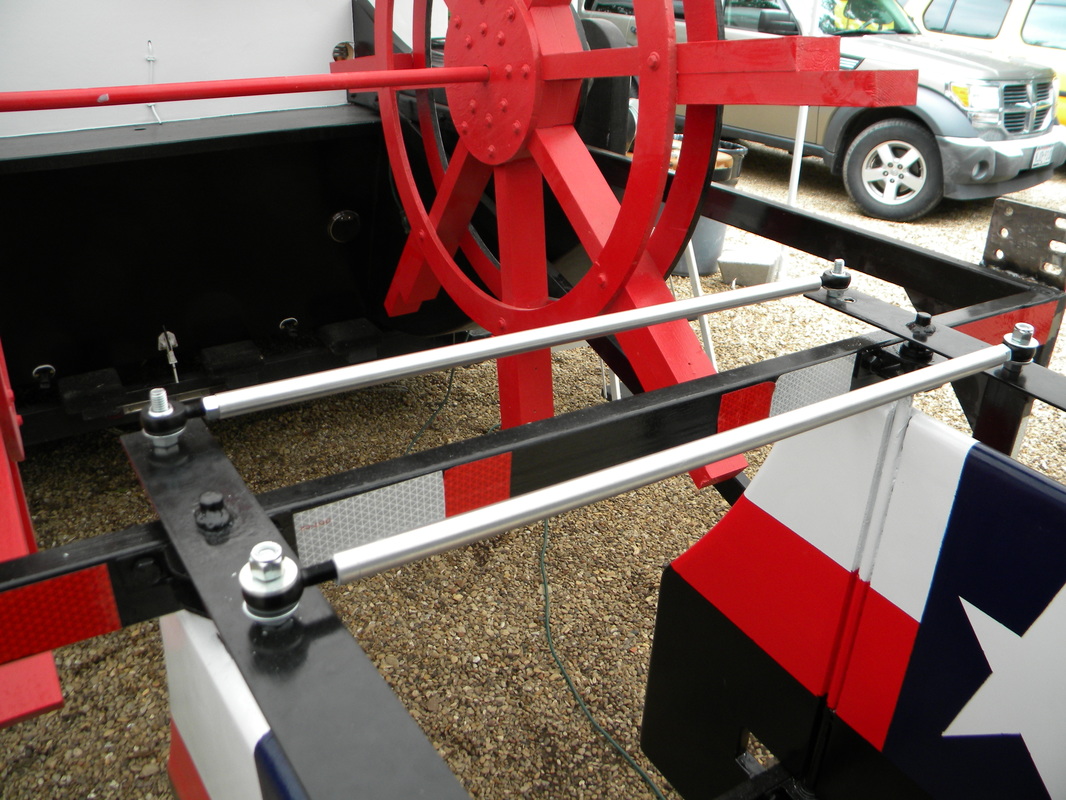
My tie rods from McMaster arrived. Now the rudders will turn in unison. Tie rods consist of a left and a right thread eye-bolt with bearing insert, and the tie rod itself, which has left and right threaded ends. I only had to place a nut on the right thread side to ensure no slippage.
Still working on boat, but having trouble with running cables for rudders. It seems there is still slack when the rudders are turned to their extreme.Starting to think maybe the springs I am using do not take up enough slack. But on a positive note: all electrical is completed, and engine can now be started from captain's seat. After looking at old boat, have decided to add a n outer ring on the paddle wheel. Makes it appear larger without actually adding any length.
Had to move the tie rods and reinforce the rudder. The stress of pulling on the rudder caused it to bow, so I place a metal cap, and moved the tie rod above the pulleys. This way the stress is directly placed on the tie rod. I also reduced the steering cable to allow a more easier bending around the pulleys. Unfortunately after testing, I now found the plastic pulleys on the rudder (the only ones that are still plastic) would warp under the strain. So I am waiting for new parts to be delivered.
Since I am now going to place the paddles on the correct side of the spokes, I needed to fill in the gaps.
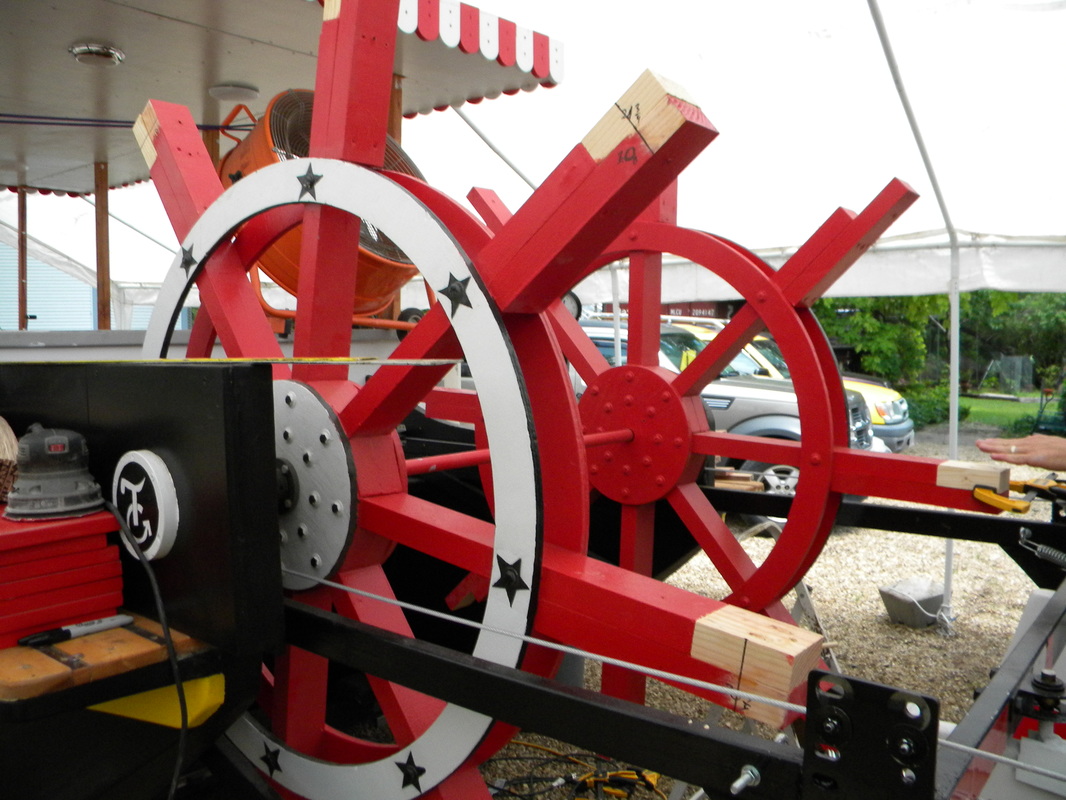
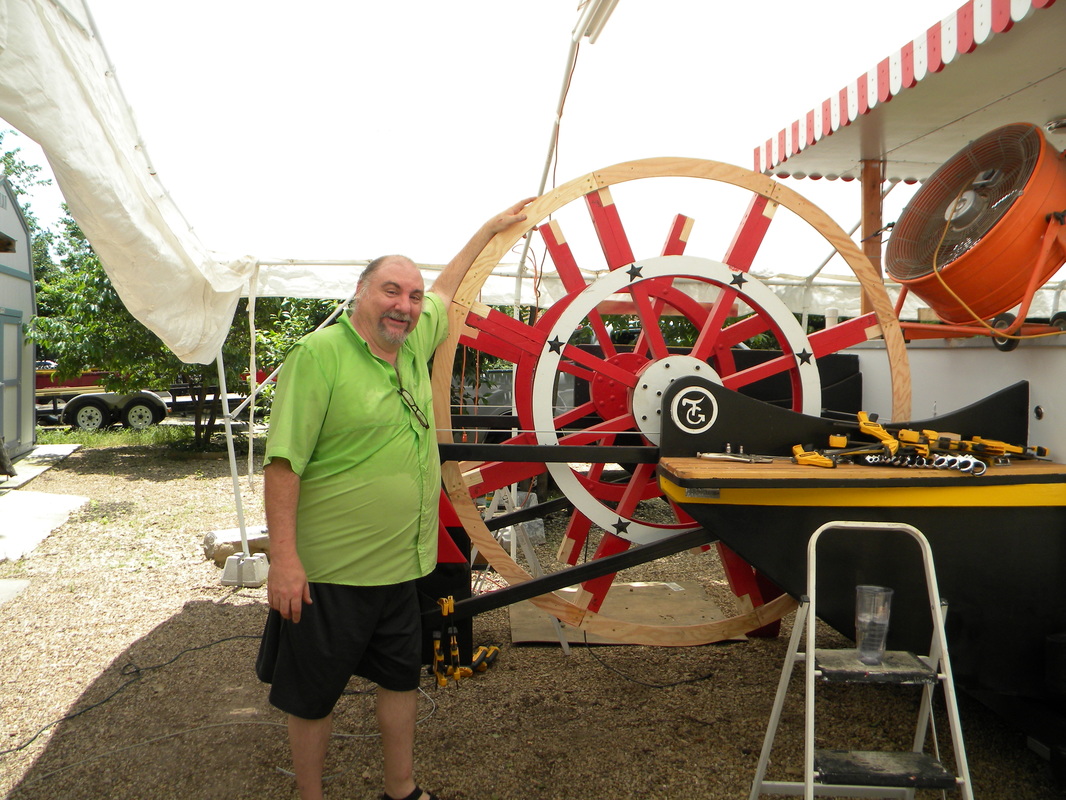
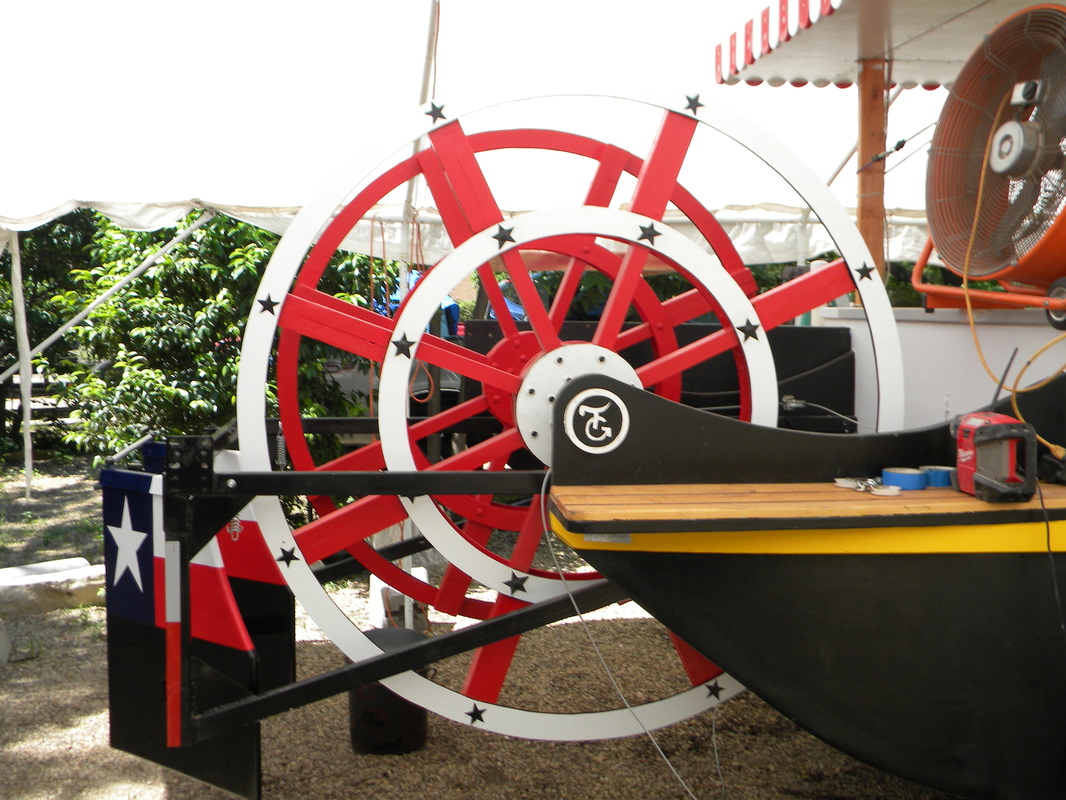
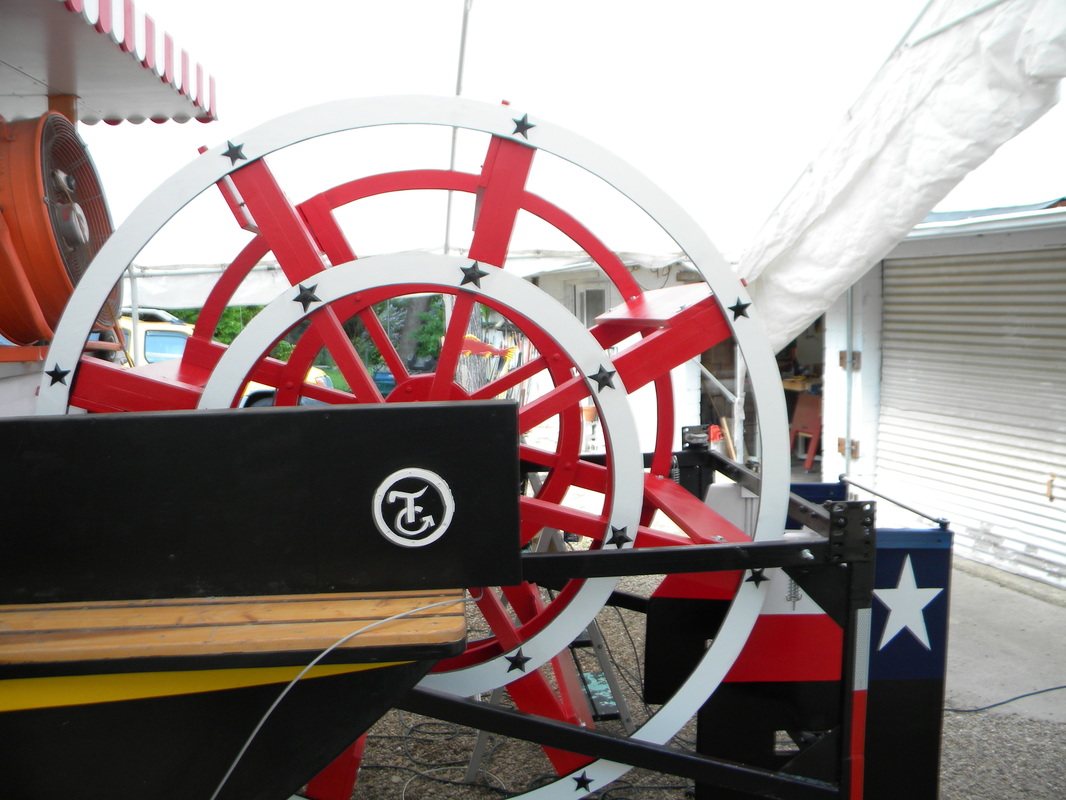
The outer circle doesn't really increase the paddle wheel more than 1/4", but it sure gives the illusion that it is larger.
Got the outer ring all painted nice and pretty. Even added the stars as the finishing touch.
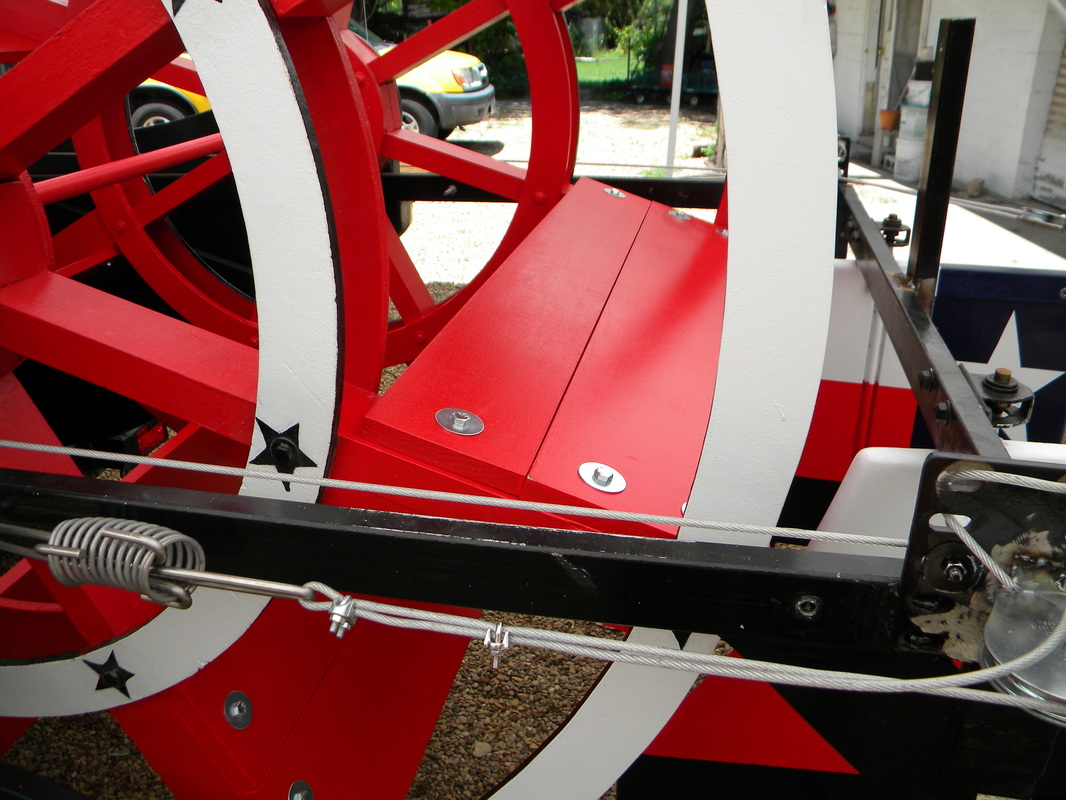
Paddles are attached! Now just need to finish setting up running cables for rudders.
I started thinking that I might want to added an extra piece to the paddle to prevent water from flowing over the paddle. So I went ahead and added a piece.
Not sure where my brain was. I painted the rudders where I thought the waterline might be with all this added weight or larger engine and rudder supports. Funny thing was I was real close to where the waterline really was. Unfortunately I did not think about how much water the engine would be pushing if that was where the waterline would be. Now that I know, I need to reduce the size of the paddles, back to the original size.
Well took the boat out to the lake today. The rudders worked great! The boat responded well and quickly to the rudders even at a low speed. Unfortunately I did not take in the added weight of the rudders and their supports, nor the larger engine. Motor worked so hard to turn wheel, that it ate the belt, and left me in the middle of the bay. Started to paddle back with an oar, when I decided to attempt just using the paddle wheel by hand. Was able to rotate the wheel about as fast as the motor did, and got back to the trailer. Next project, I might include a section where I can insert a handle and crank myself back to shore.
