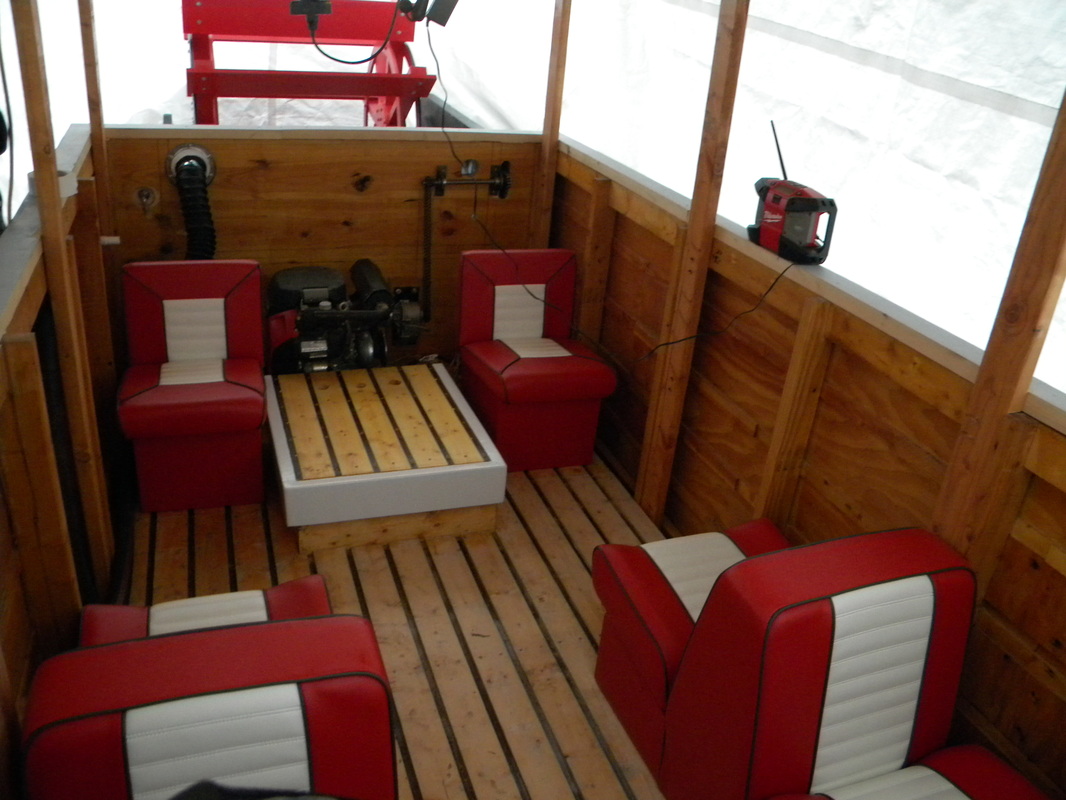
Seats arrived as well. Don't they look nice. Bought them special from Bentley's Marine Seat. A pair of jump seats and a pair of back to back seats. Place tent canvas back over boat since it is raining.
http://bentleysmfg.com
http://bentleysmfg.com
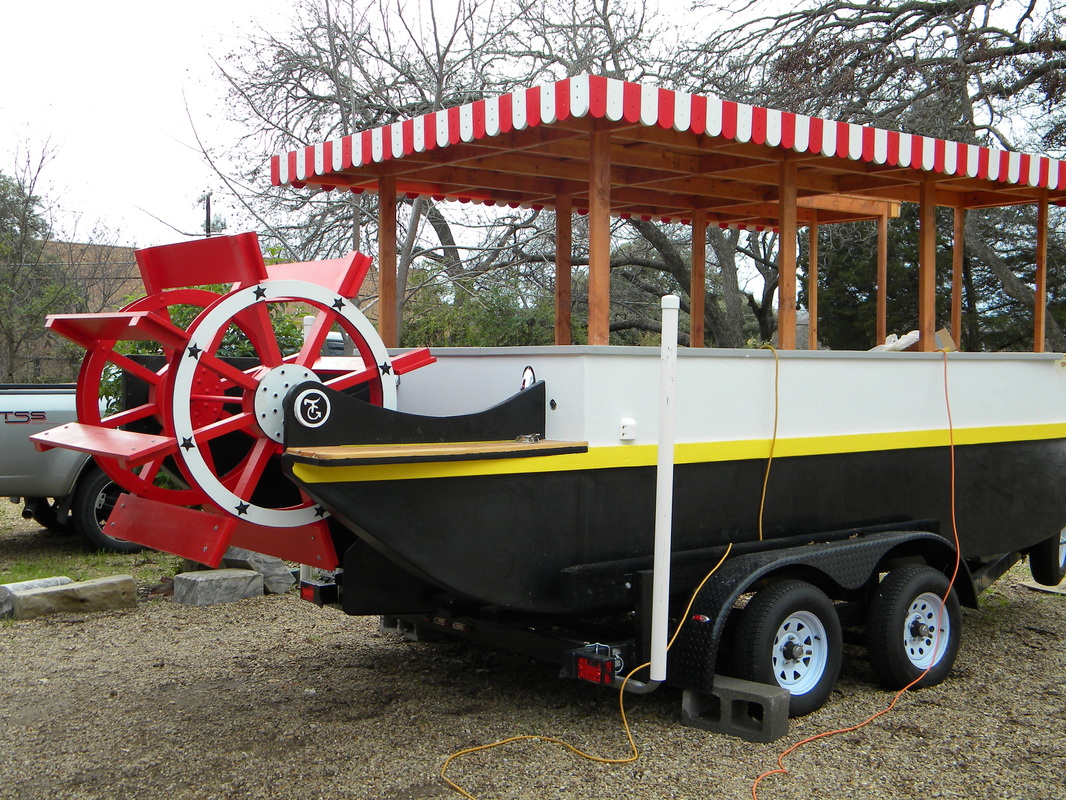
Finished the wooden medalions that cover the axle ends. T G for Theresa Gail, the name of the boat and my wife.

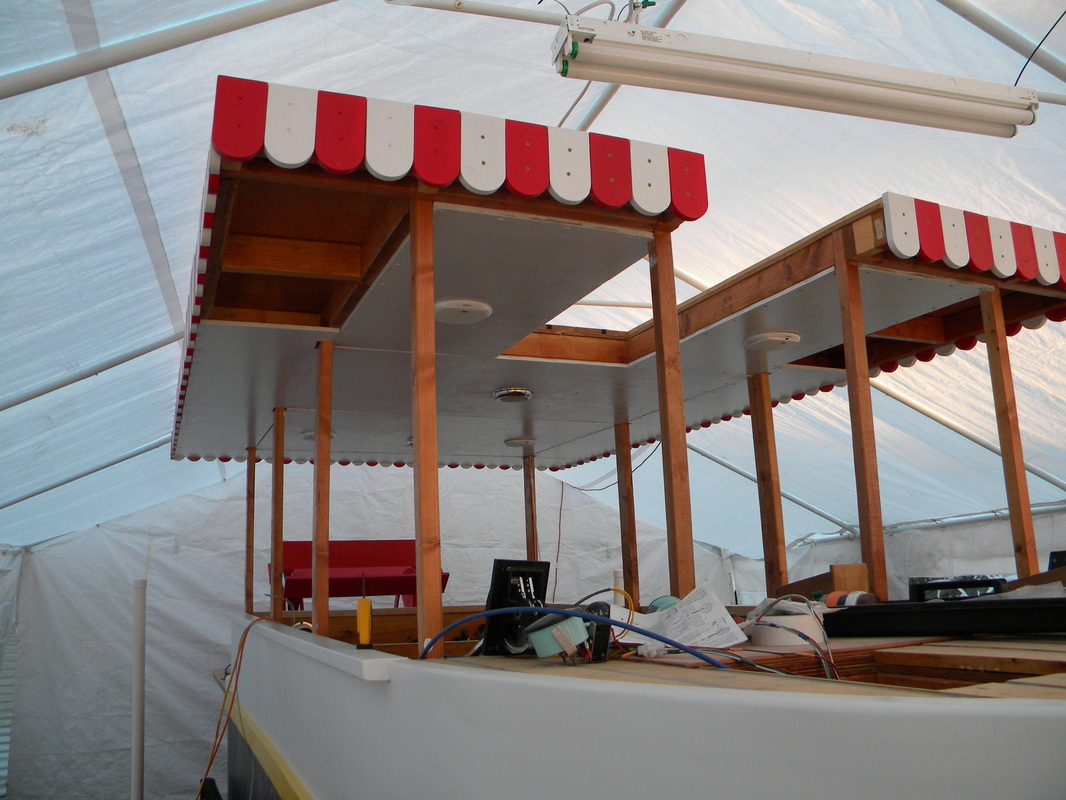
Getting the trim up.
Finally got a few days without rain, and was able to finish the trim on the roof of the boat.

Here comes winter. If I want to be able to finish painting my boat, I had to enclose it in a tent. I have two nice heaters inside and able to bring the temp up to about 70, on good sunny days.

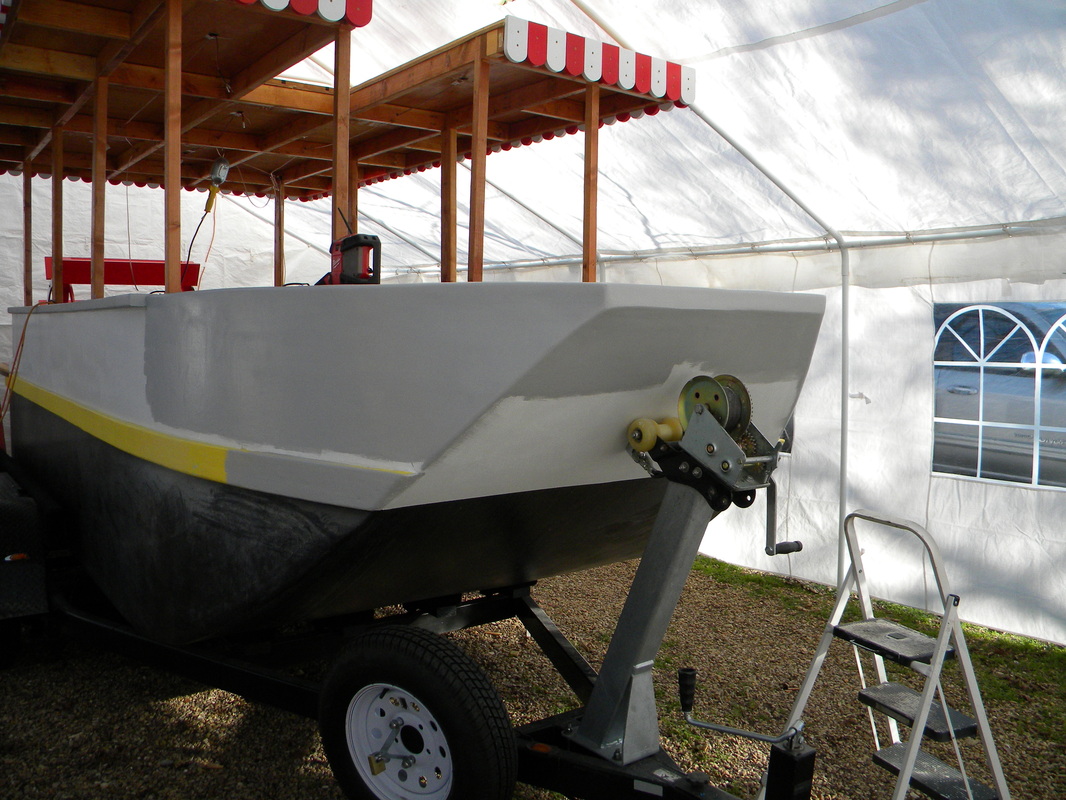
Finished the painting of the bow. Isn't the white trim nice.
All the wiring for the ceiling is done, but what an obstical course..
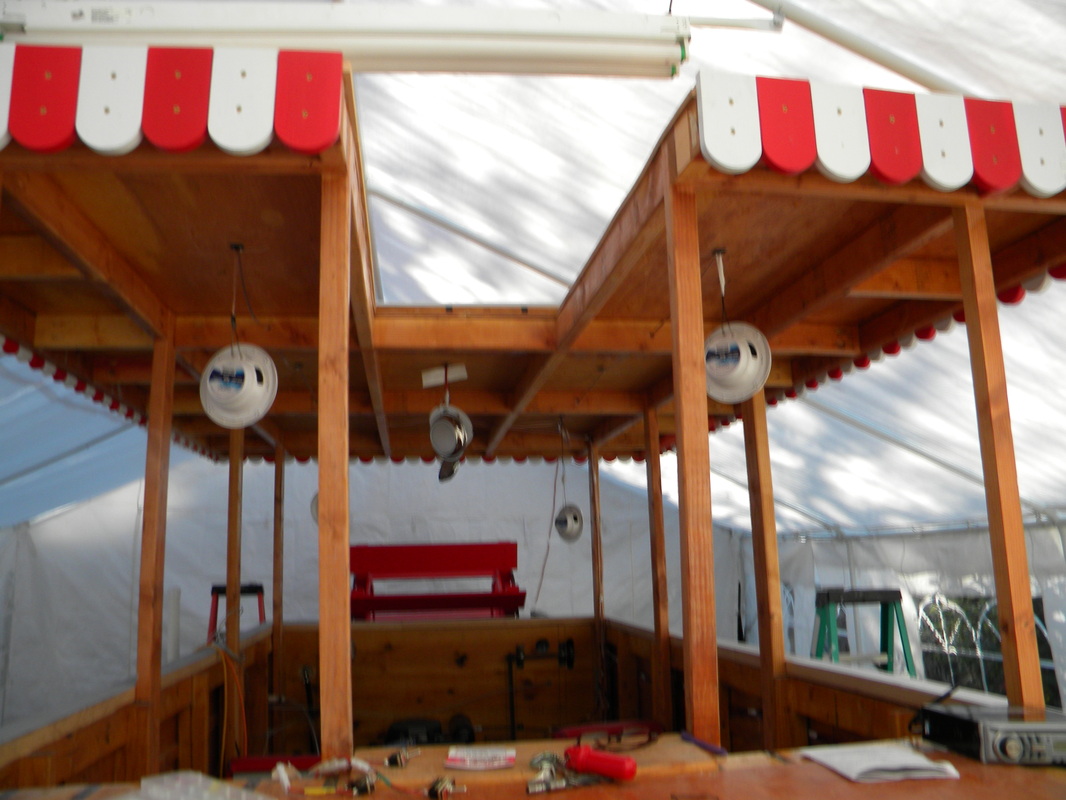
First ceiling panel in.

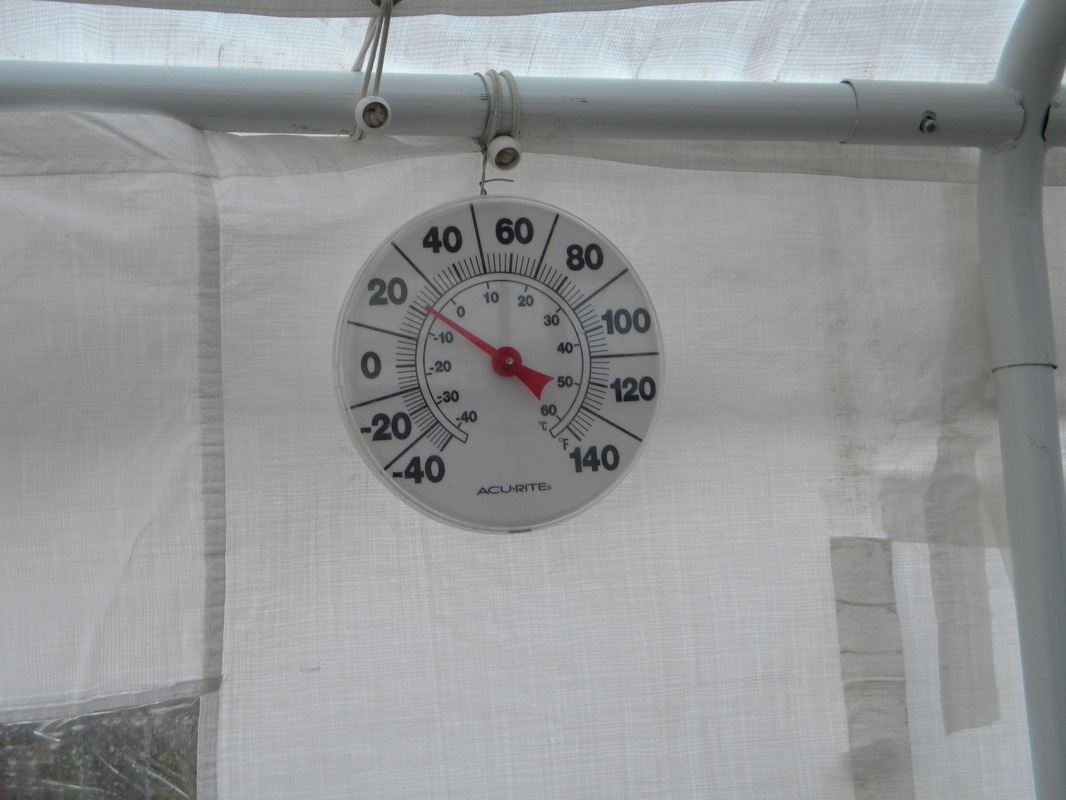
Is it just here or is the whole country cold? Between one day and the next, the wind shifted the tent about four feet. Had to tie down with cement block instead of the little tent pegs.
Second ceiling panel in and light all hooked up and working.
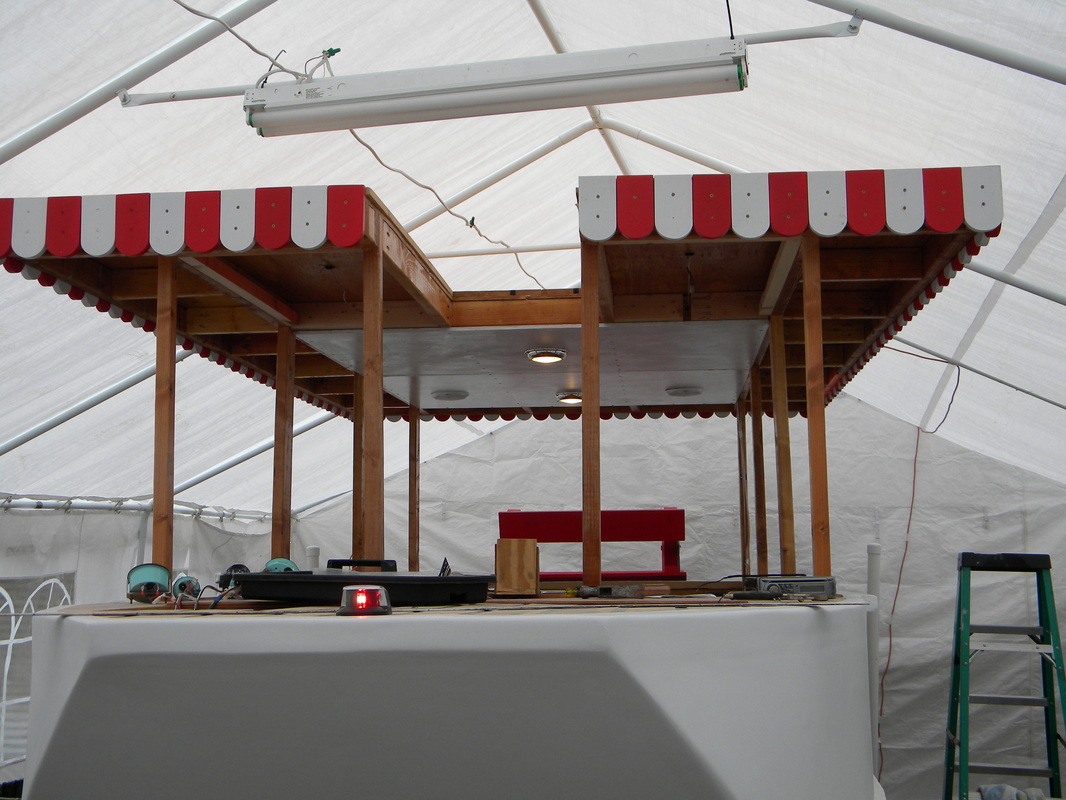
Cut and sanded last two pieced of ceiling panels. Just need to warm up tent to at least 60 degrees and also warm up cans of primer and paint.
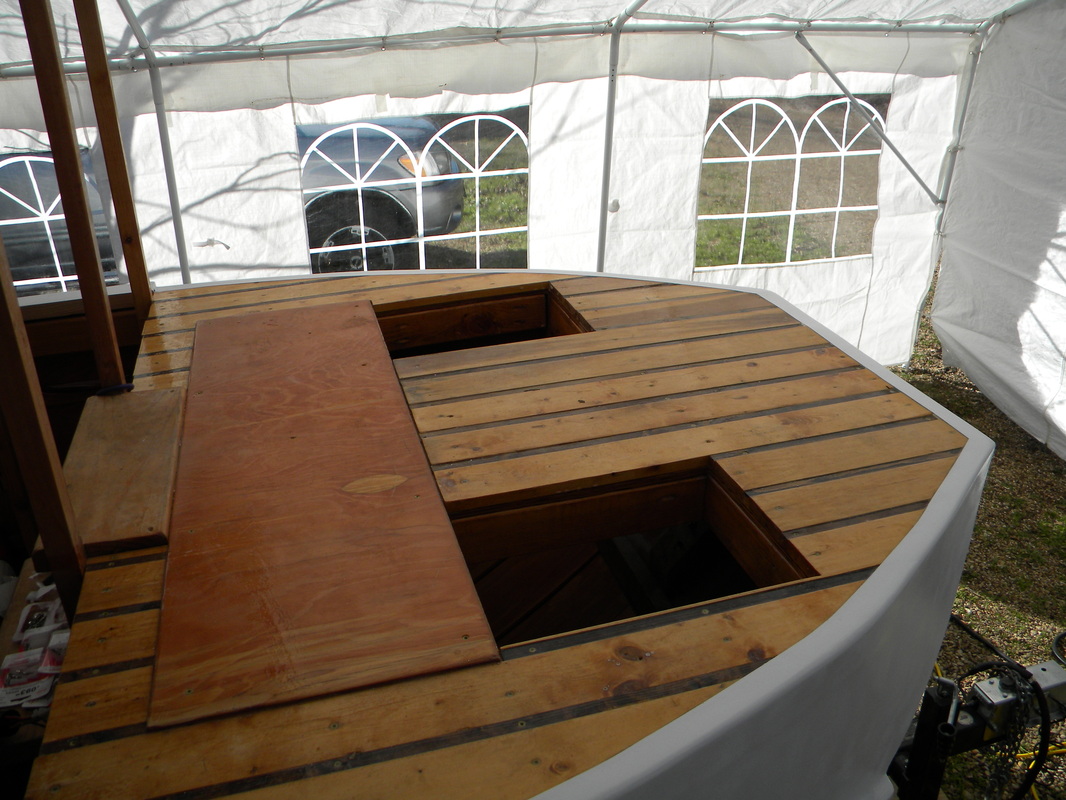
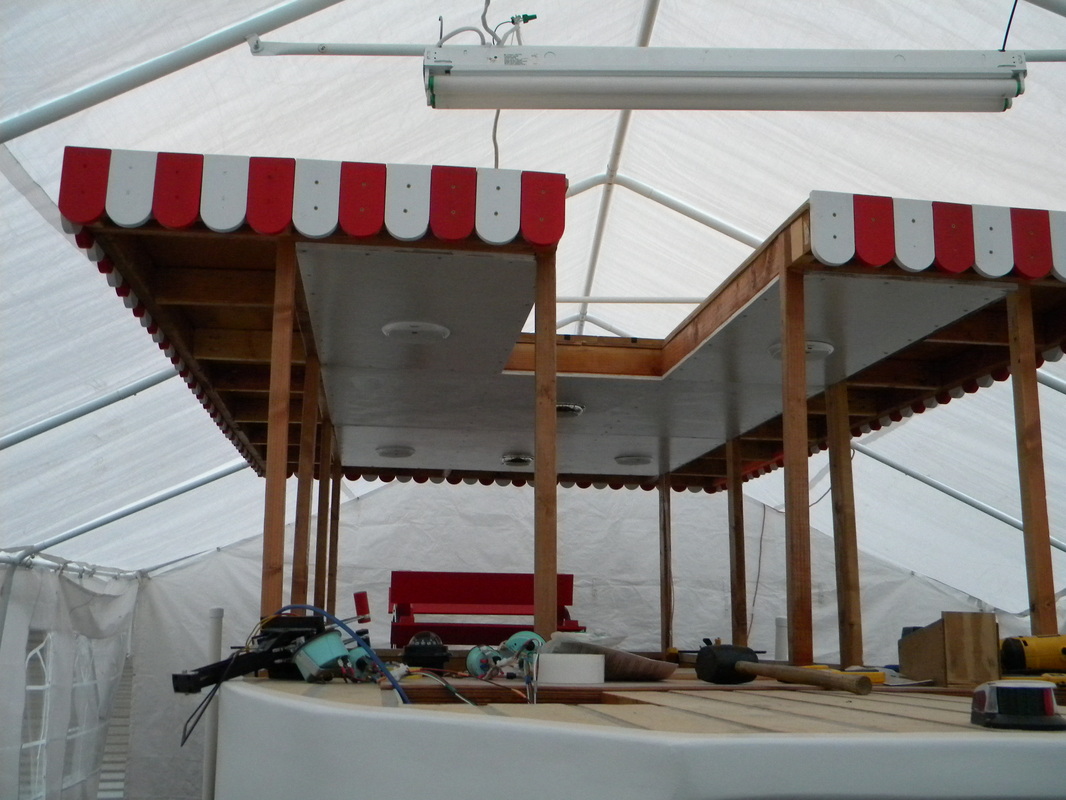
Ceiling for the cabin interior is finished. So now I have decided not to make removable windows, which were going to allow me to boat in nasty weather (which I now think I would never really desire to do) and make it easy to close up for winter. I have decided to just make a cover that I can strap down for wintering the boat, which means I could have contentued the panels directly to the edge. Also instead of the planned hinged top door, I am going to make a sliding hatch.
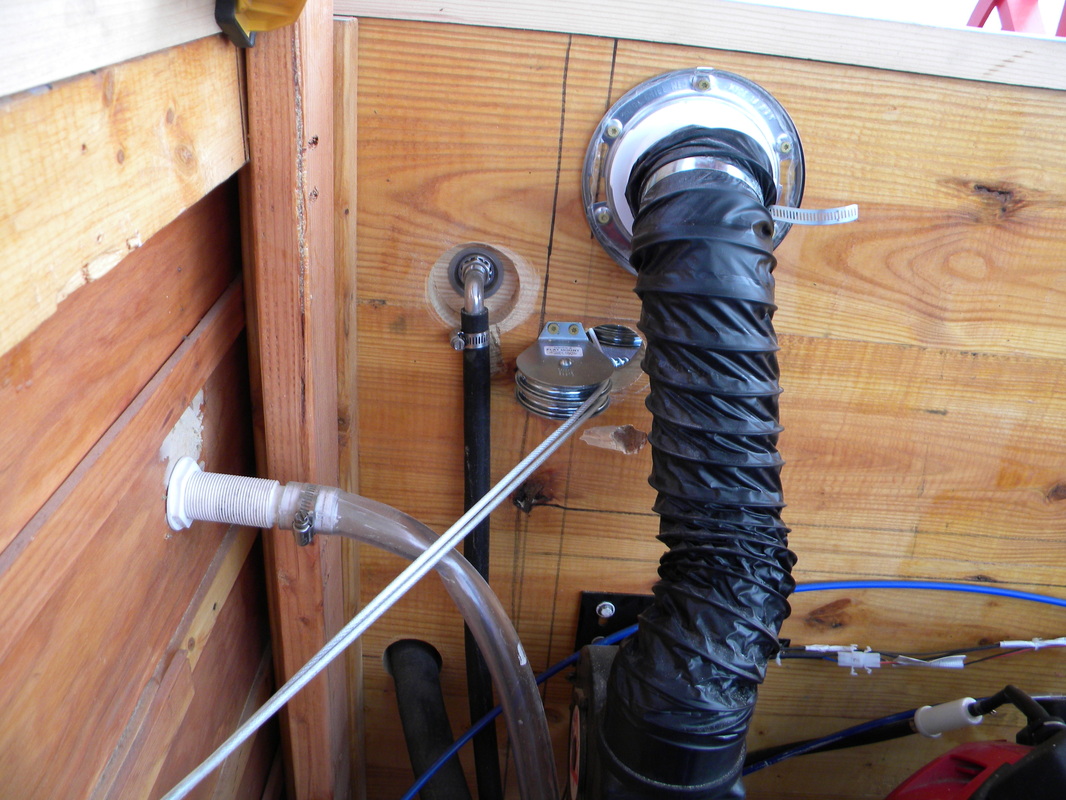
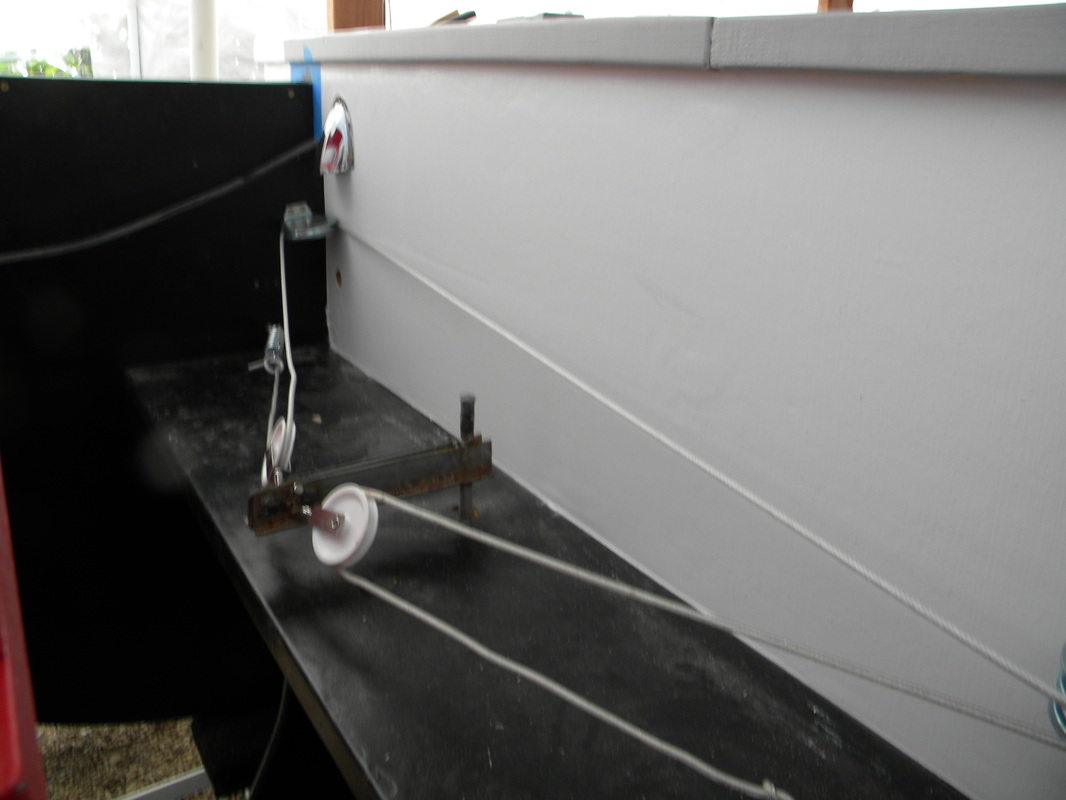
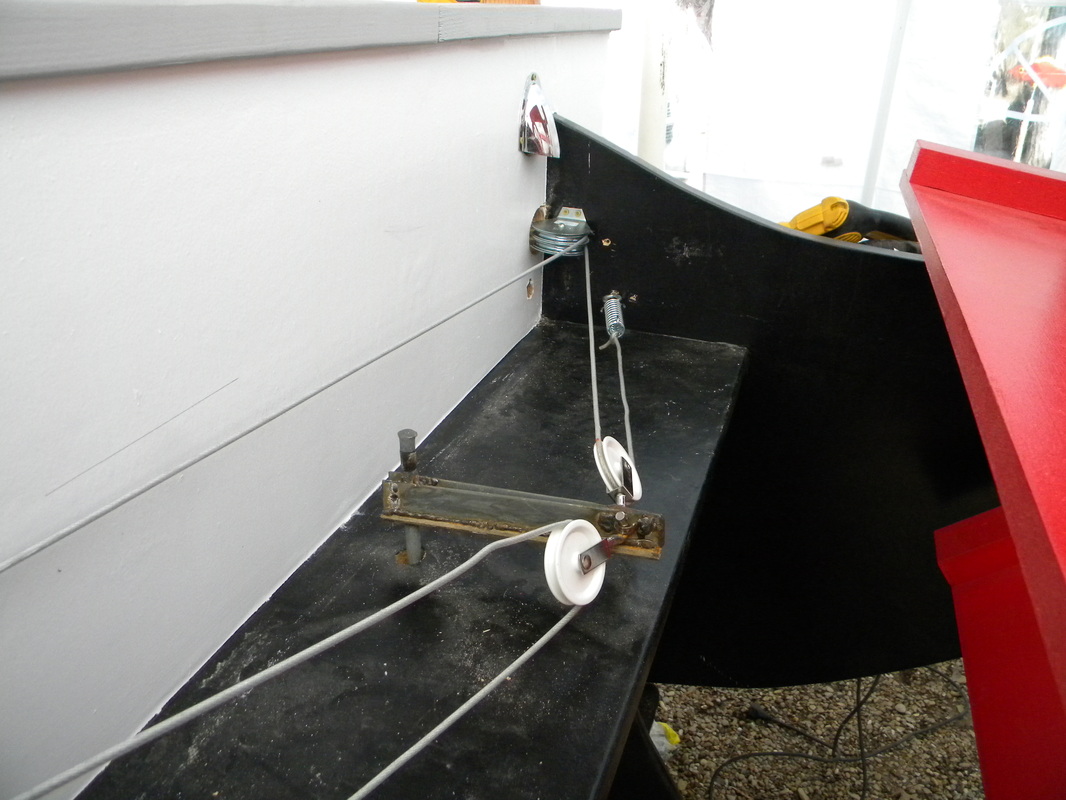
After much thought, I changed the planned configuration of the layout of the steering cables. Originally they were going to run through holes on both sides and then come together inside the cabin. But this would mean that the port cable would have to weave a path around the chain and belt drive. By using the double pulley on the starboard side immediately, I was able to have both cables run safely down the starboard side without having to go anywhere near the engine and its drive. Of course that means I need to order another pair of double pulleys to finish running the cables to the steering wheel.
Almost have all the ceiling panels in. Believe I will install a horn and therefore holding off on last two panels till I wire the horn in.
Boat all ready to be inspected by the Game Warden tomorrow.

Hey, you got to love the Lord! Although it was a cold and rainy day, they boat passed its inspection and has been registered. Main thing was to fill out the 143 form and have my reciepts in hand to prove I built the boat, other than that the game warden's job was not to verify if the boat actually worked or floated, but that it was home built and not bought.
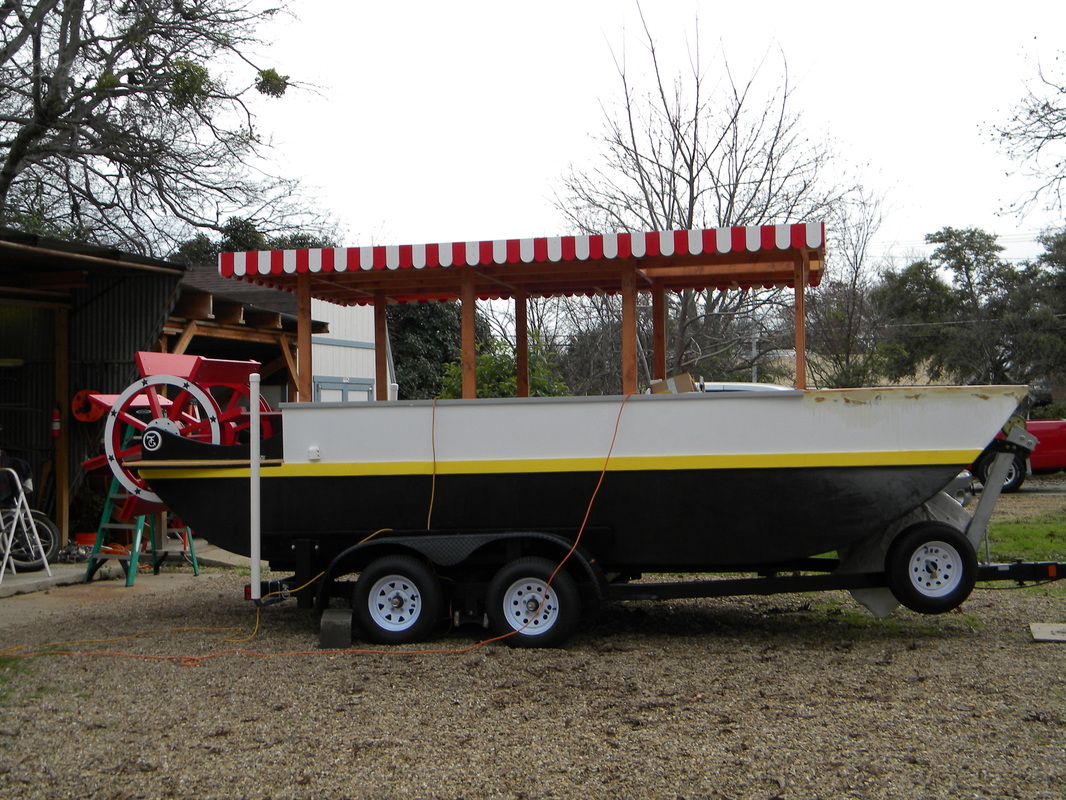
Here is a nice picture of the boat before it goes back under the tent.

Here is a little video of the motor and drive system working.
Well, I have been rewiring my boat. Started with the purchase of a horn. The horn worked when the leads were touched tot he battery, but would not work when wired in. I should have seen the trouble sooner since I am an electrical engineer. I wired the boat with a too small a gauge wire, which restricts current flow. I am now rewiring the boat mainly with 12 - 14 gauge wires, and boy does my blower work so much better. I should have remembered to use the same gauge (thickness of wire) of wire as the leads coming from the item to be wired in.
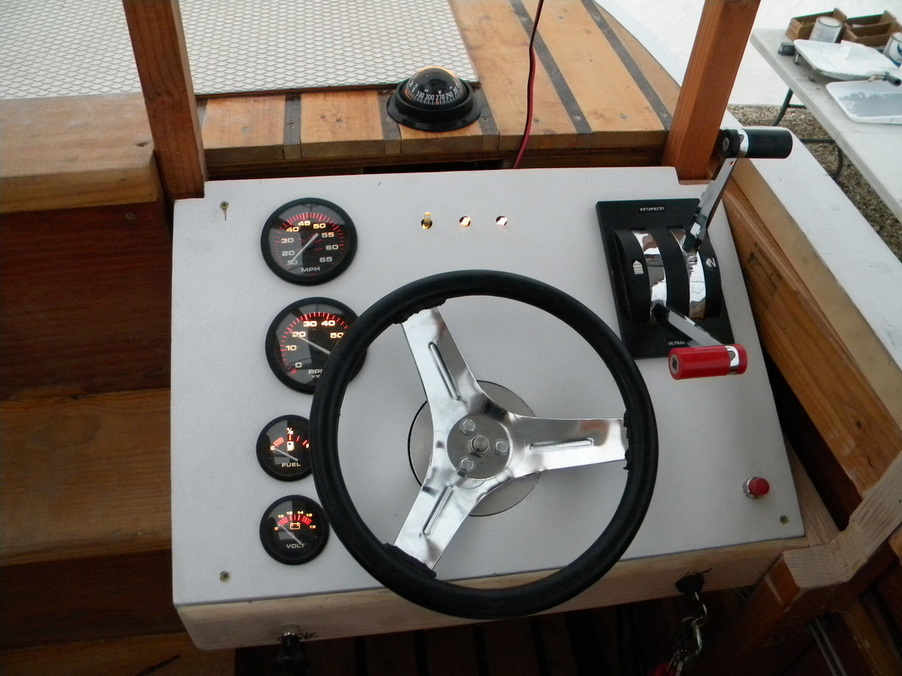
Got the frame for the dash board put in with a 25 degree slope. Now just need to make the dahsboard cover and drill the gauge holes.
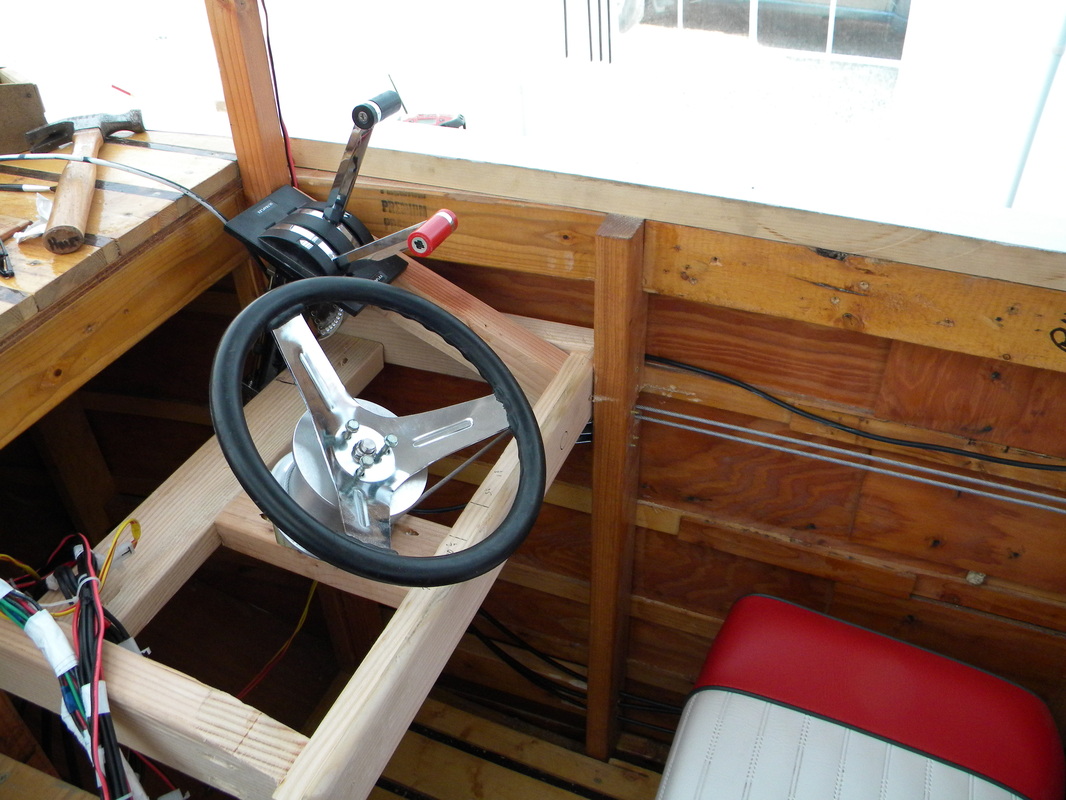
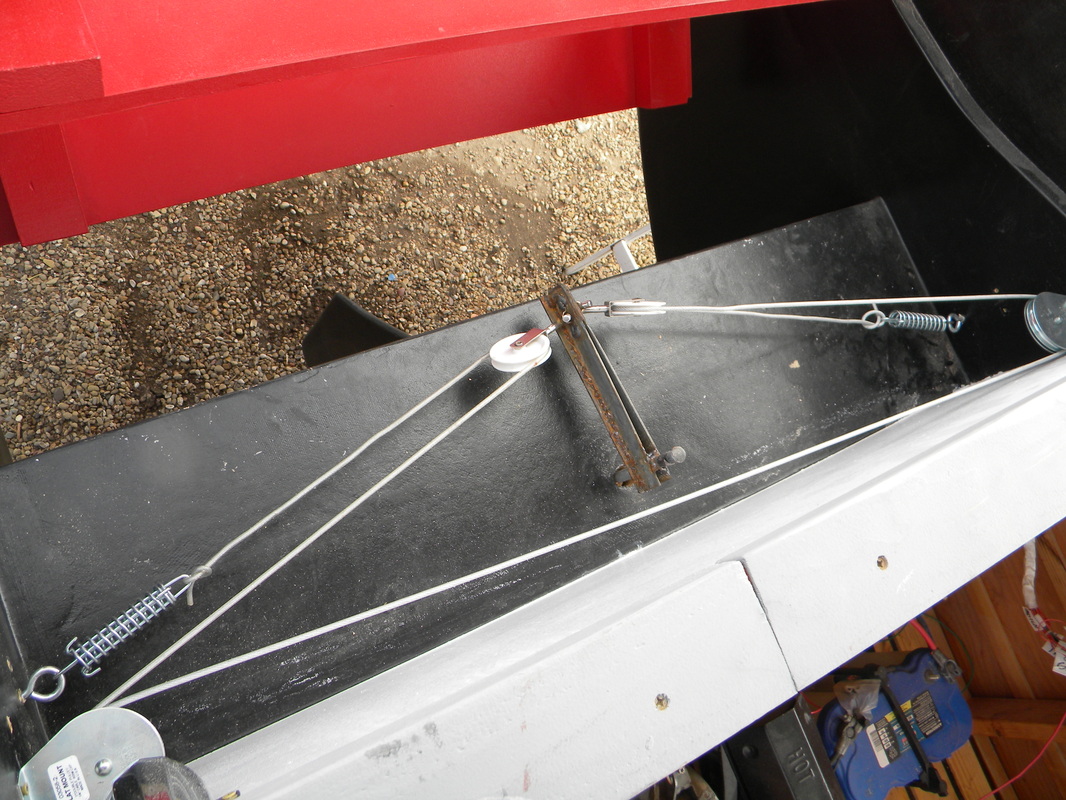
Steering cables run along the hull via a set of double pullies. The black tube is to be connected to the speedometer (which uses air pressure.)

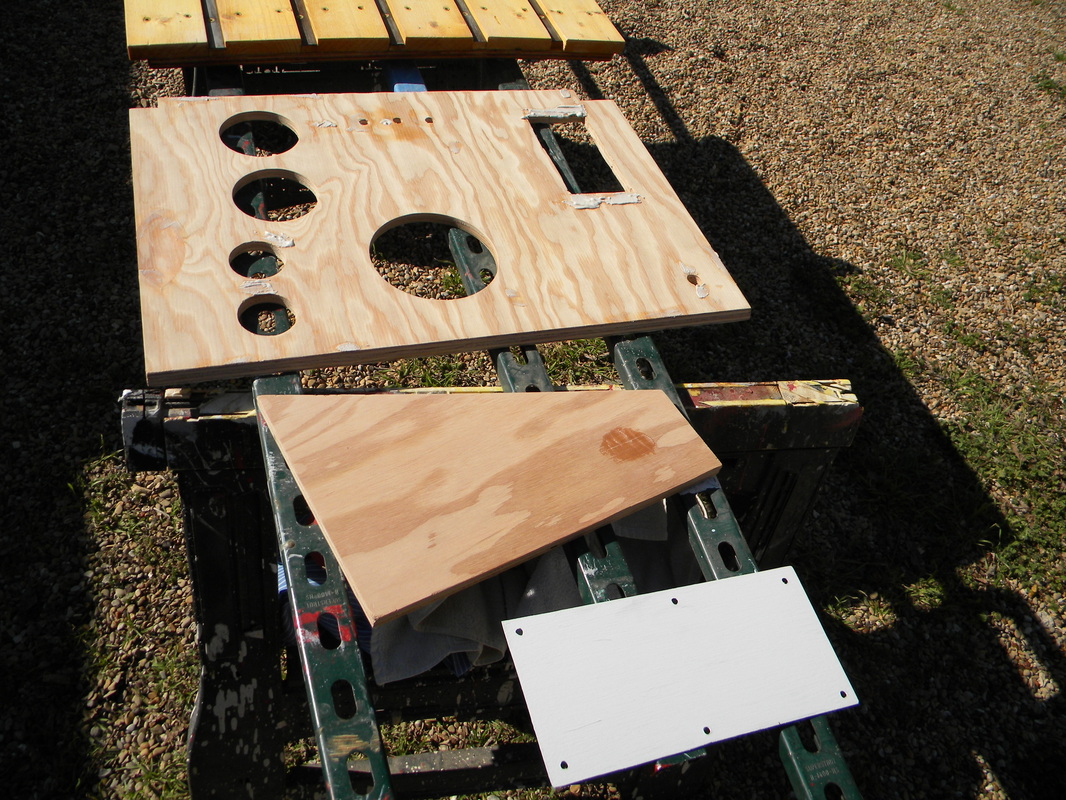
Dashboard cover panel cut and drilled. Just need for the putty to dry and we can begin sanding, priming, and then painting. The small plate is to be a front guard. I noticed the front rollers were wearing a groove into the boat's paint.
Finally got the name and numbers painted on the hull. Planning to take her out this Friday.

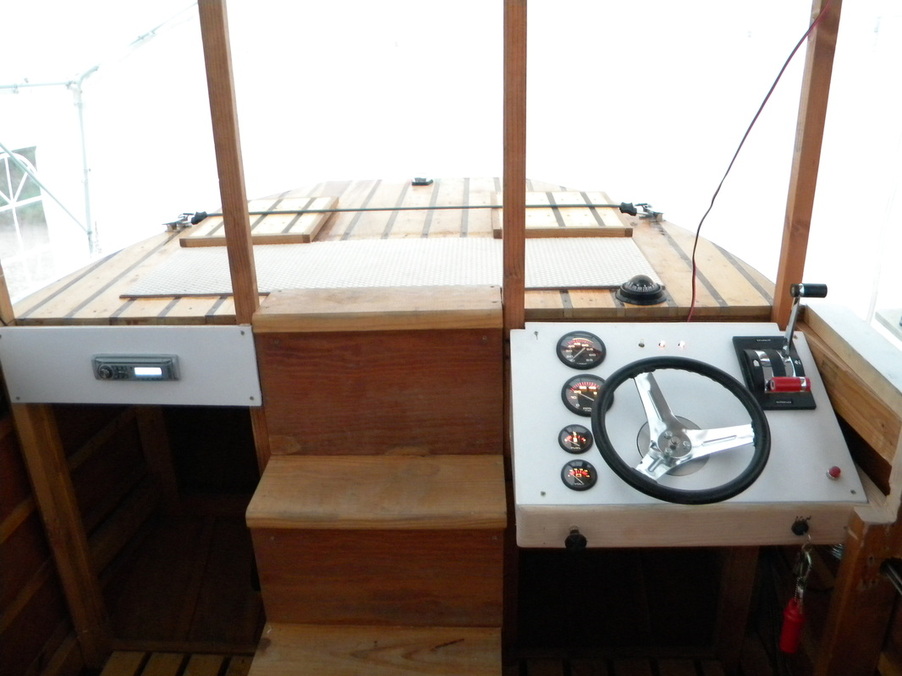
Yeah! Finished the dashboard cover in time. Tested everything, and so far all works great. Plan on taking boat out tomorrow for maiden voyage.